Installation Instructions (PDF)
Tools and Accessories
 |
 |
 |
 |
 |
 |
|
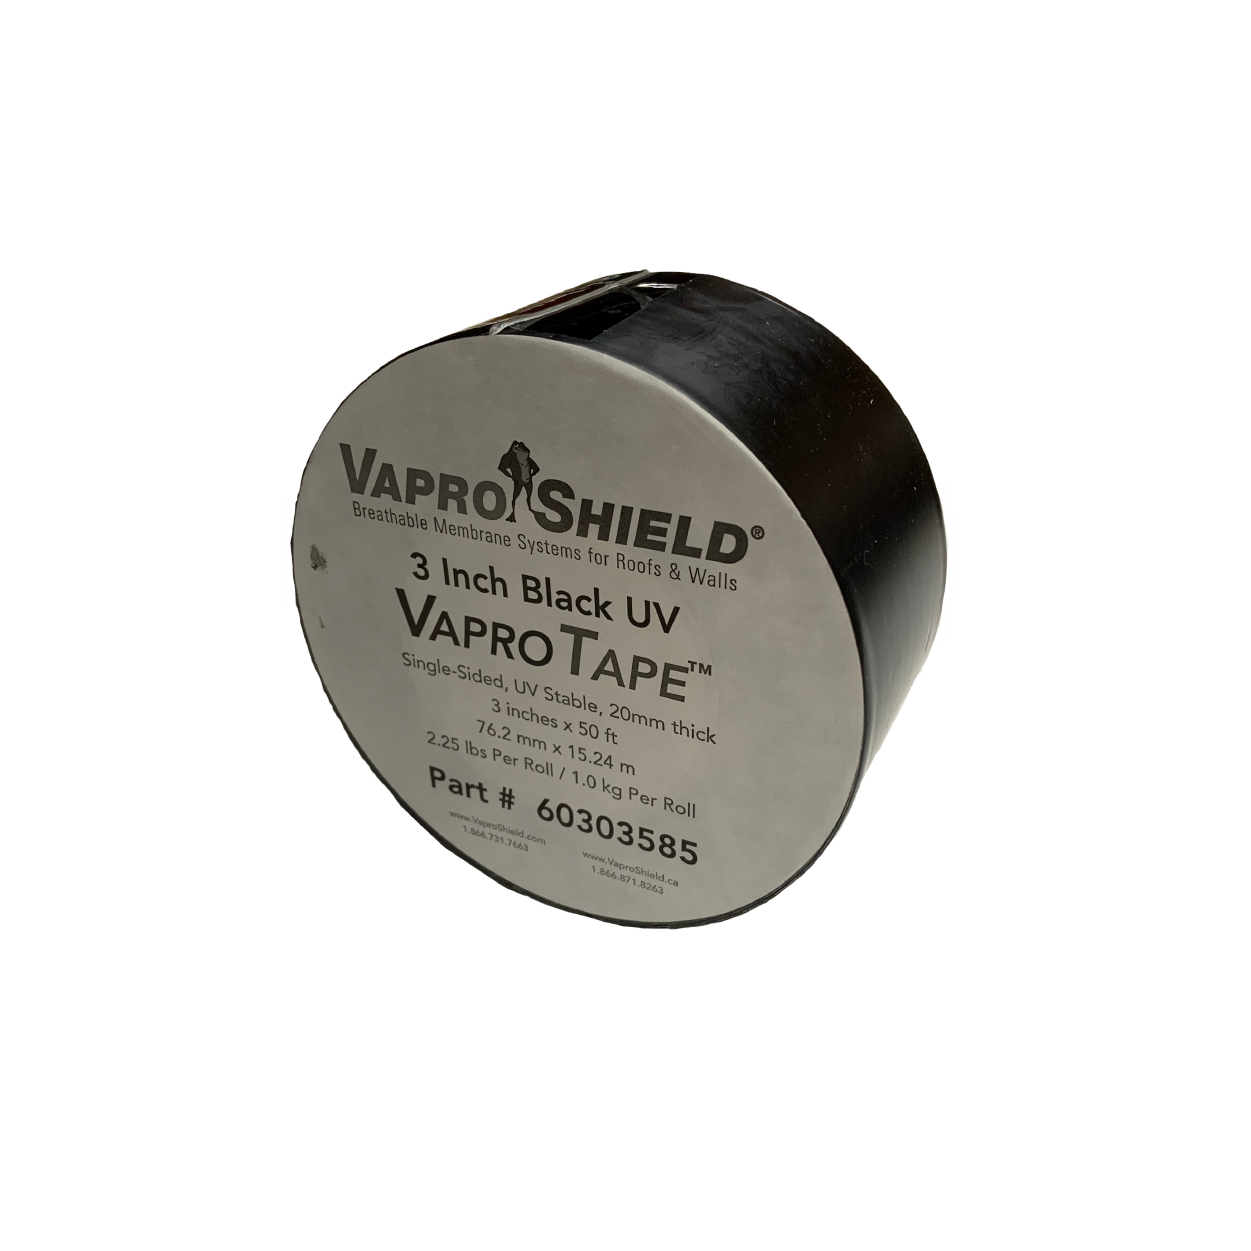
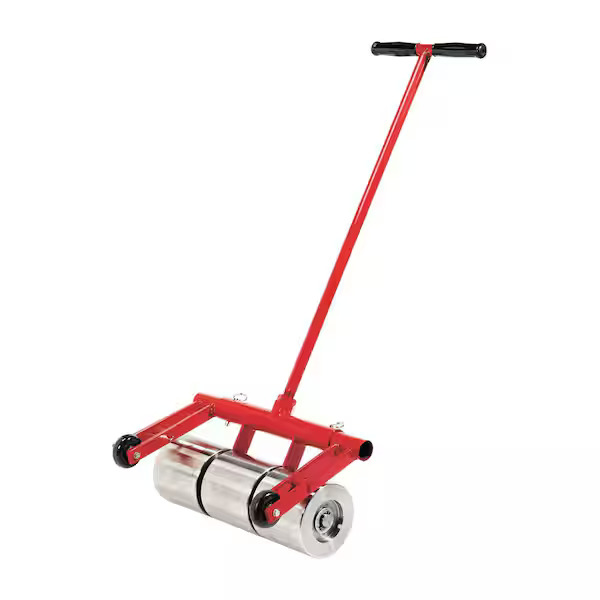
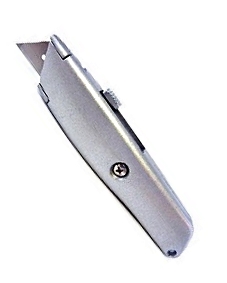
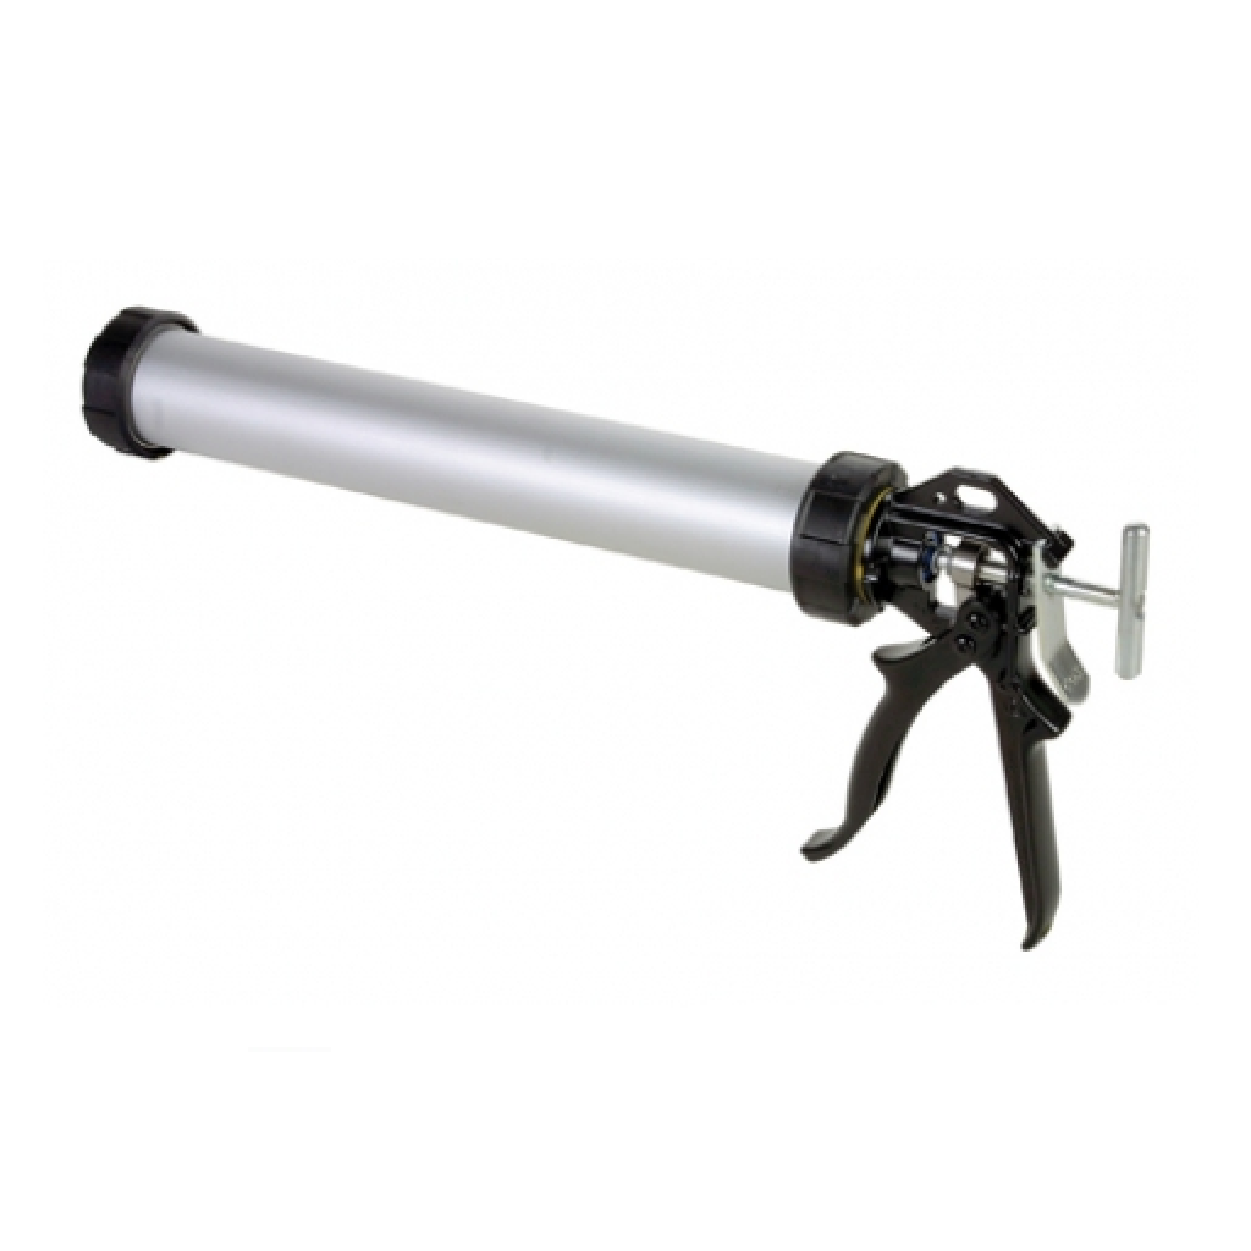
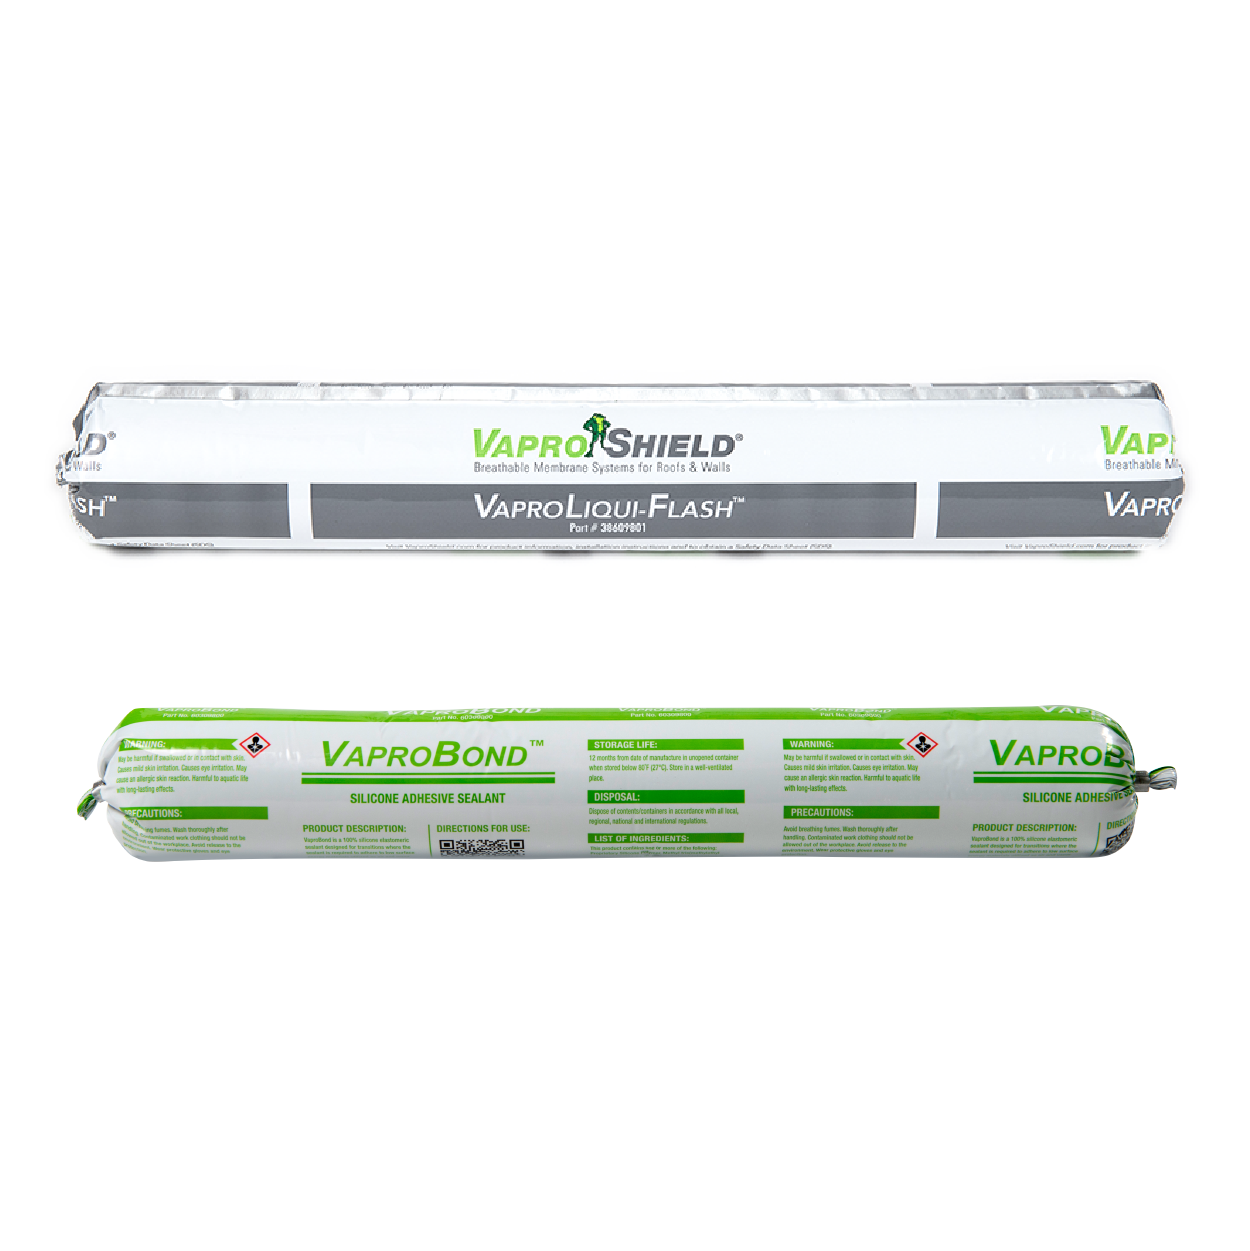
| Rollers: (+/-) 100-lb. Flooring Roller (2-person lift) - Extendable 7.5' hand roller | Push Broom (medium to soft bristle) | Razor Knife or slitting tool with spare blades (carbide or better) | Flooring Scraper and/or sandpaper | Sausage gun | Flashing Accessories | VaproTape |
Compatible Substrates
|
|
Delivery, Packaging And Storage
- Store materials in original packaging at temperautres between 40°F and 120°F (4°C - 49°C).
- Protect materials from direct sunlight and inclement weather until ready for use.
Substrate Preparation
- Inspect surface, touch-up, sand or scrape to make smooth
- Ensure the substrate is clean, dry and free from dust, dirt, and debris
- Ensure substrate fasteners are flush with surface and fastened into solid backing.
| Do's | Don't's |
|
|
Safety
- Persons who access any roofs, involved with roof construction, repair or maintenance shall use appropriate personal protective equipment including, but not limited to, hard hats, eye protection, and leather gloves and must be trained on safe practices relevant to their work.
- Where the use of ladders, scaffolds, platforms, or temporary floors are utilized, safety lines and safety harnesses shall be used. Please access the OSHA Web site at www.osha.gov, contact your local OSHA office, or visit the local federal bookstore to obtain the most current information on OSHA 29 CFR 1926.
- Caution: Release liners are slippery. To prevent injury, liner should be removed from under foot as soon as membrane is installed and disposed of properly.
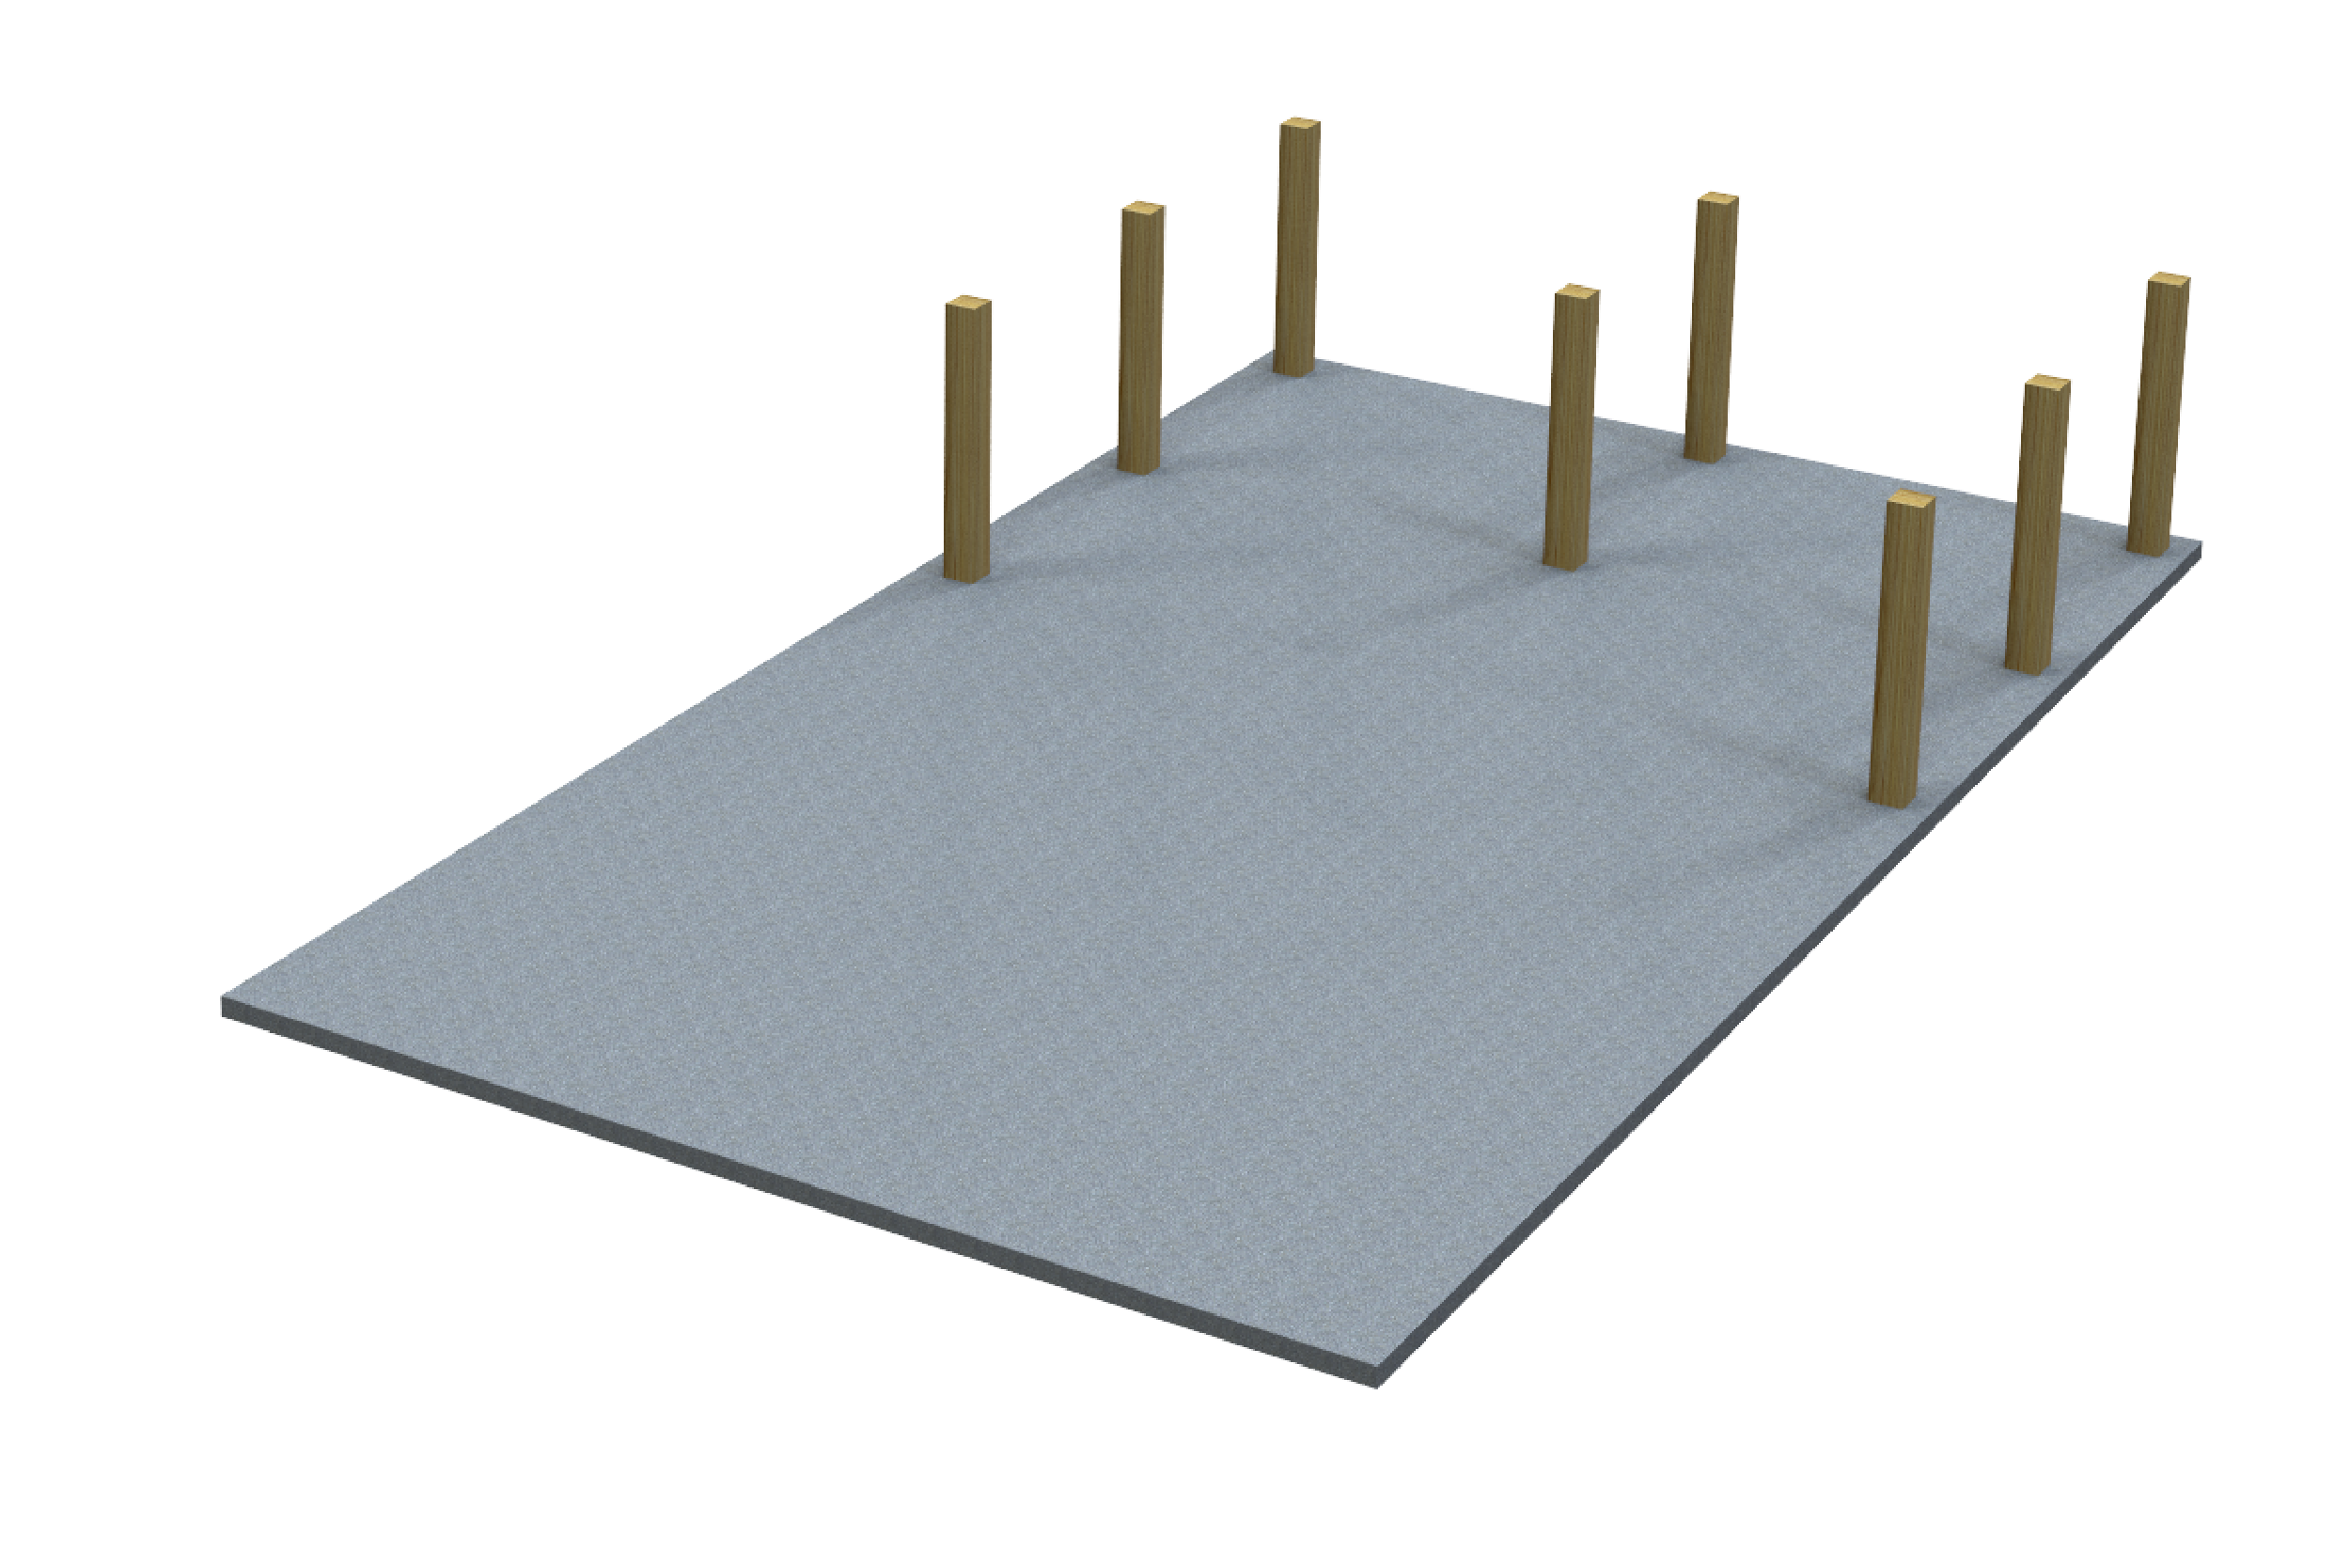
Best Practice Installation Sequence for Mass Timber Protection
 |
 |
|
1. Remove temporary factory wrap. Install post/columns. |
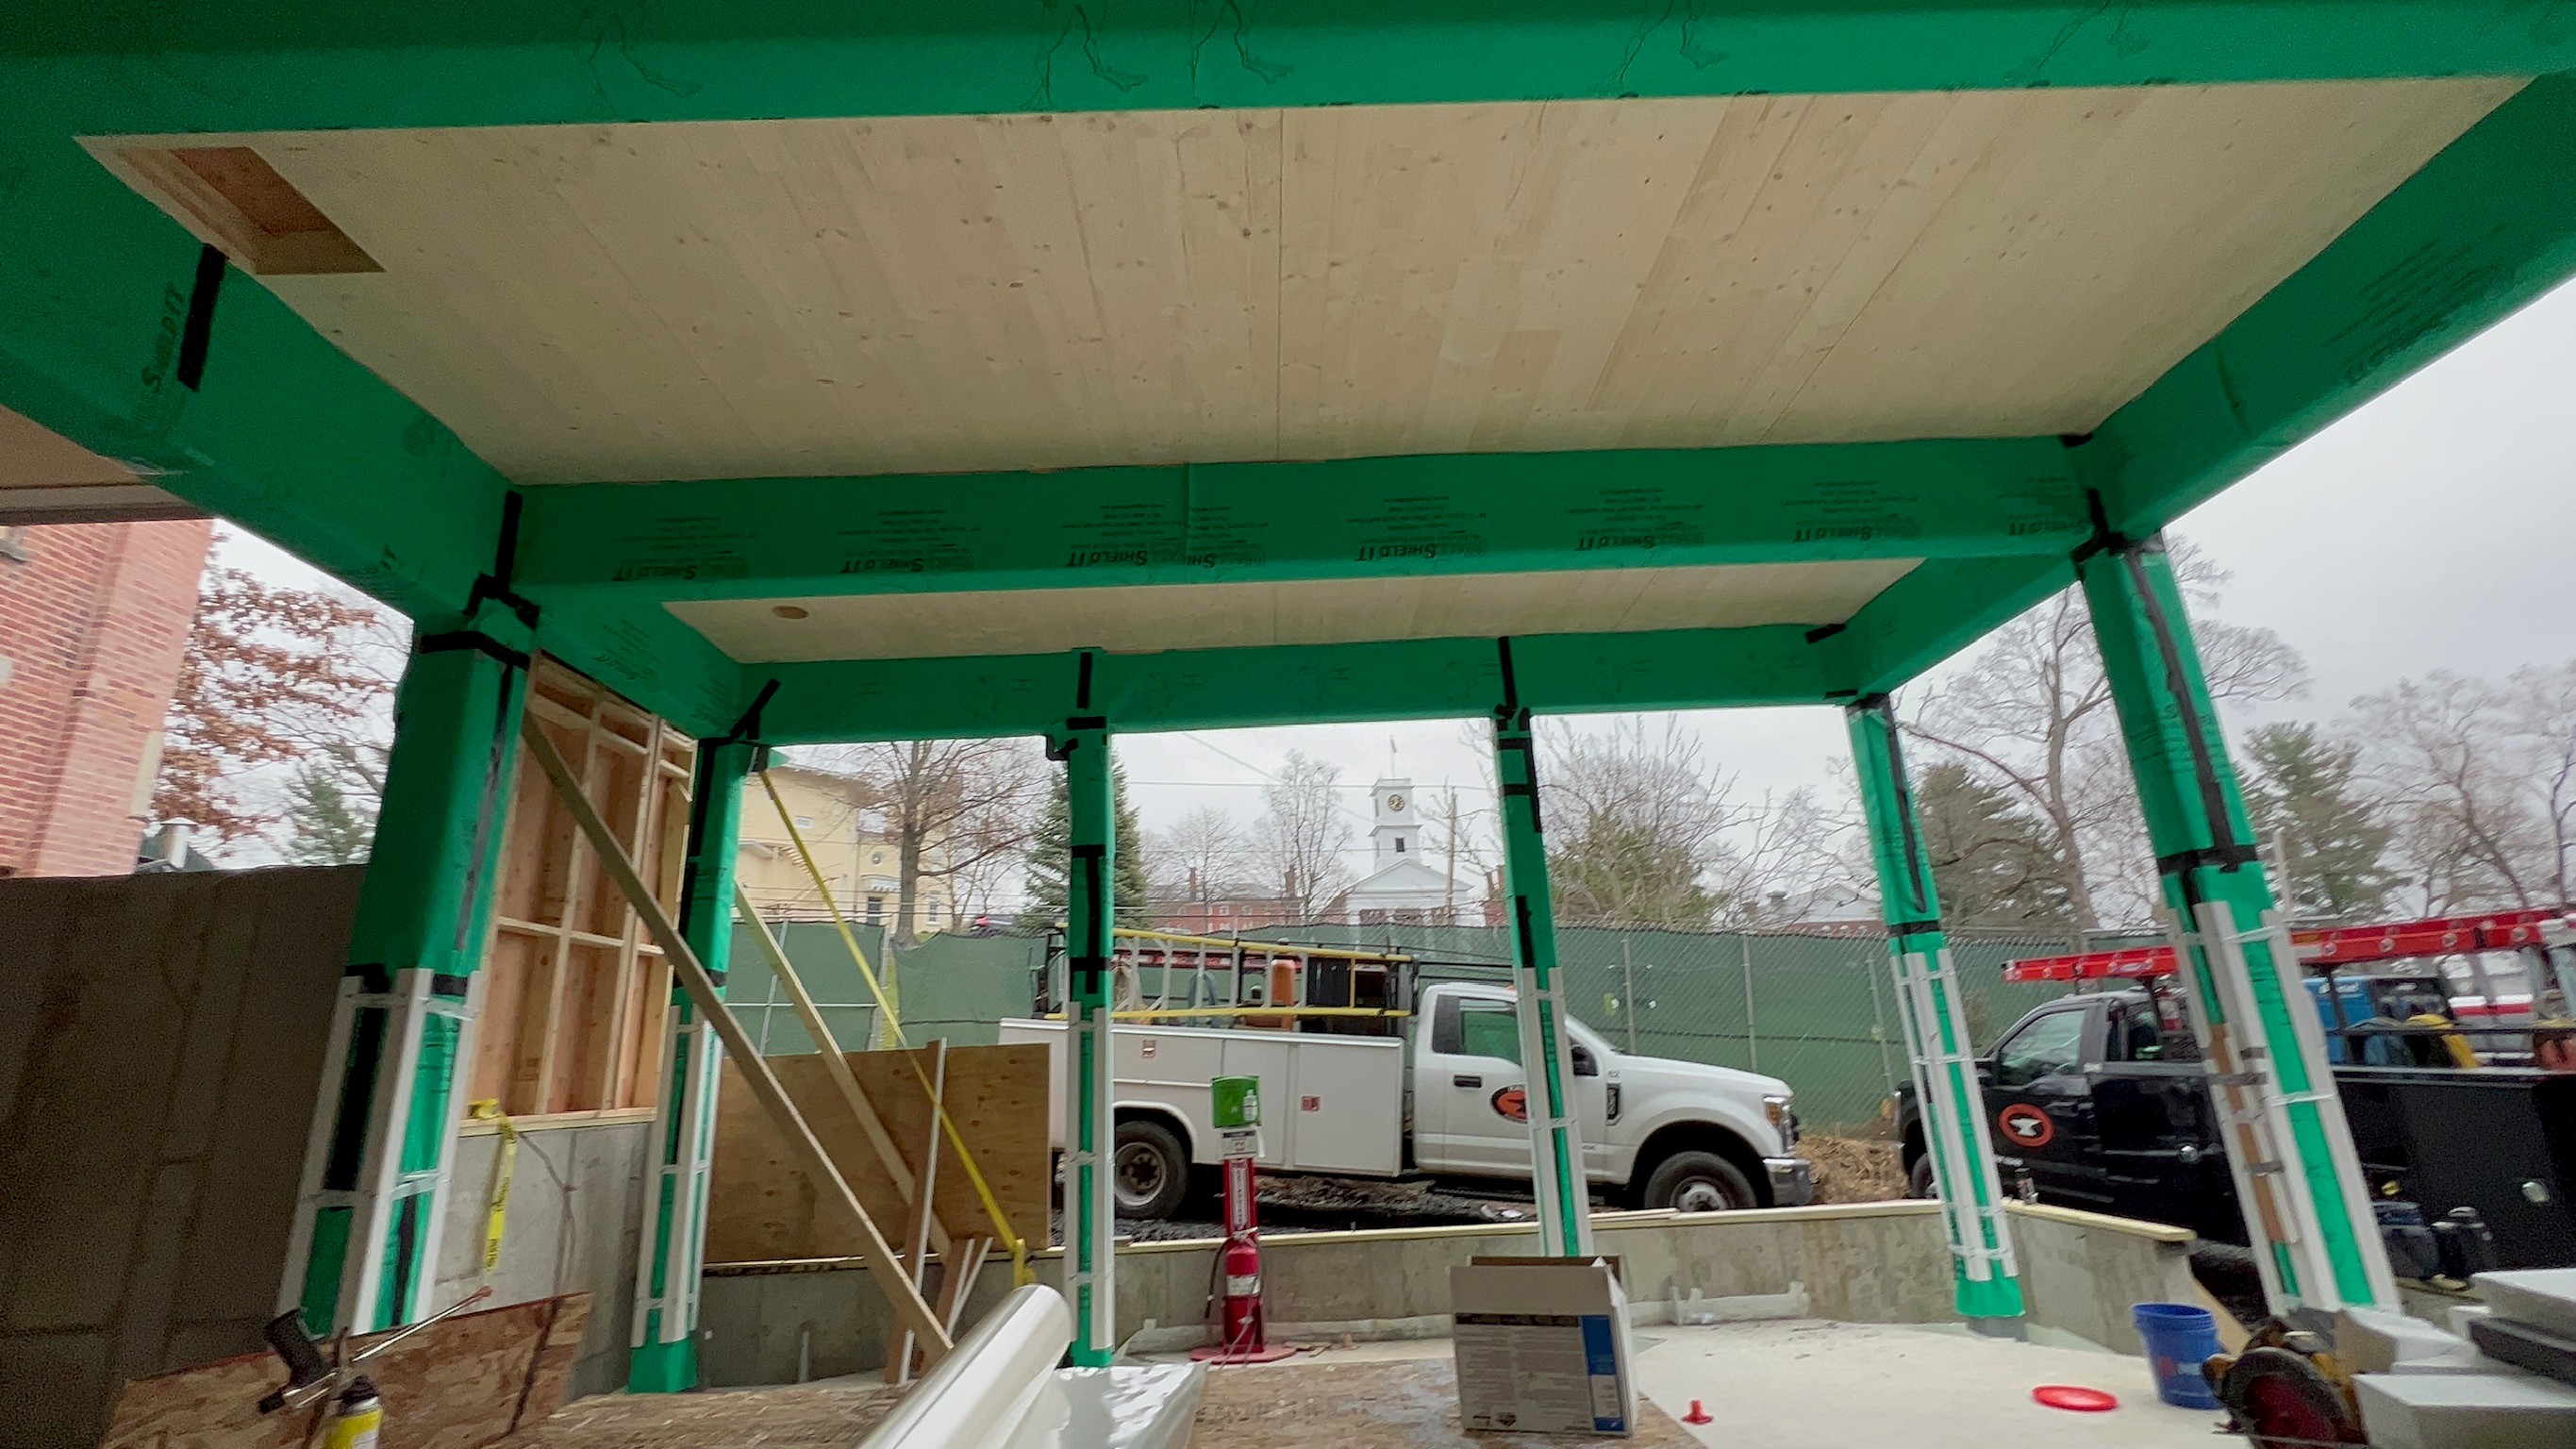
2. Wrap post/columns with WallShield IT to protect against moisture, mold, and construction damage. Use VaproTape to hold seams together when required, add corner protection (by others). |
 |
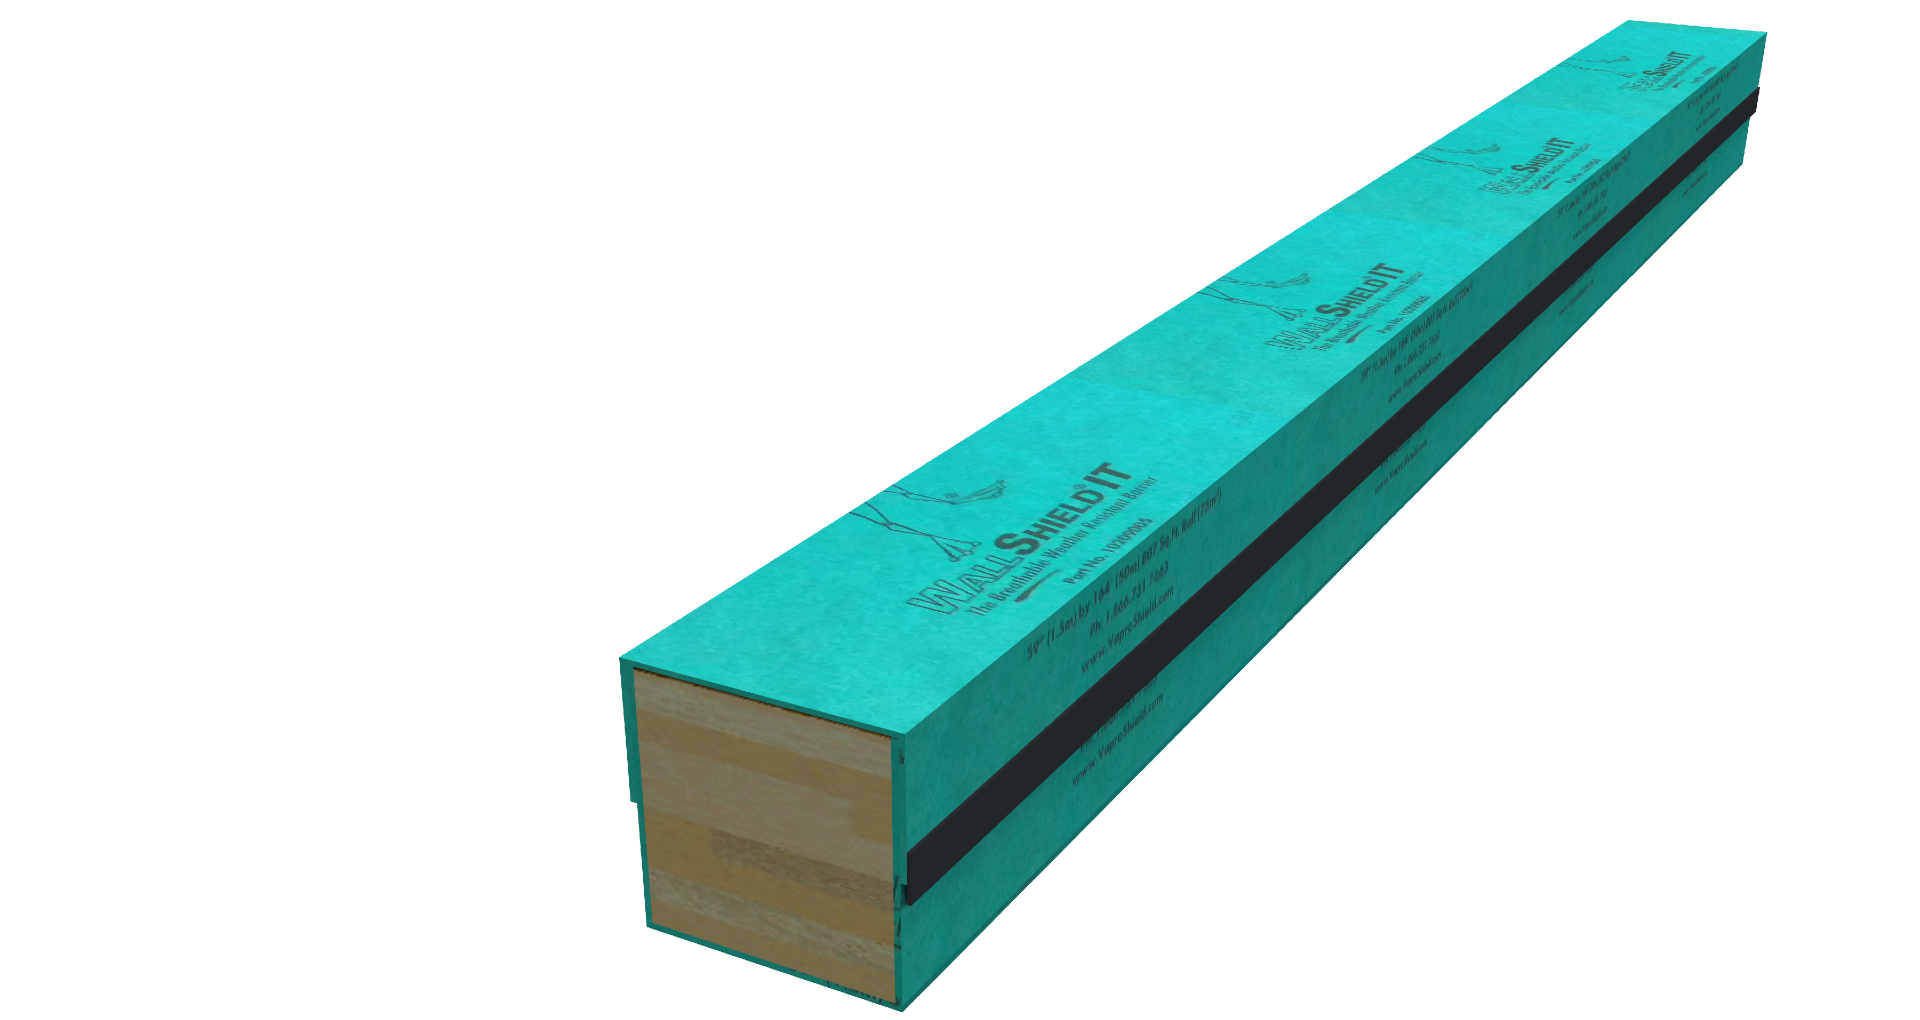 |
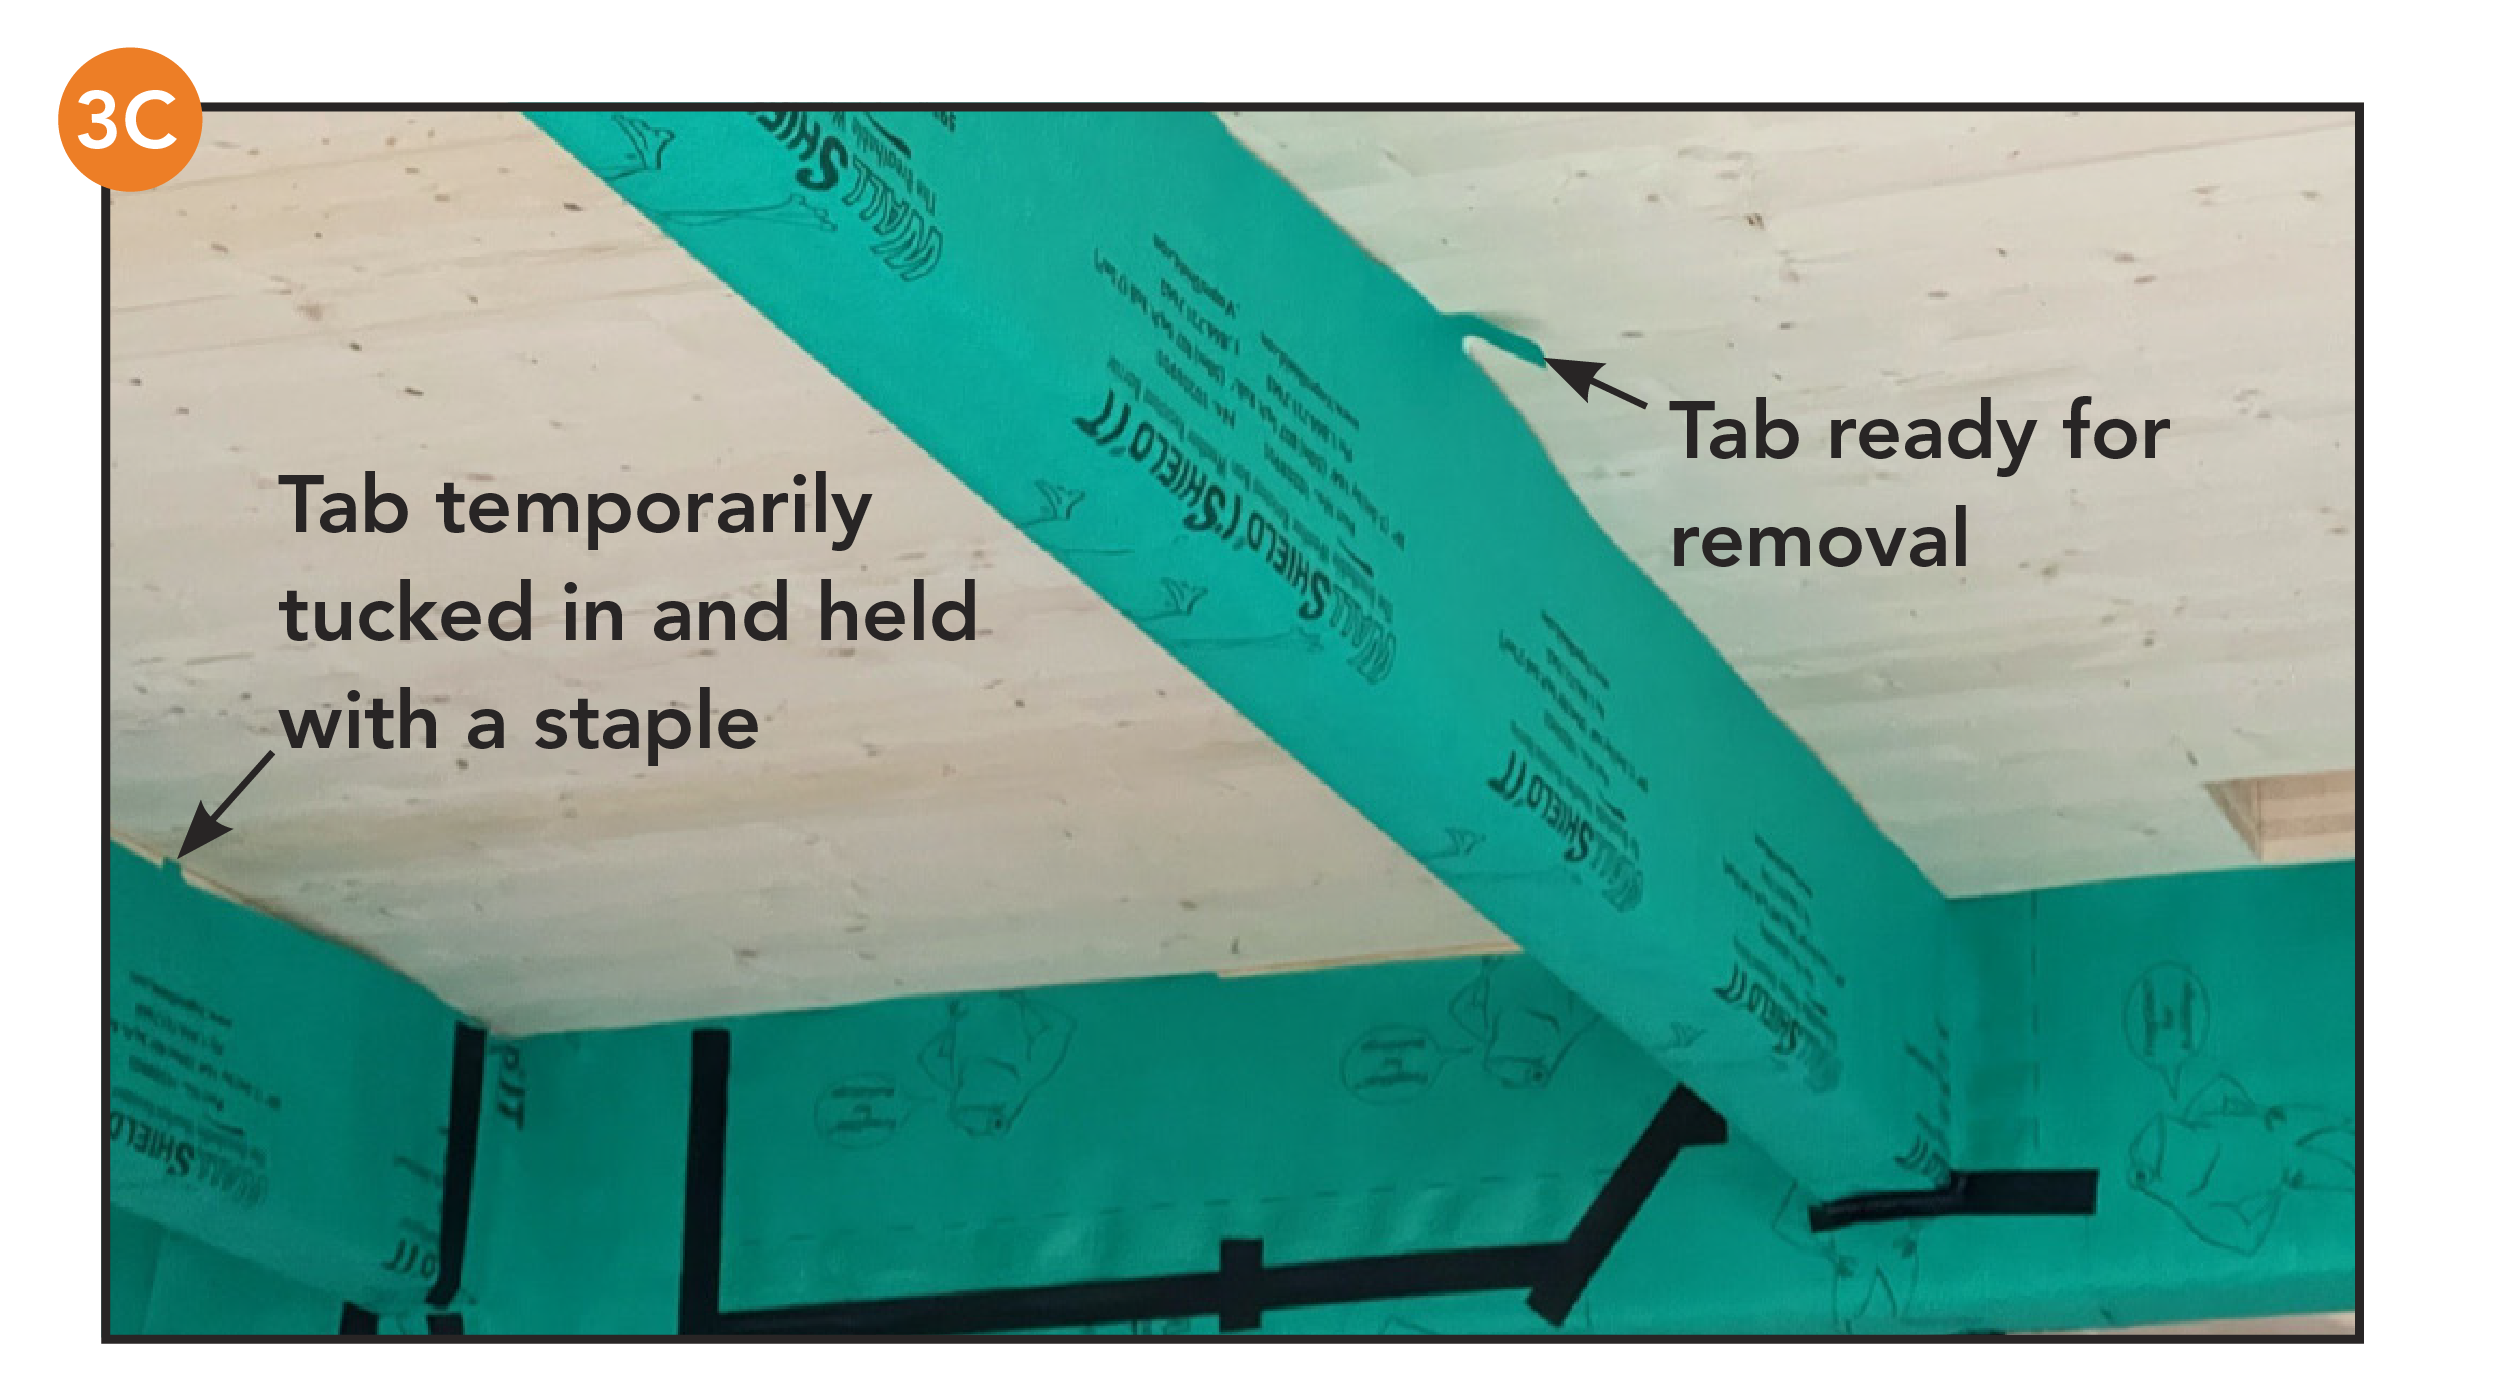
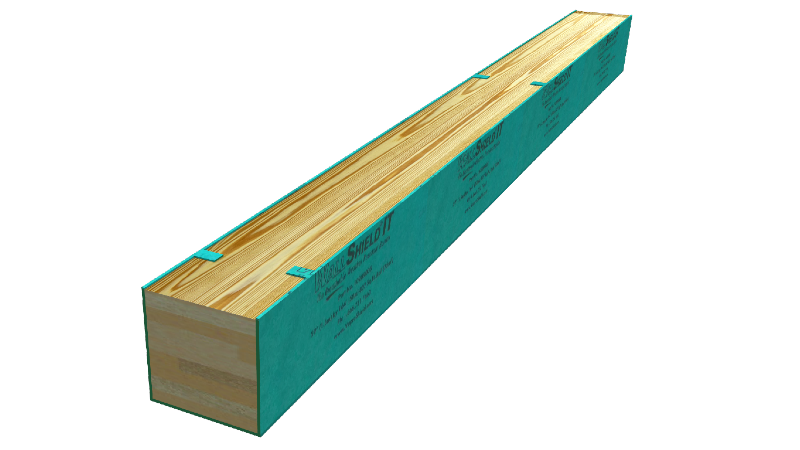
| 3A. Measure and cut WallShield IT to fit around the entire beam. Cut tabs on top and secure with staples to ease removal. | 3B. Place WallShield IT over the top of the beam and secure temporarily with a few pieces of VaproTape on the sides. |
|
|
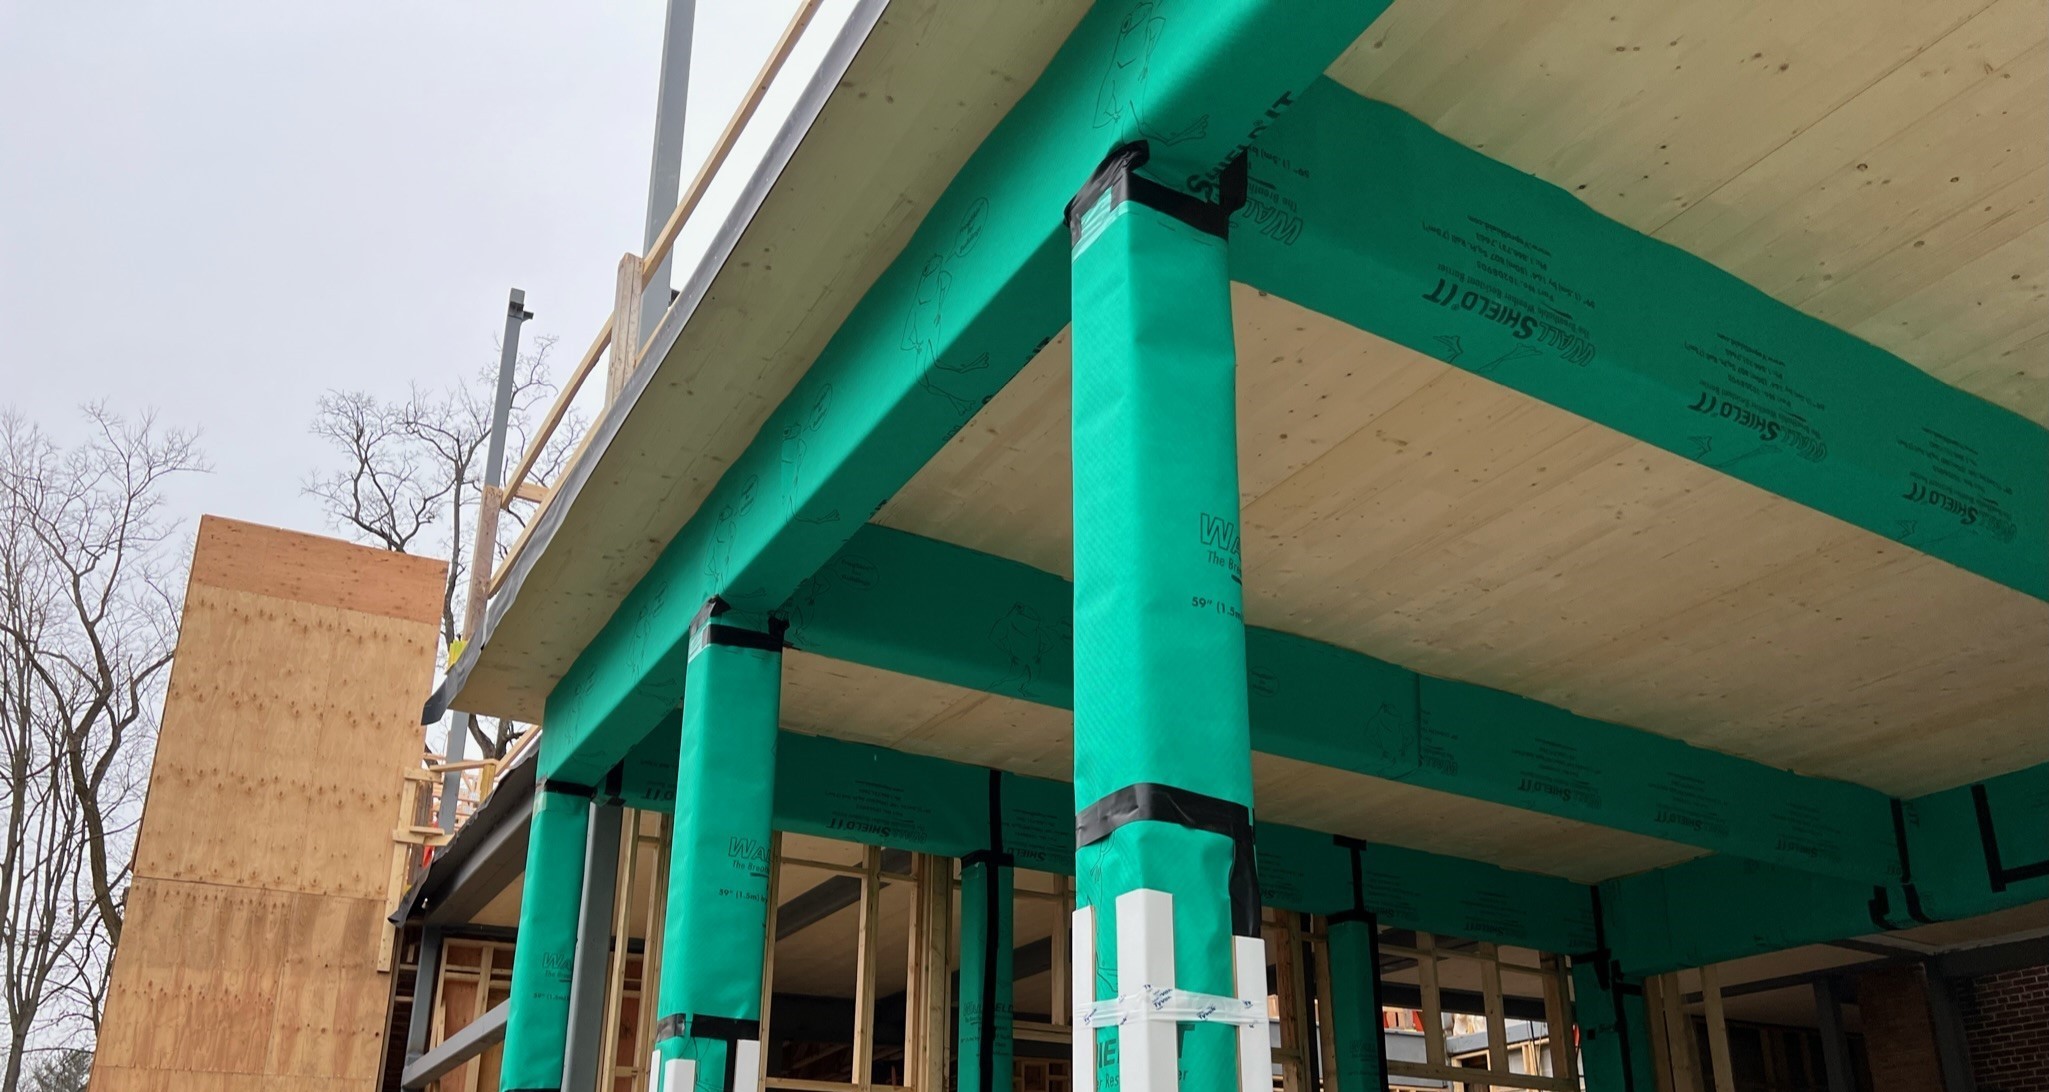 |
| 4. Connect and/or install wrapped post/column to wrapped beam. Use VaproTape as required on seams. | |
 |
 |
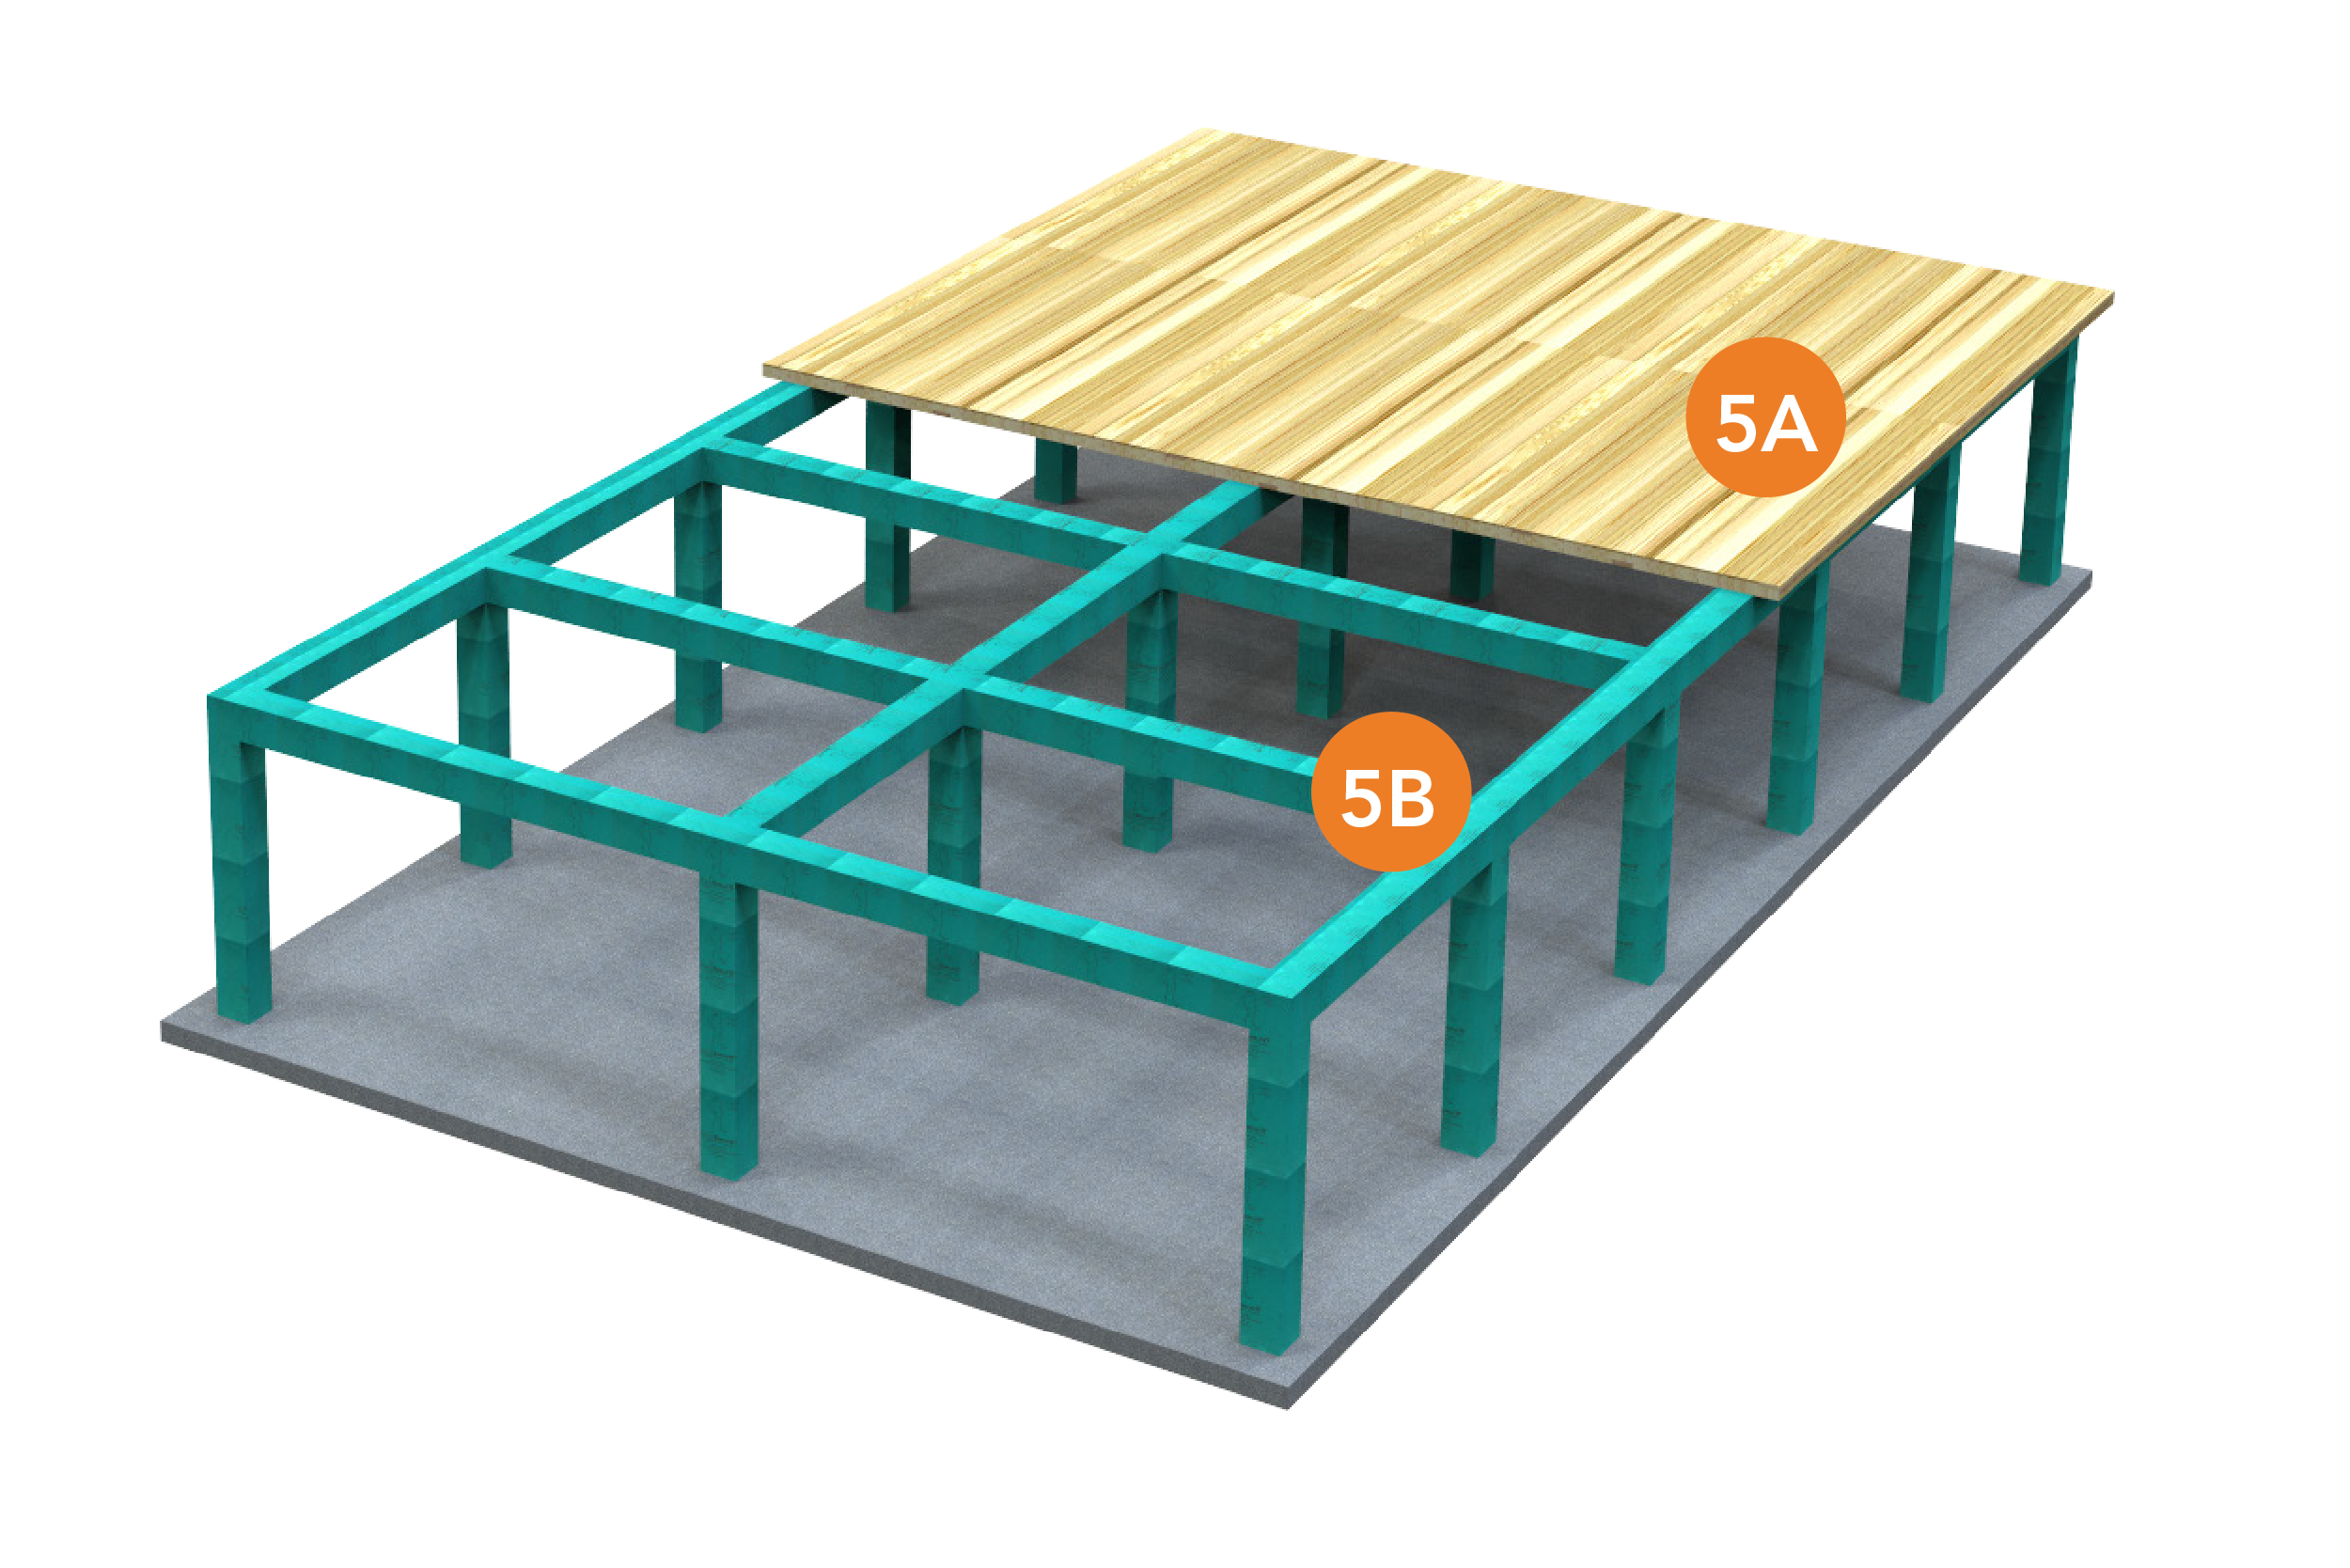
| 5A. Construct mass timber floor/deck. 5B. Remove top pieces of WallShield IT just before panels are laid. |
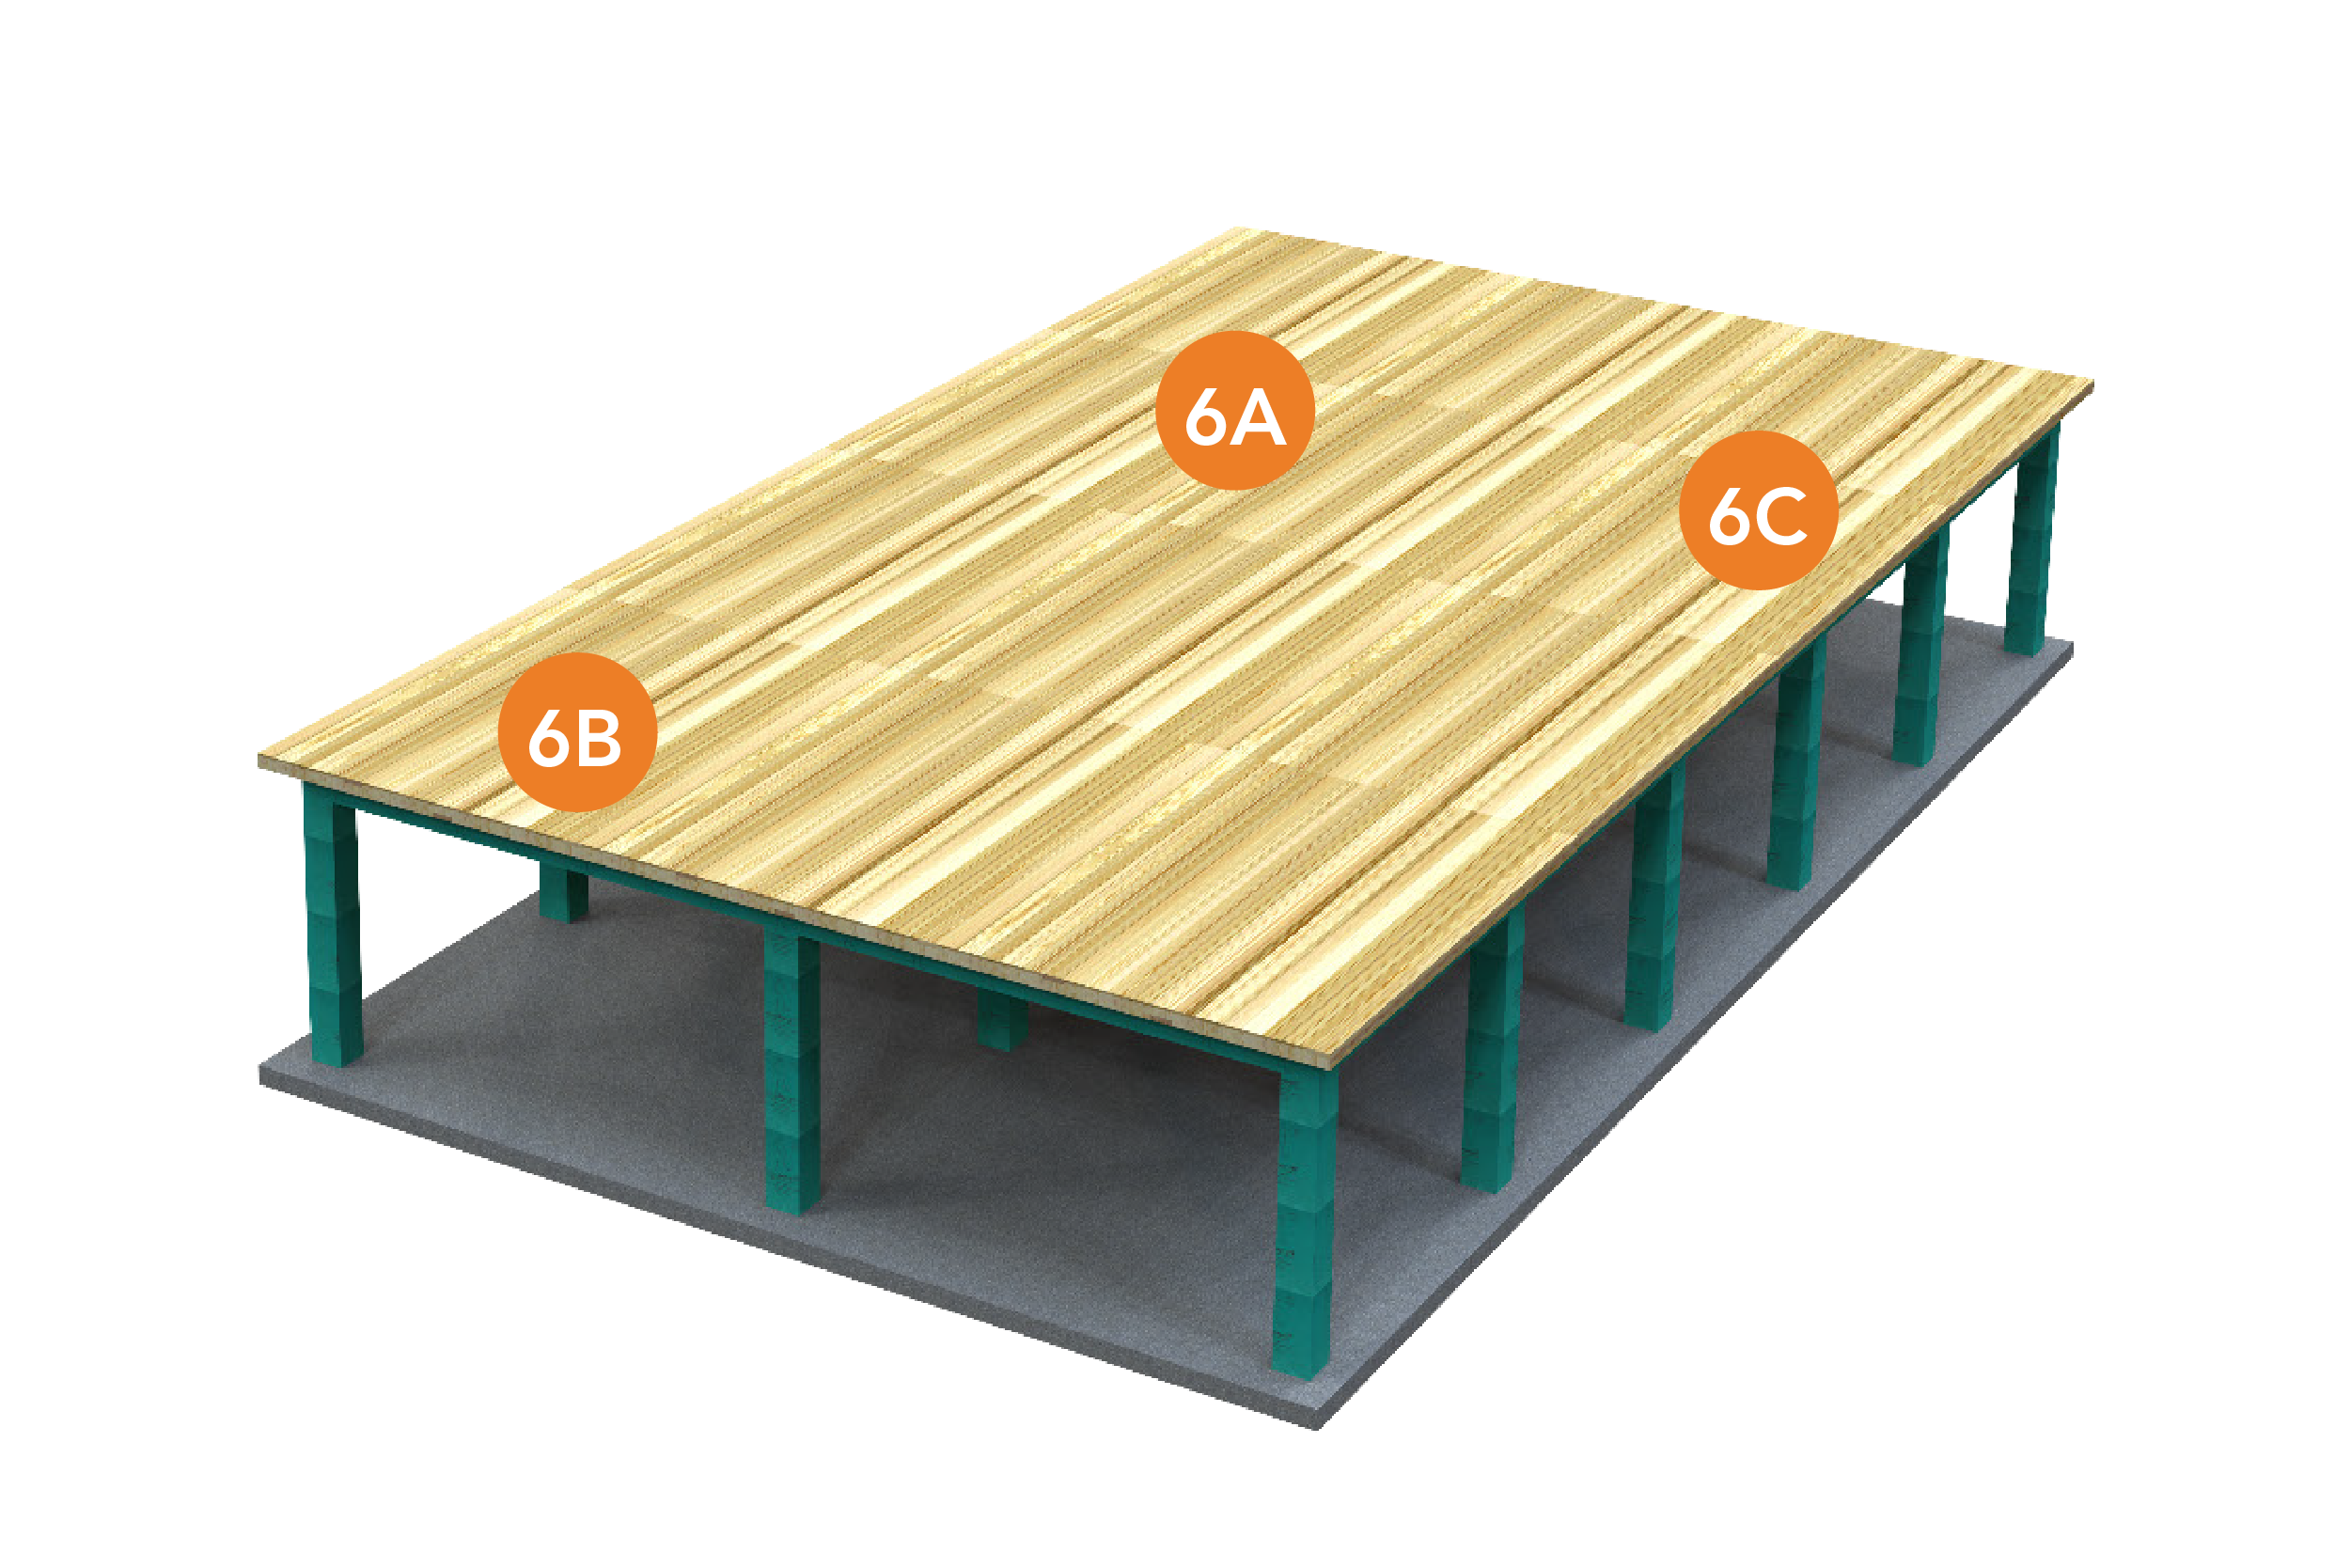
6A. Prepare the substrate for installation. Inspect the surface, make any necessary touch ups, and fill voids and gaps greater than 7/8" (22.2 mm) wide. 6B. Ensure substrate is clean, dry, and free from dust, dirt, and debris. Use a vacuum or best means to remove dust. 6C. Ensure fasteners are flush with surface and fastened into solid backing. |
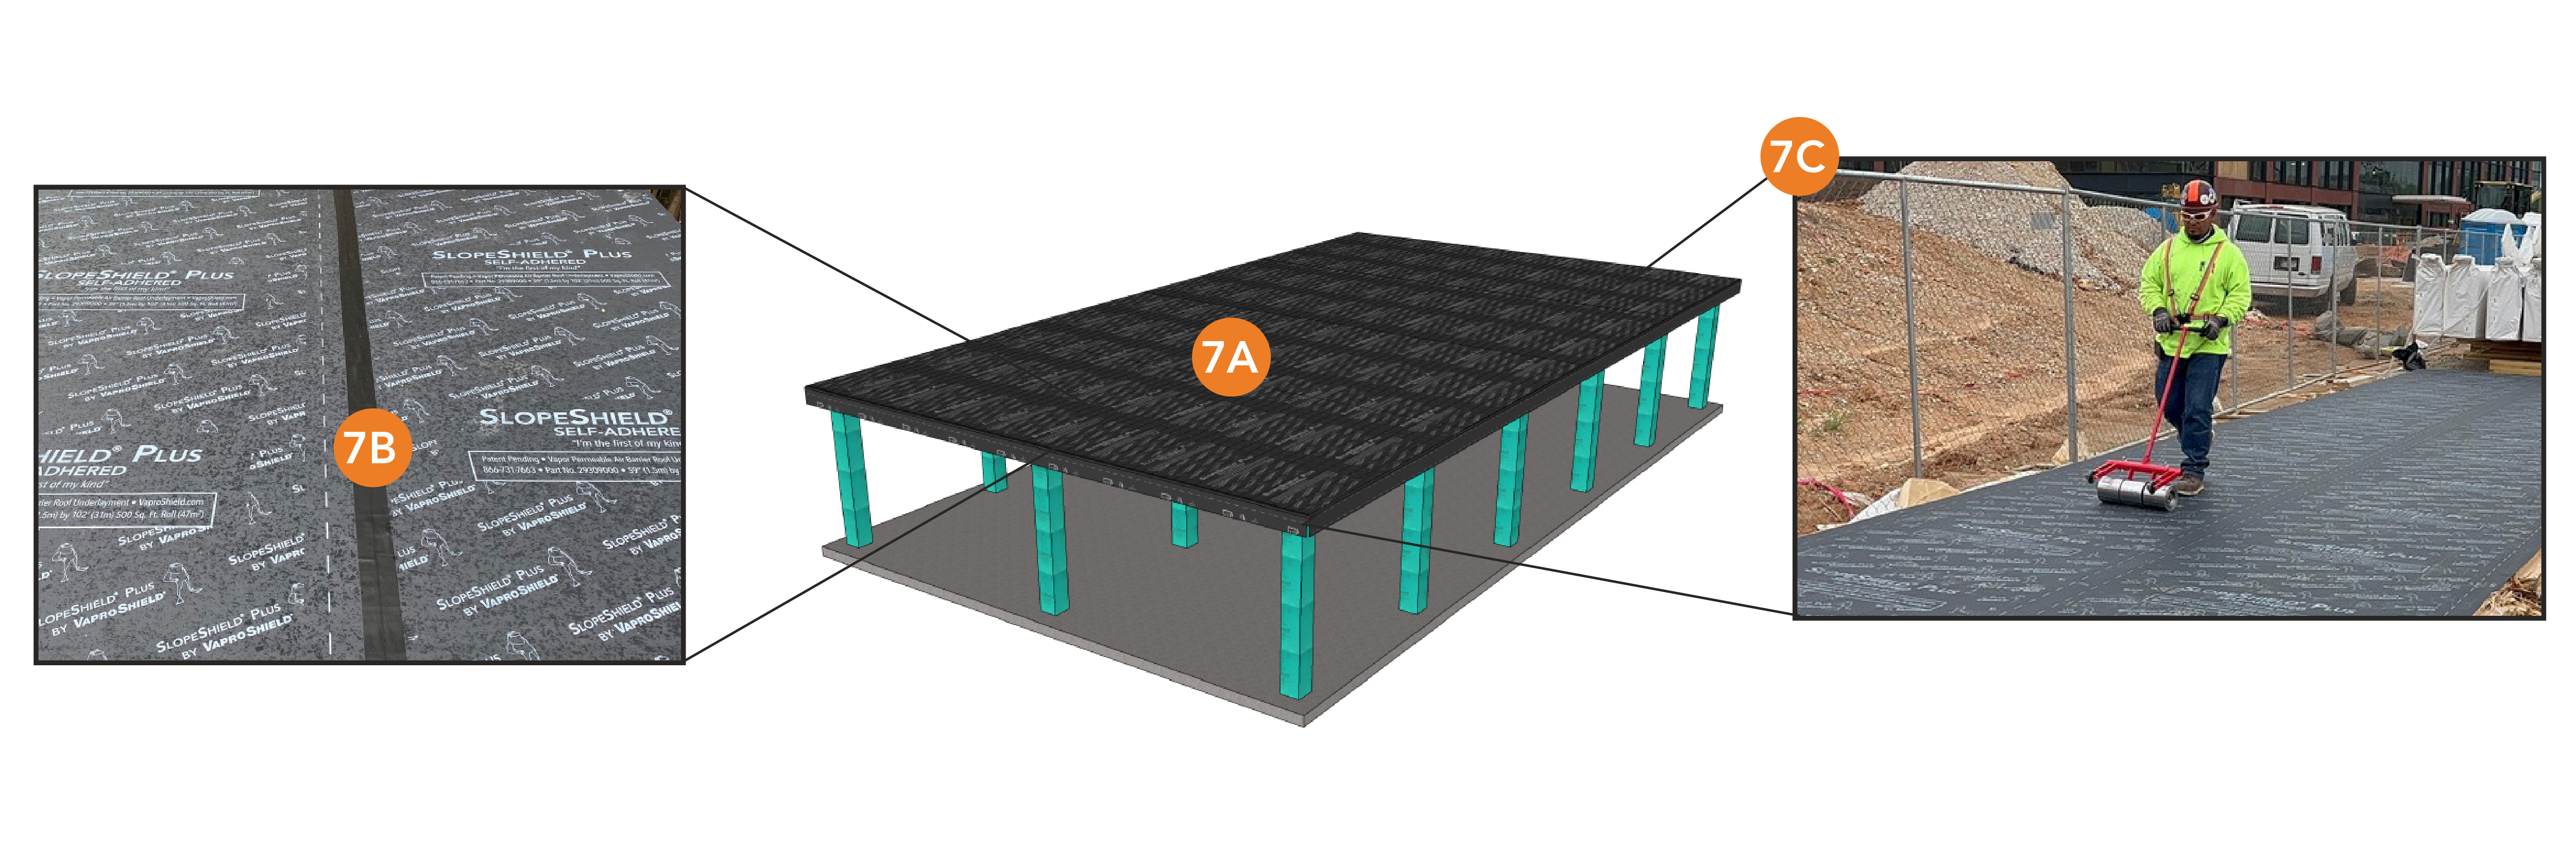 |
|
|
CAUTION: Release liners are slippery. To prevent injury, liner should be removed from under foot as soon as membrane is installed and disposed of properly. |
|
 |
|
| 8A. Protect end grains from damage and facilitate rapid water removal. 8B. Using a roll of 19" SlopeFlashing slit the release film approx. 6" from the top. 8C. Adhere 3" of the flashing over the SlopeShield Plus SA on the deck. Adhere the remaining 3" onto the end grain. Allow the remaining flashing roll, with the release film on the back, to hang down. 8D. Apply VaproTape over the flashing seam. NOTE: Taping over lap edges in field may be omitted where slope is greater than 2:12. 8E. In high wind areas install nailing strip or termination bar for added wind protection |
|
 |
|
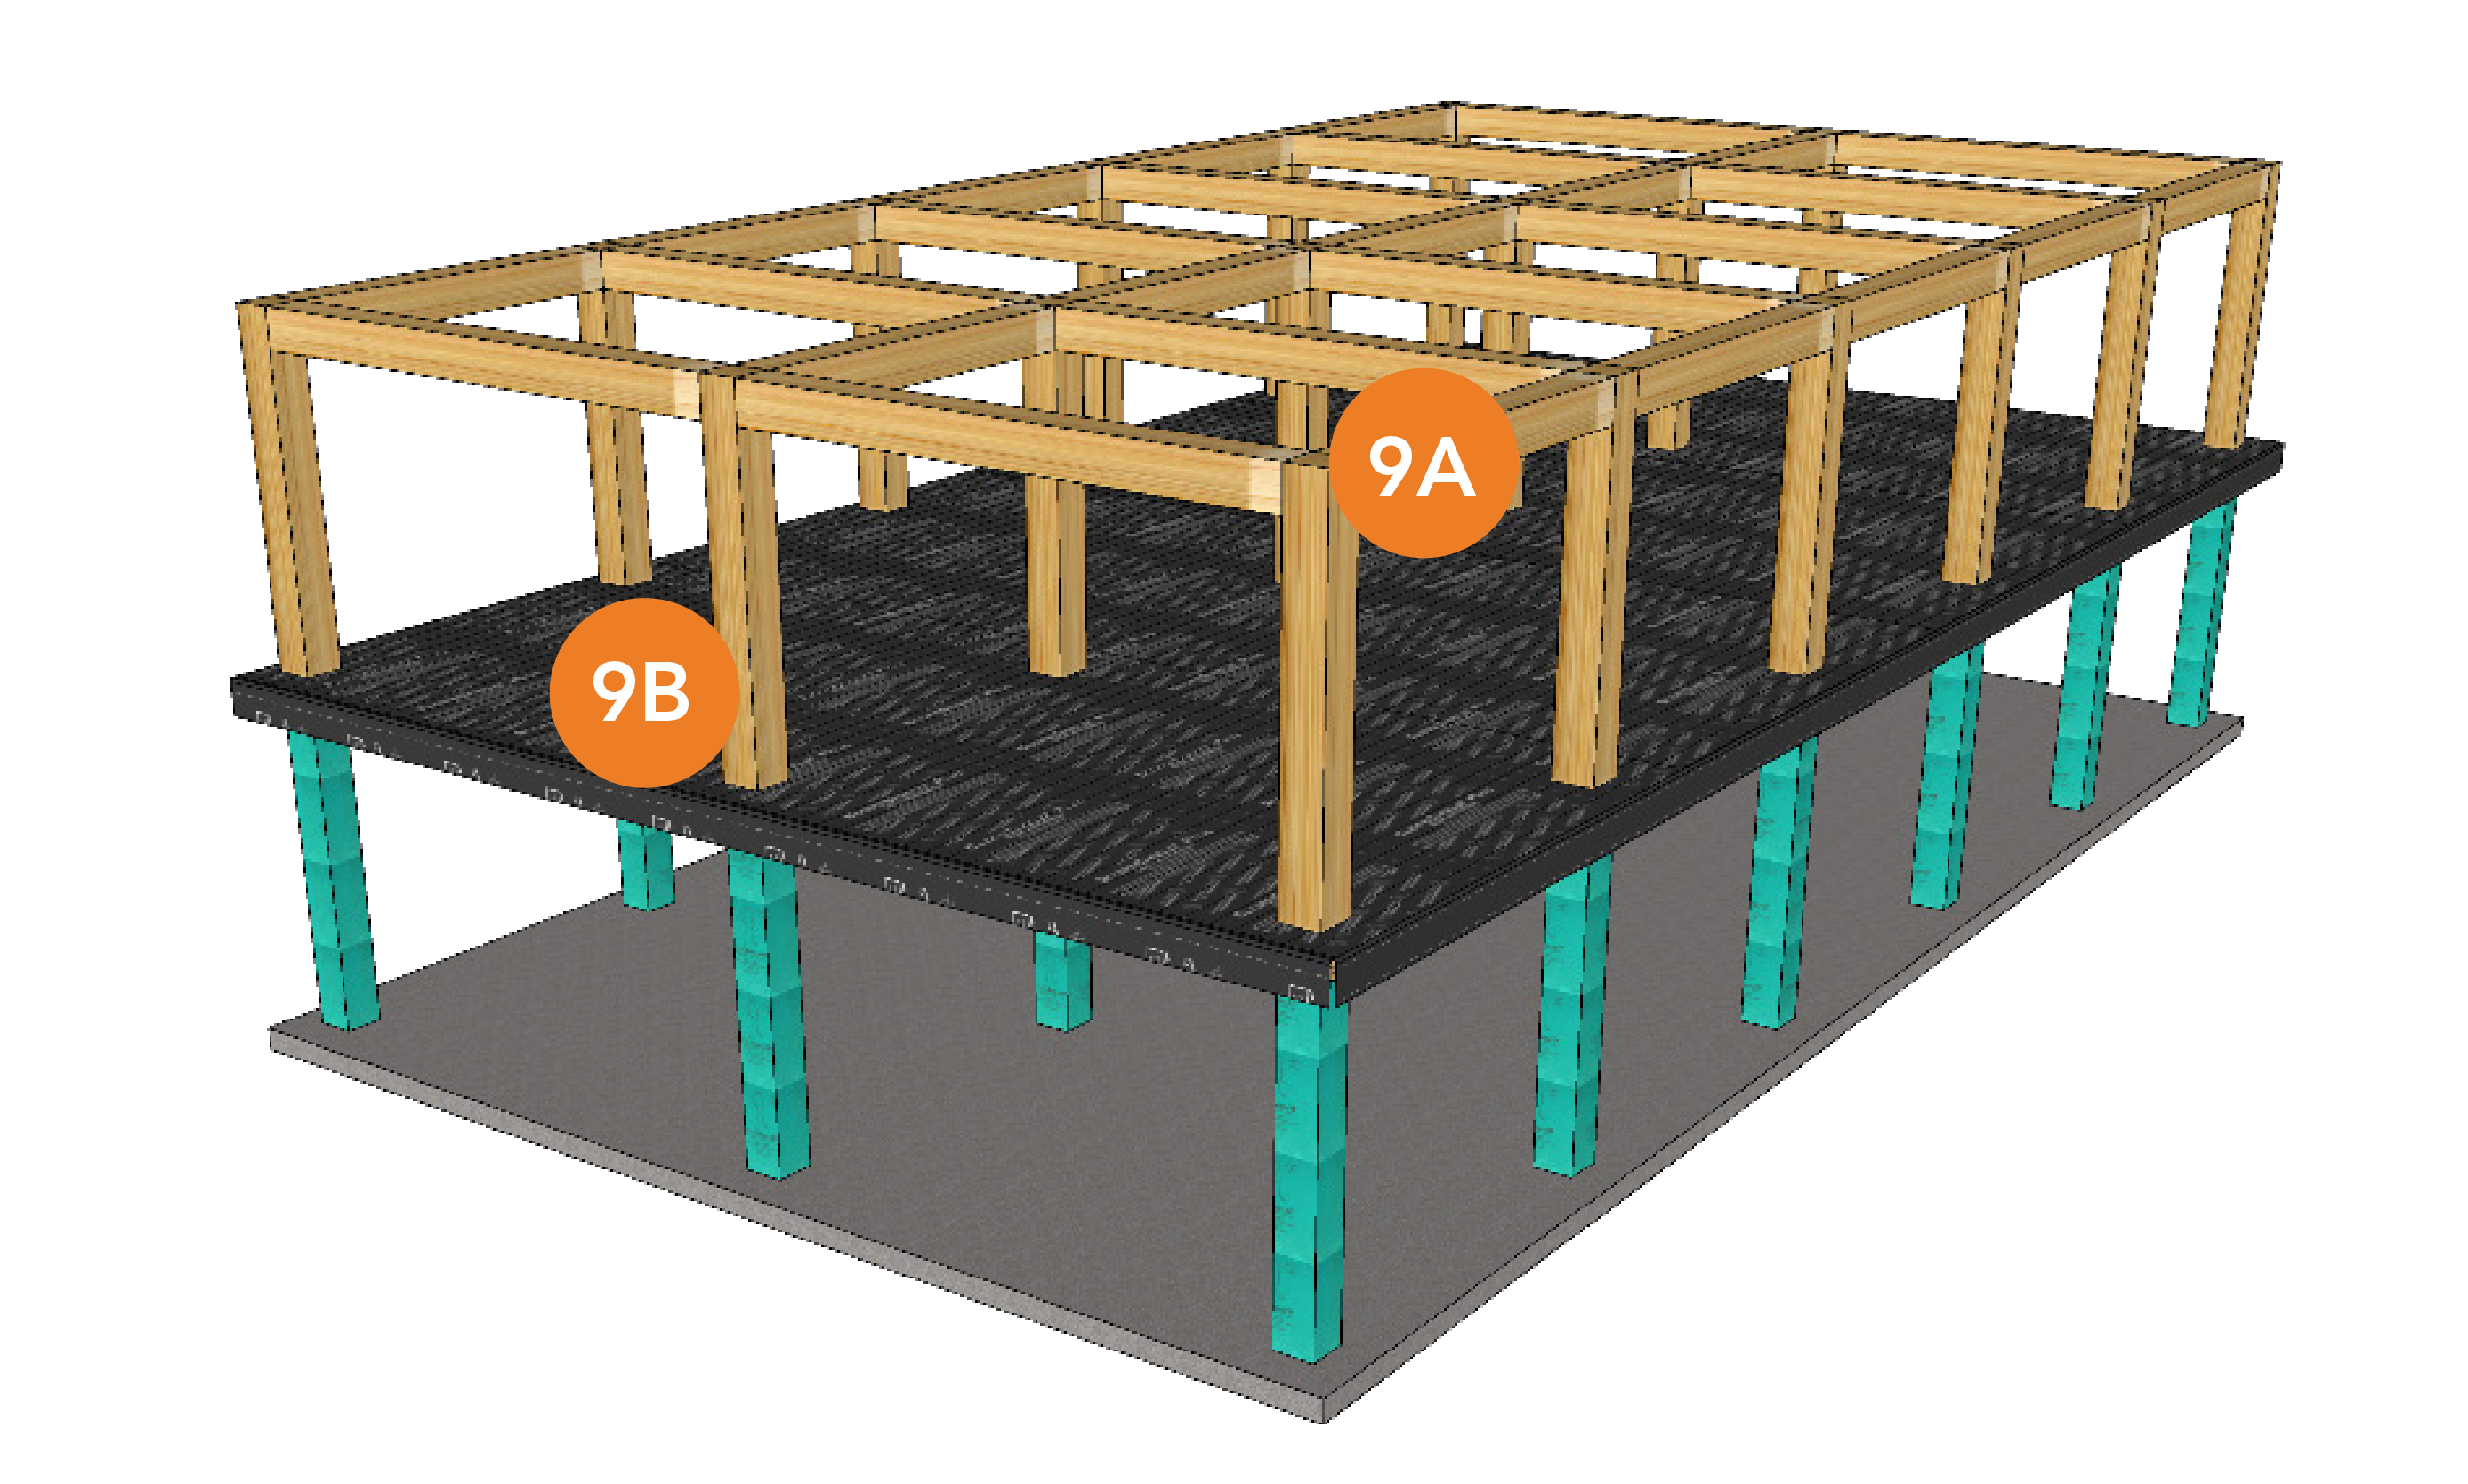
| 9A. Install the next level of post/columns and beams. 9B. Protect EACH column base using the steps outlined above. |
|
 |
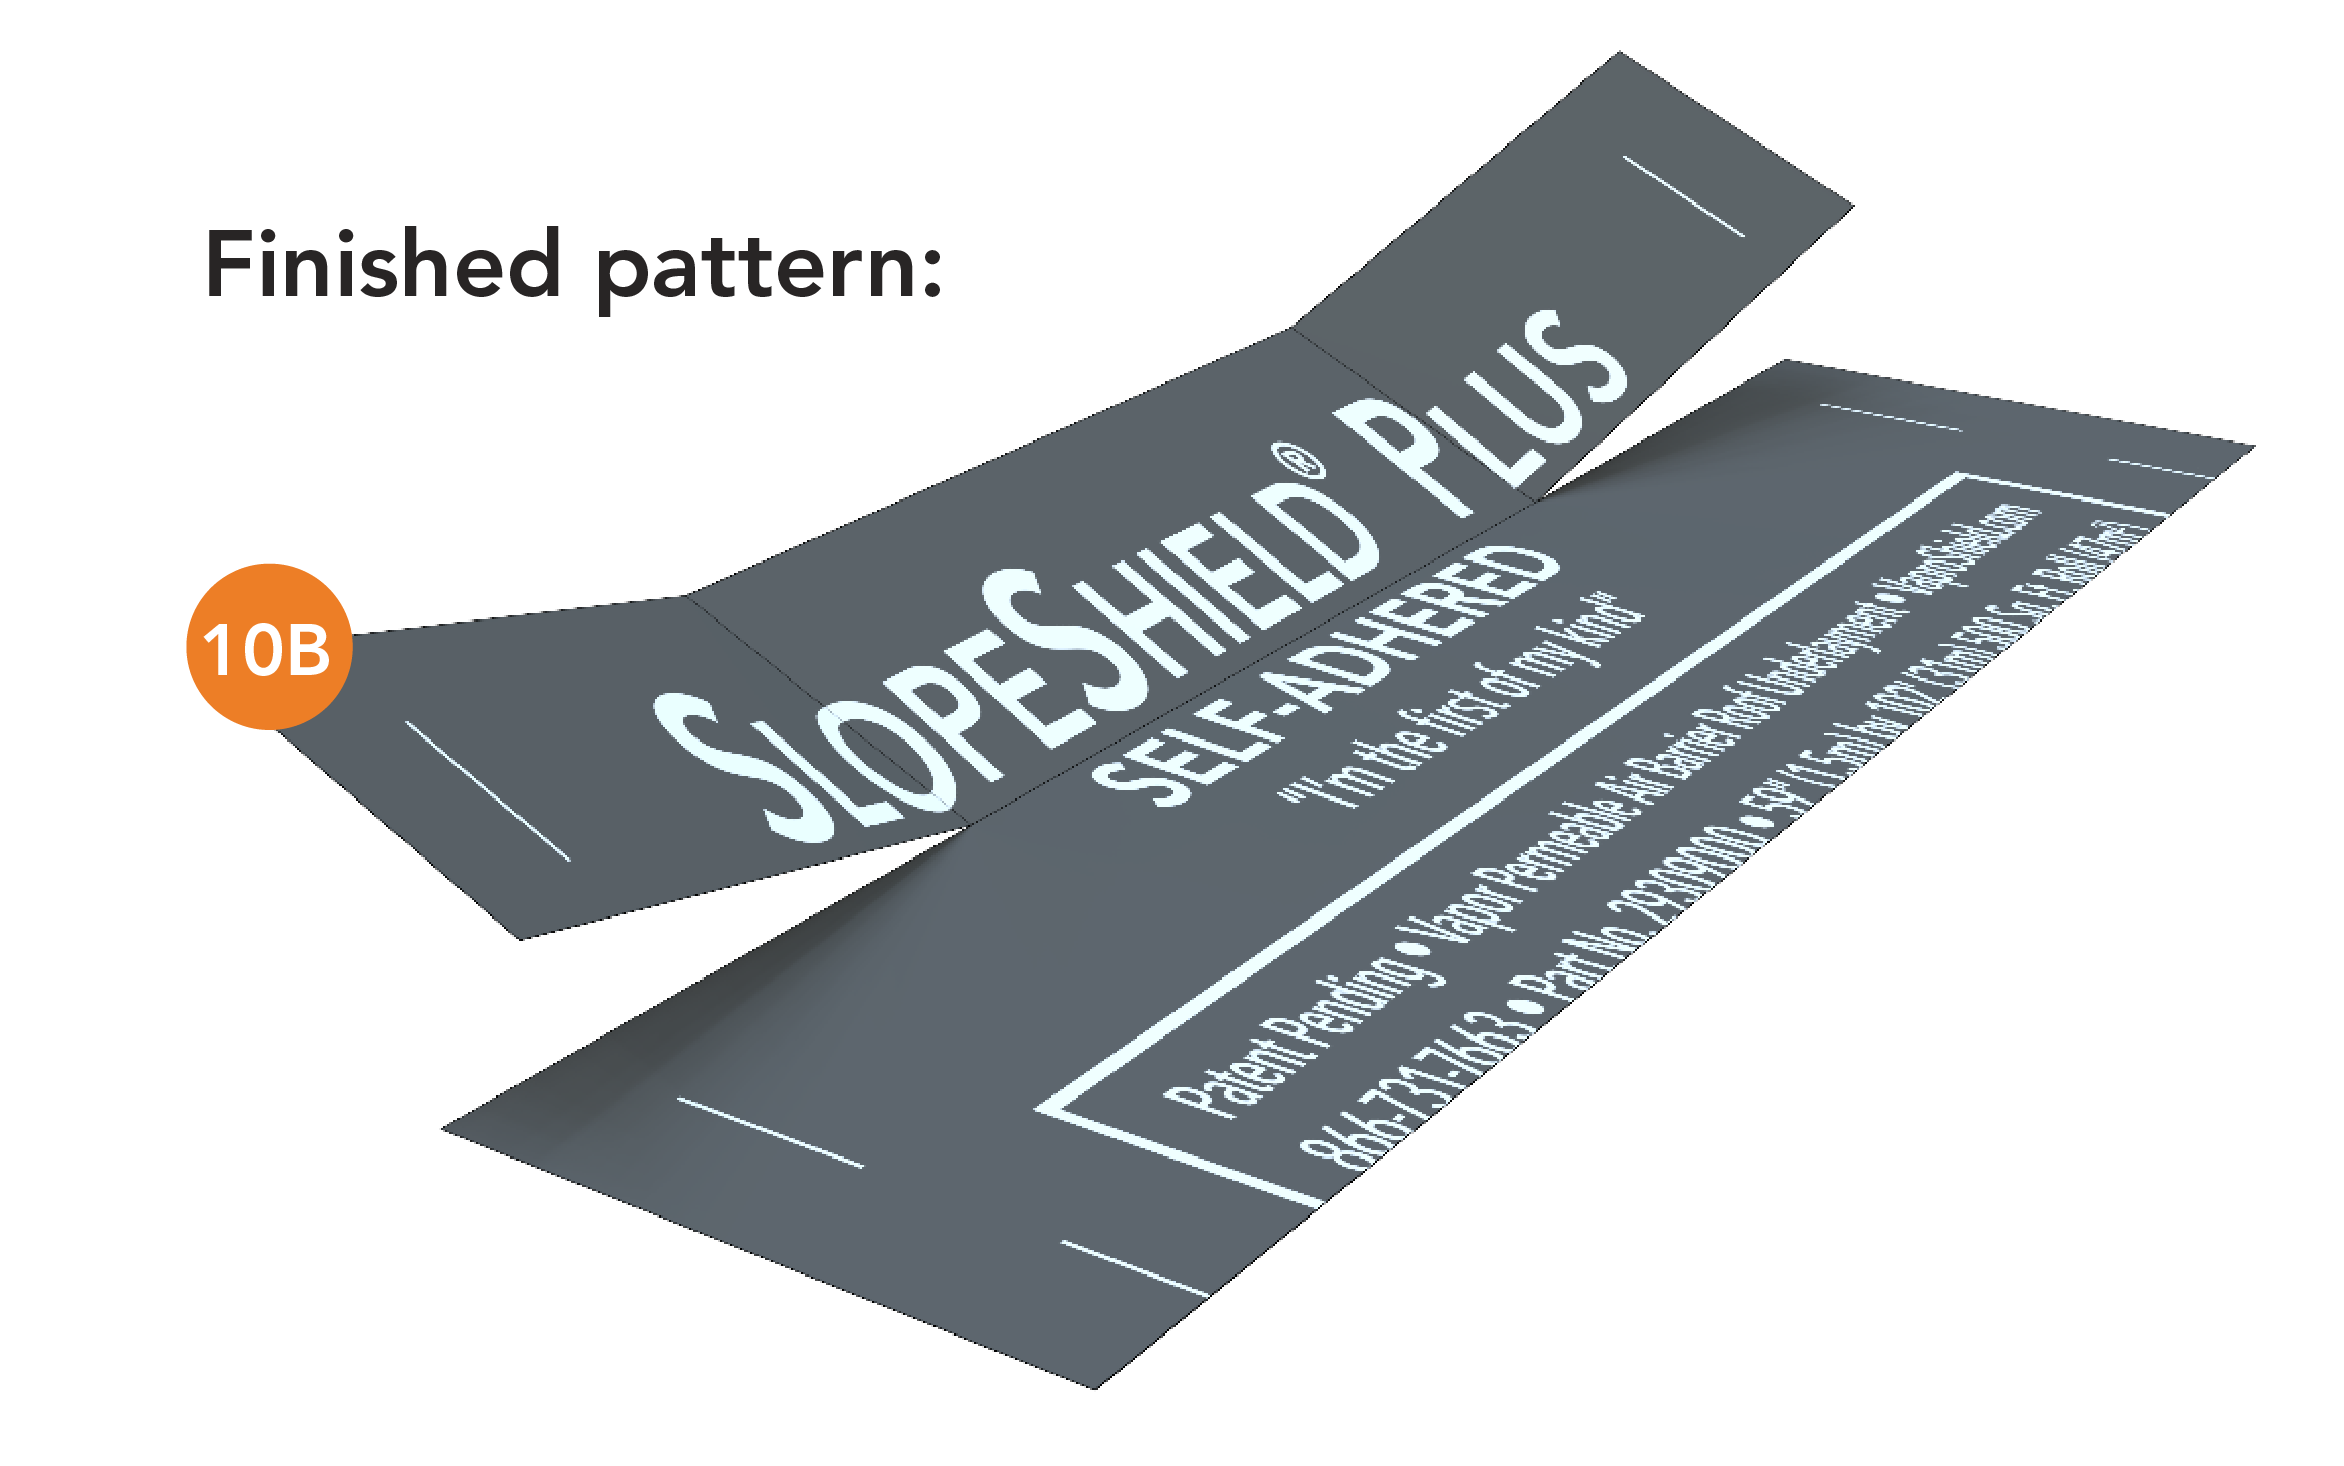 |
| 10A. Using a piece of membrane or flashing, cut 4ea. according to pattern and onsite dimensions. 10B. Do NOT remove the release film during the cut process. |
|
 |
 |
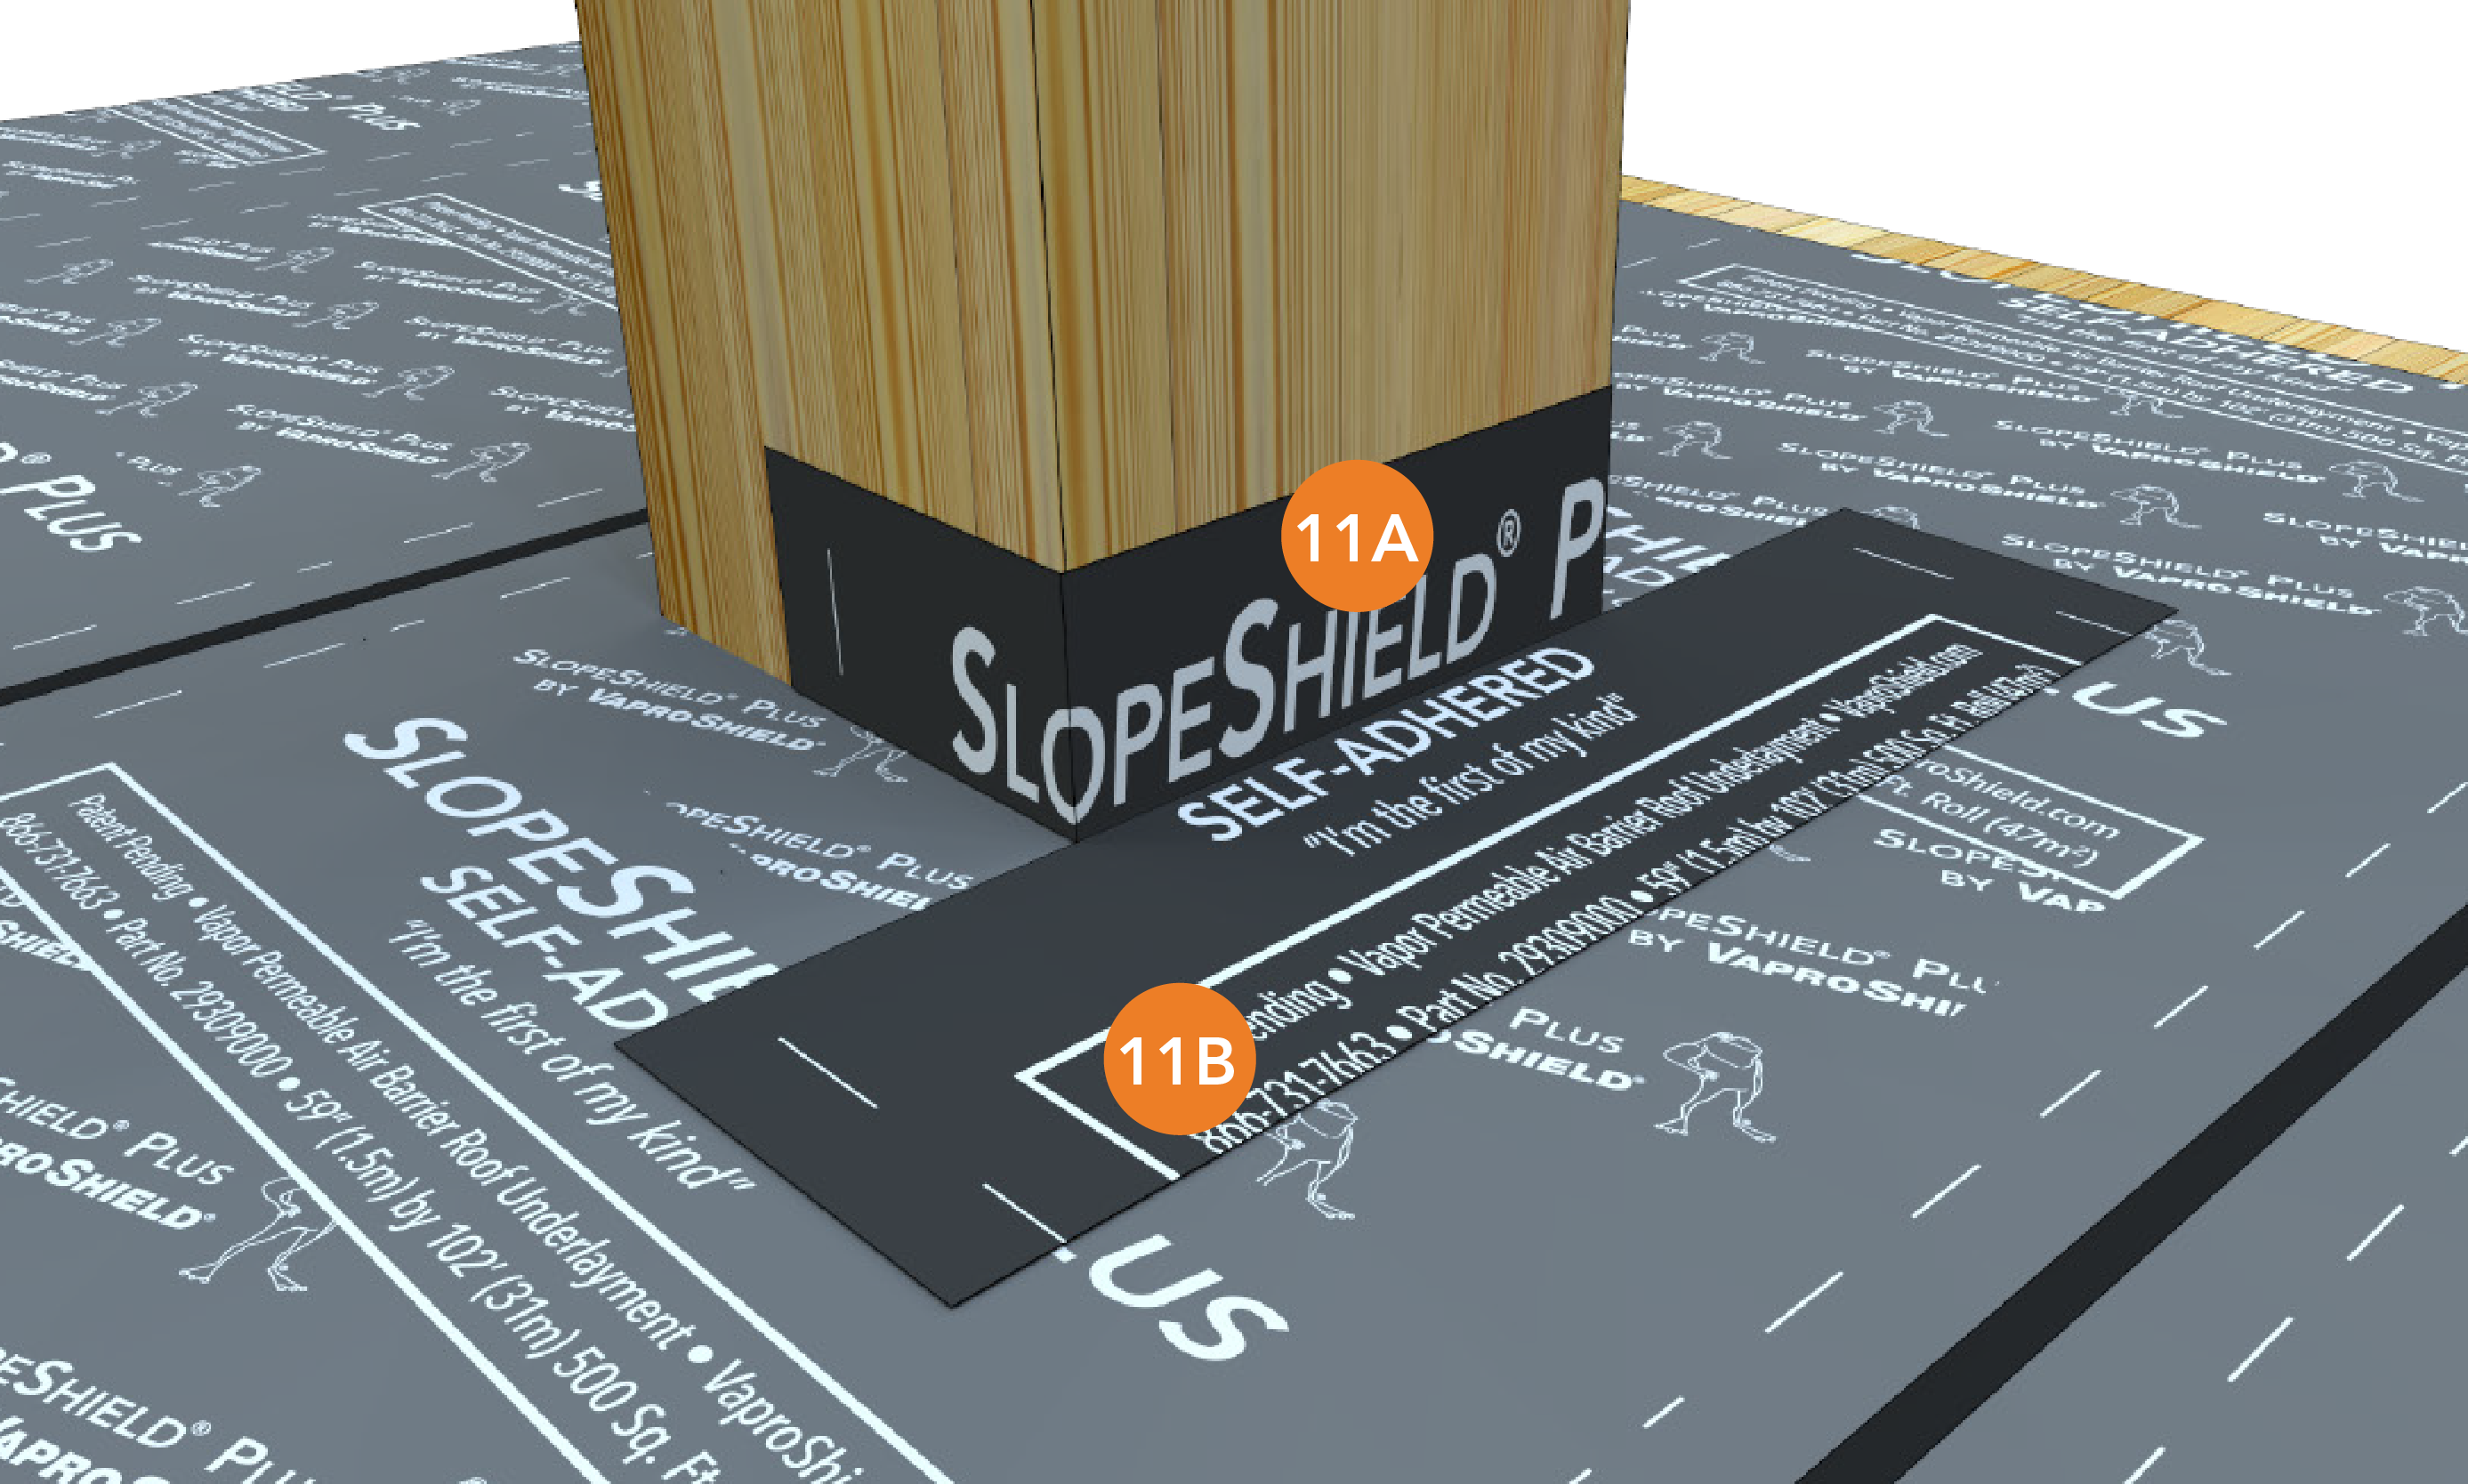
| 11A. Adhere against the post and the side of the posts. 11B. Smooth remaining part of membrane over the floor/deck. |
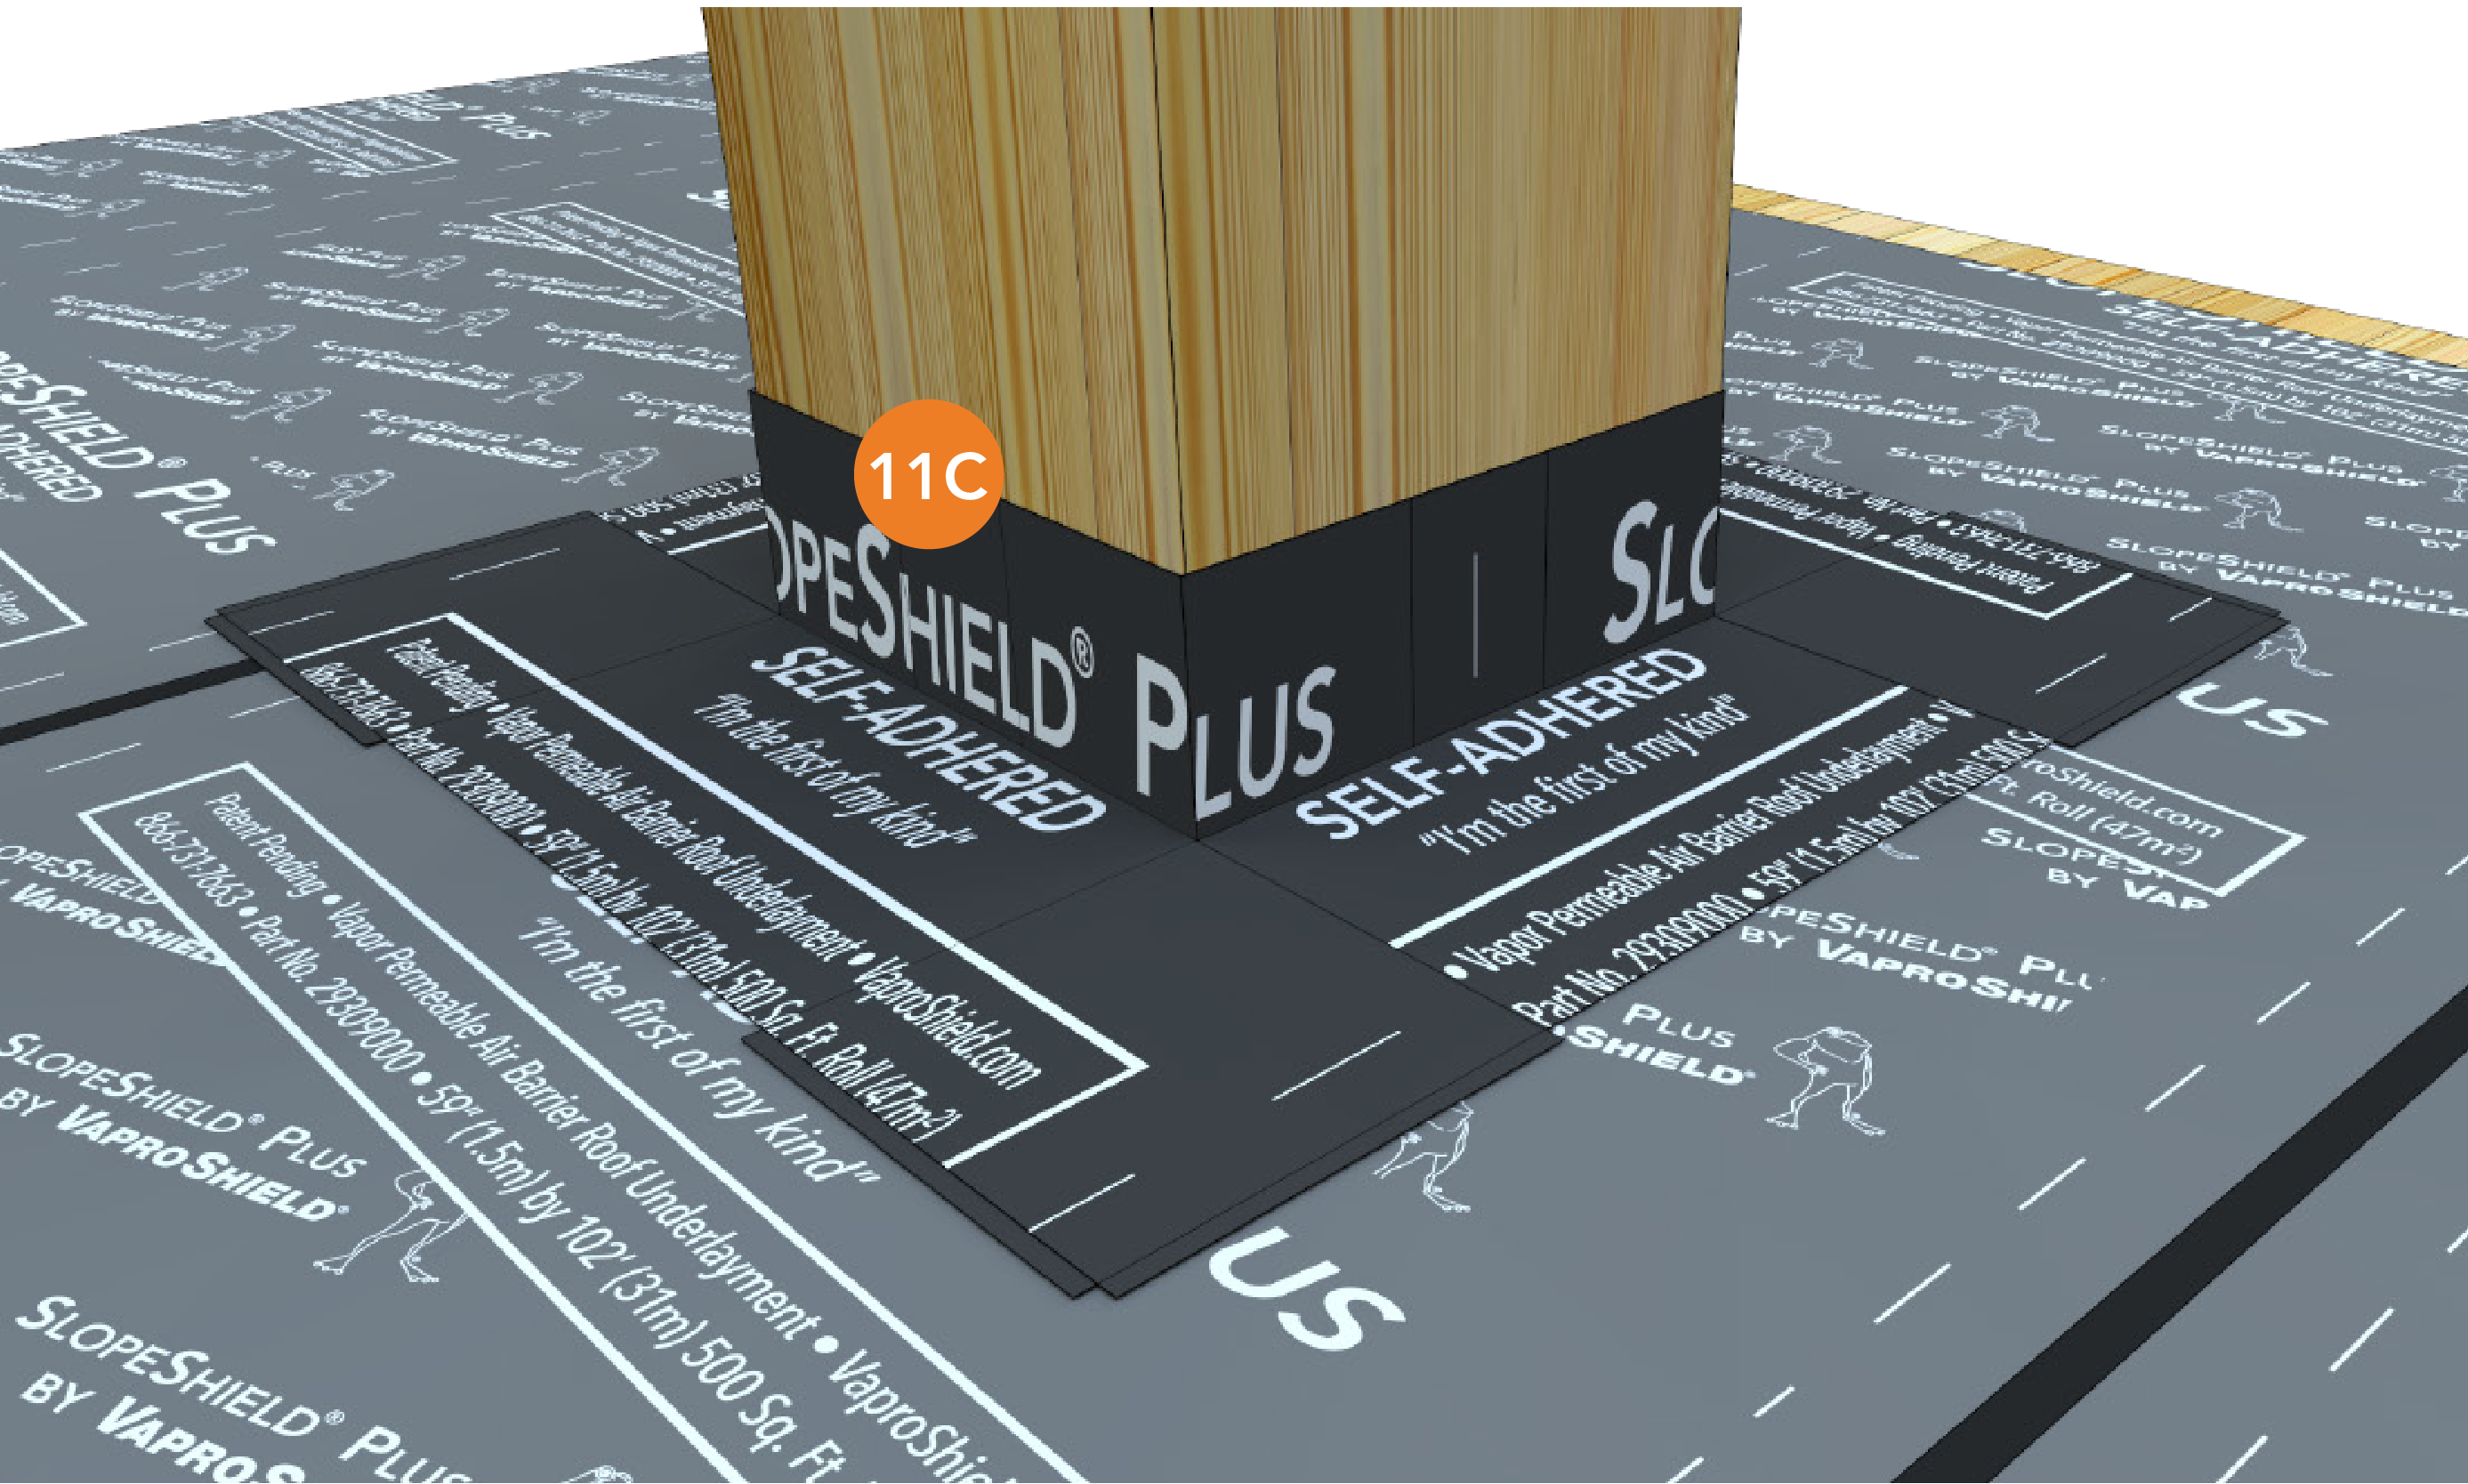
11C. Continue this process around the post. |
 |
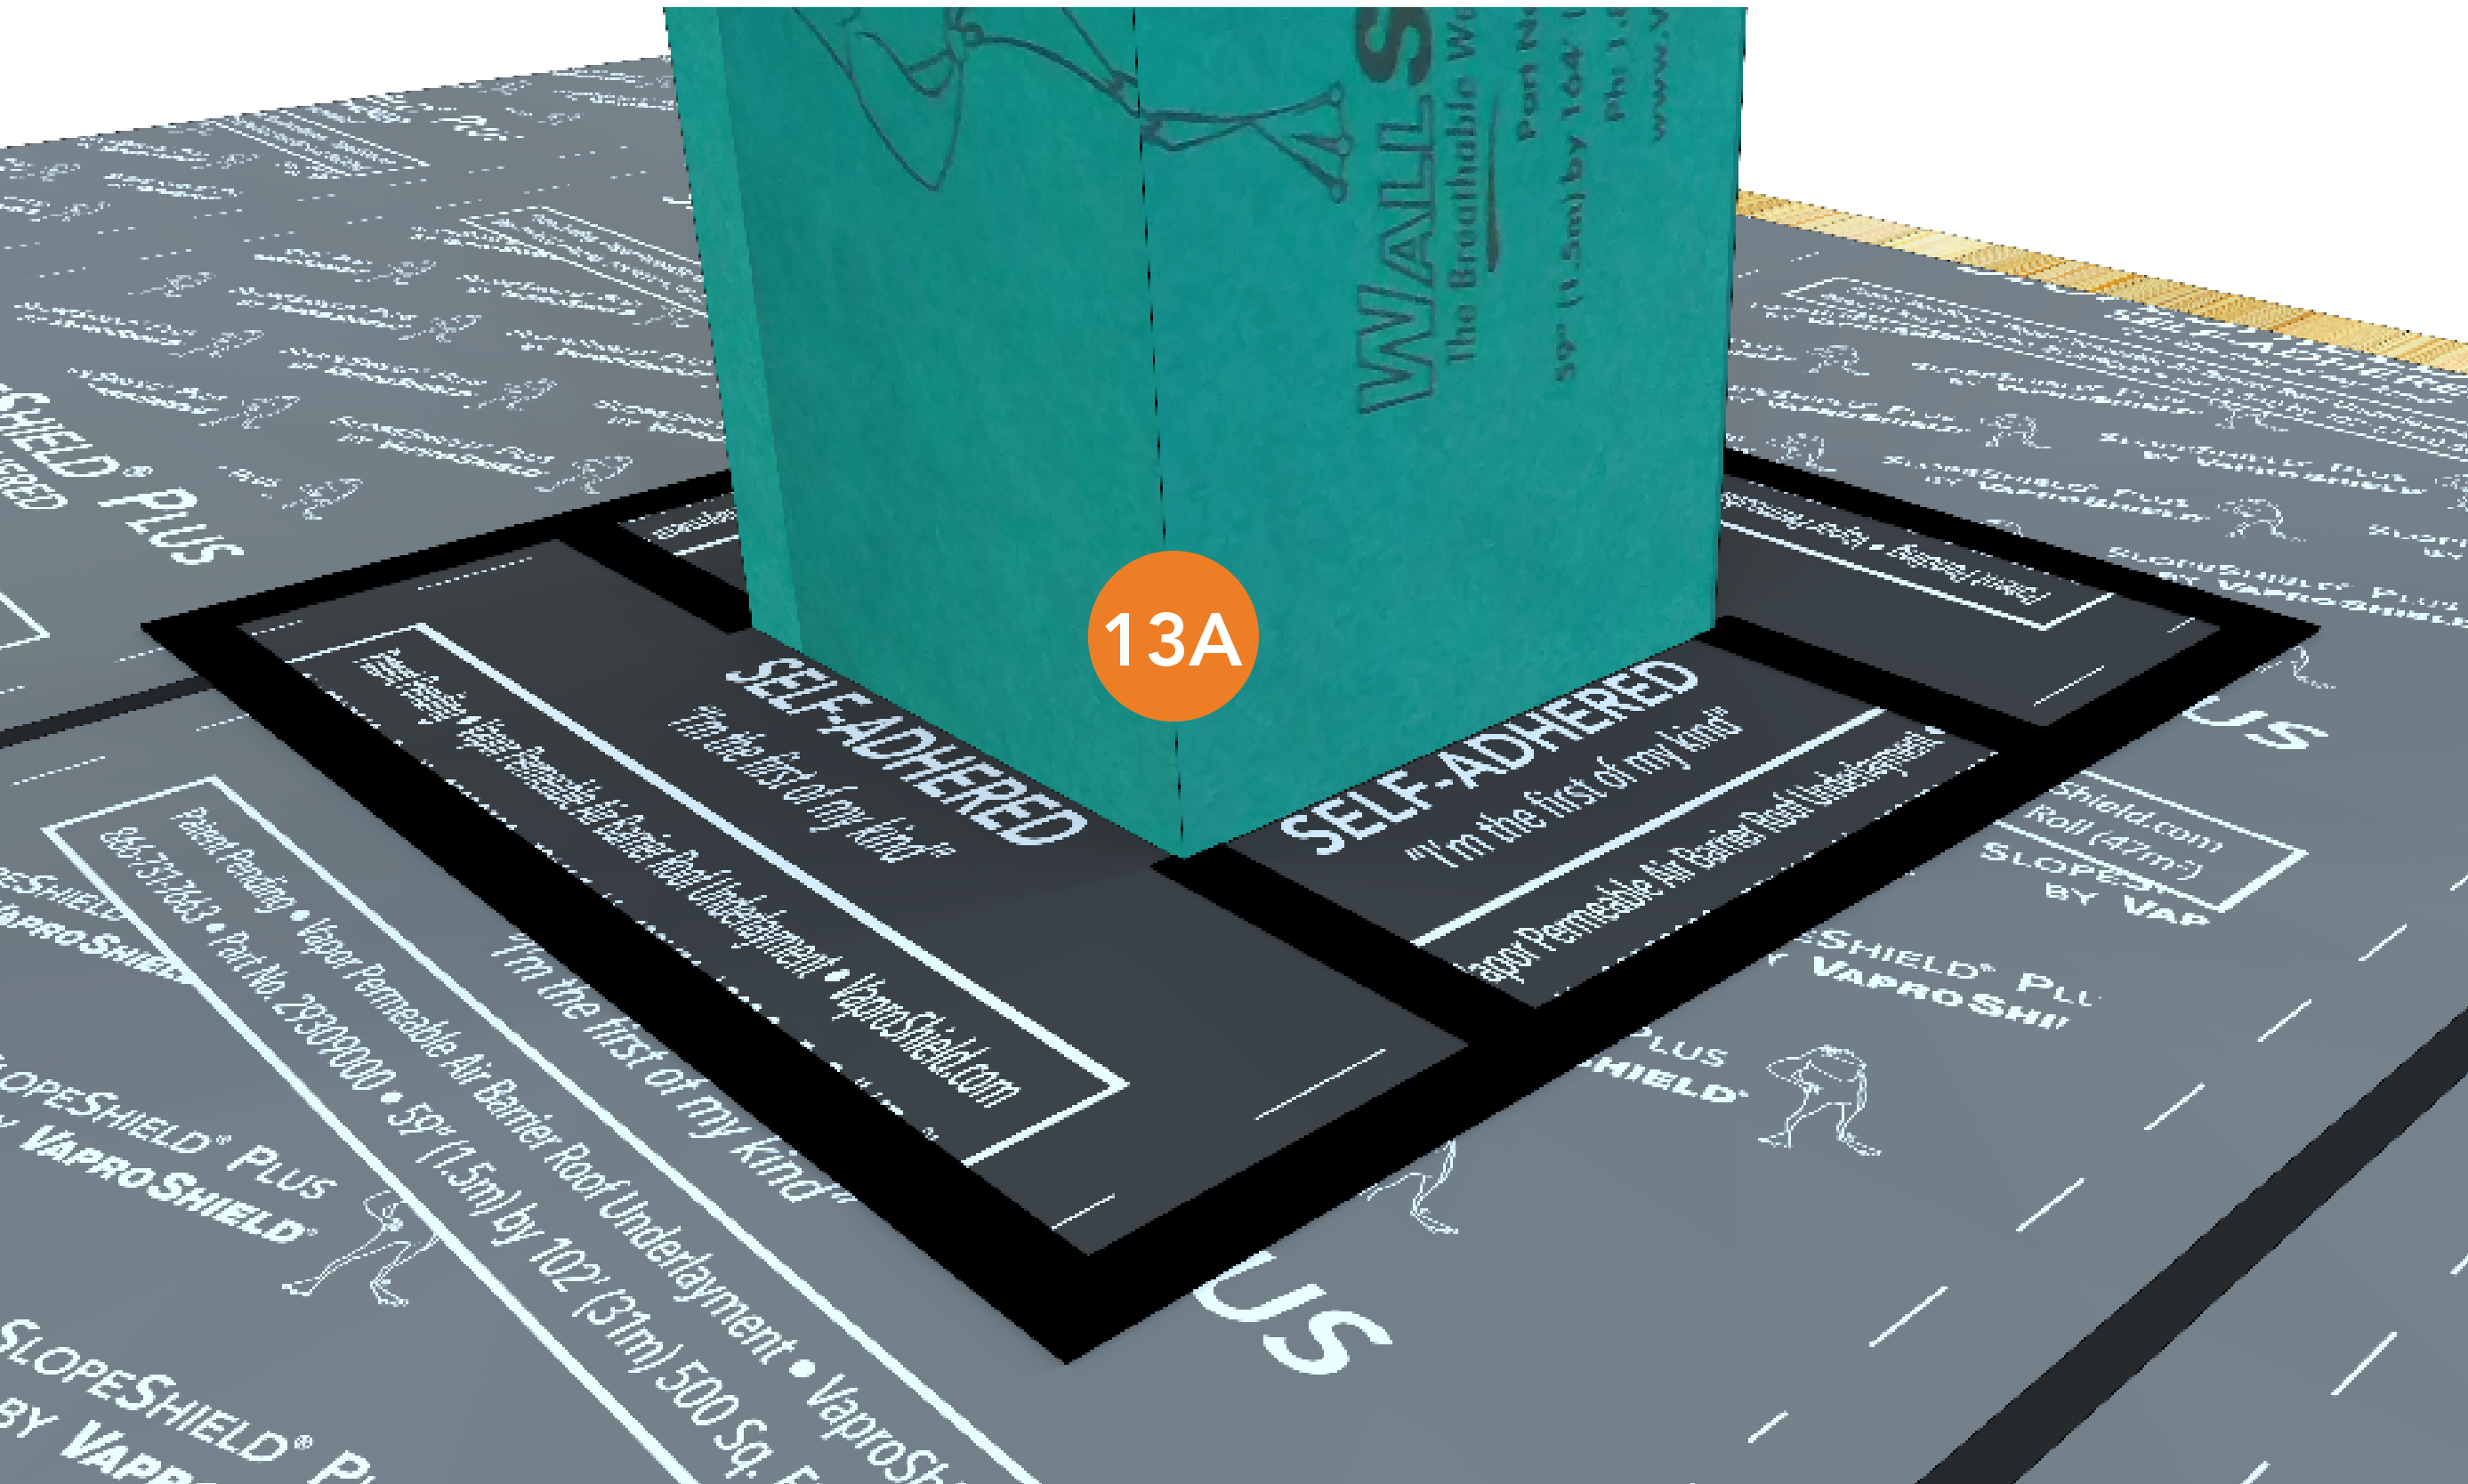 |
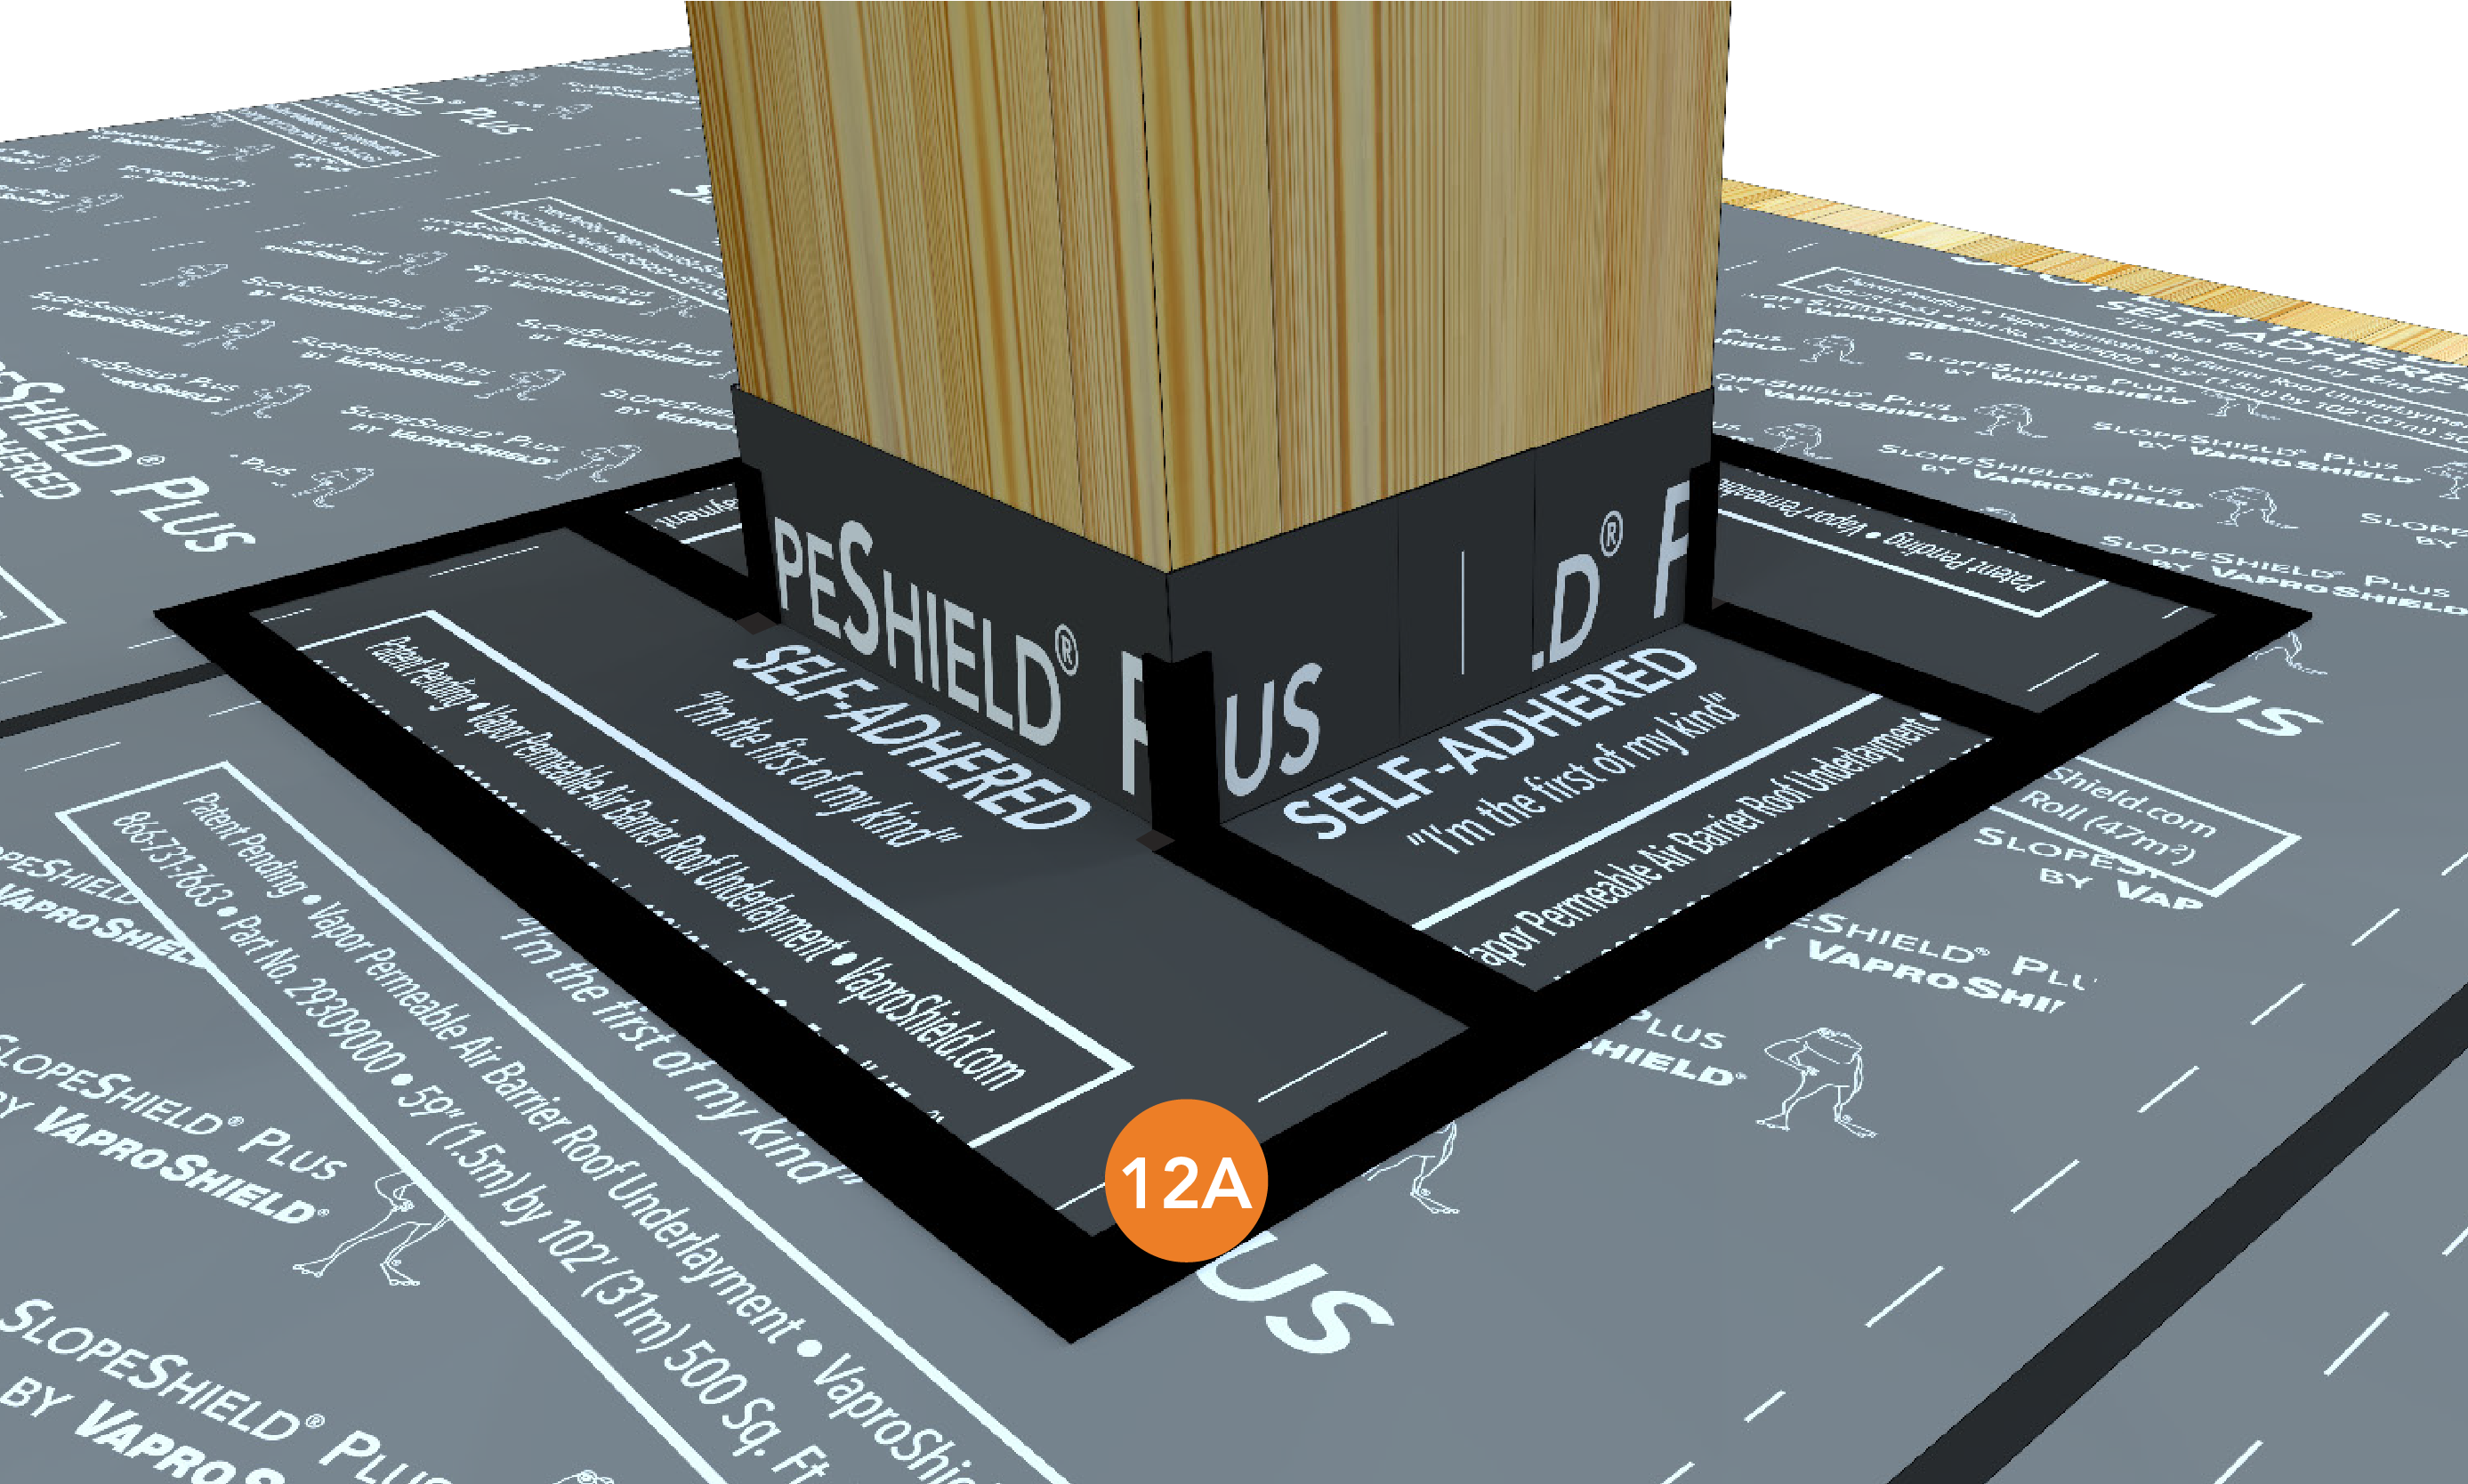
| 12A. Apply VaproTape over all seams and edges of SlopeShield Plus SA. | 13A. Install WallShield IT over post protection to optimize mass timber protection. |


