


Installation Instructions (PDF)
Tools
 |
 |
 |
 |
 |
|
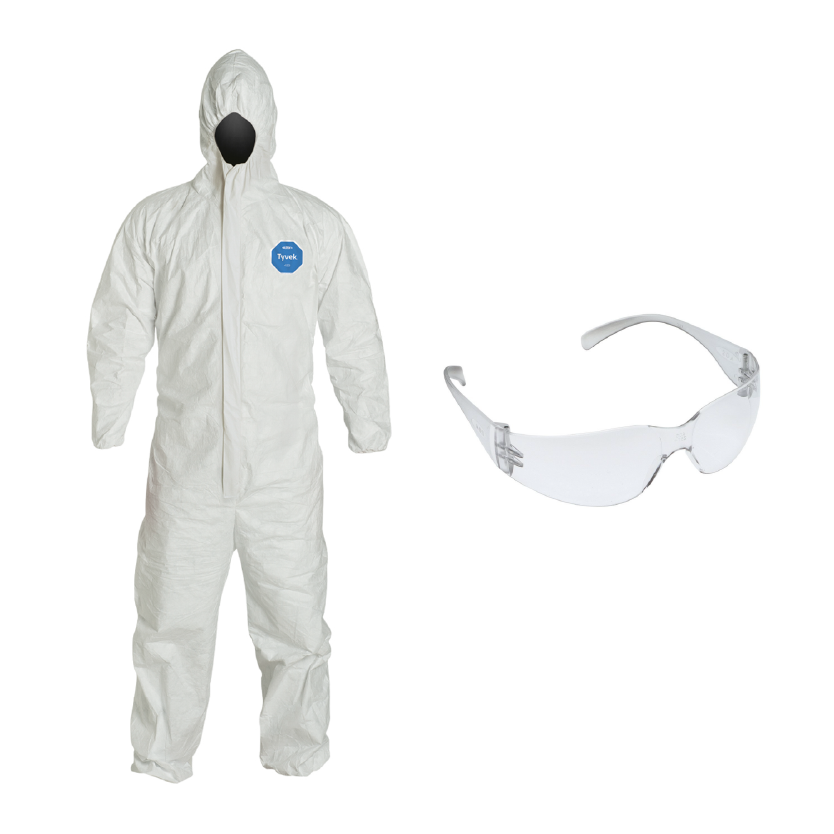
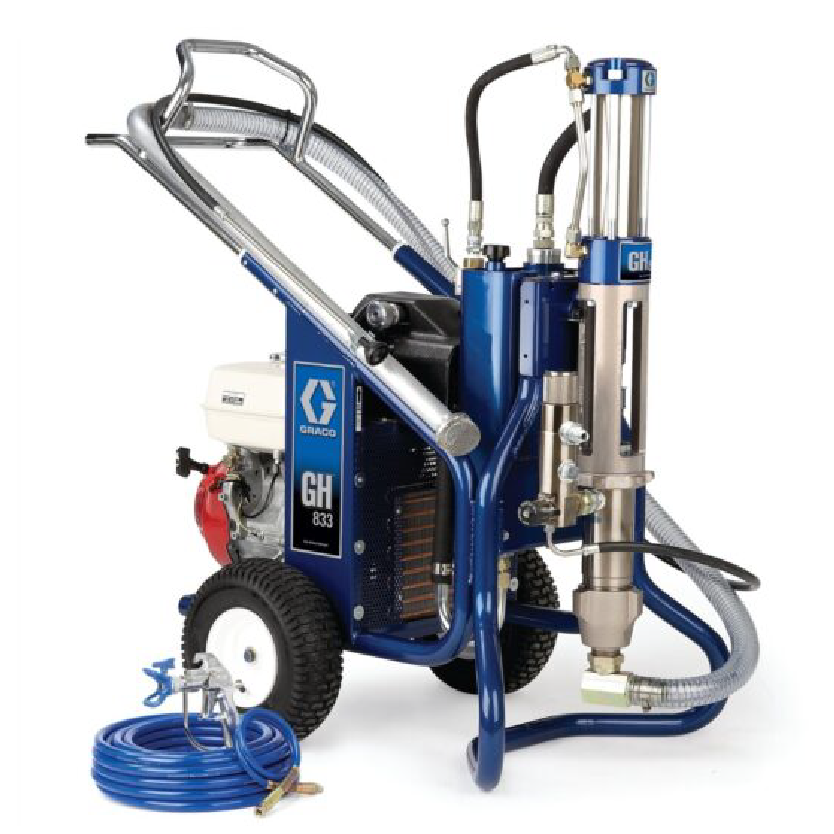
| PPE (as required by local jurisdiction) | Spray Application: Professional airless spray equipment producing 4000 psi at the gun |
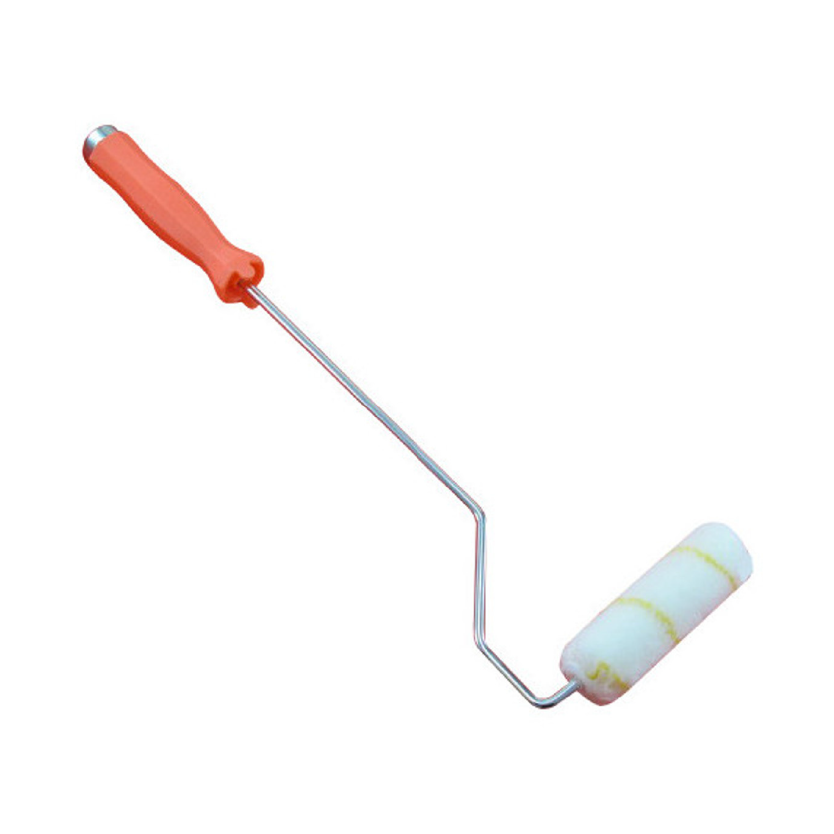
Roller Application: Standard 3/8-inch nap roller |
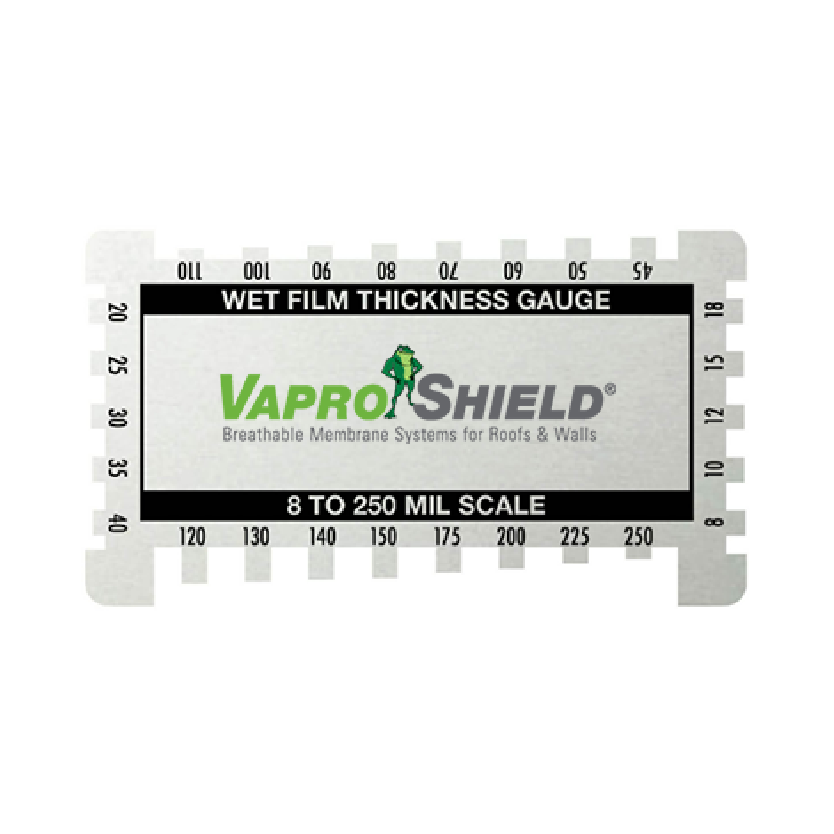
Detail Work: brush, trowel, or putty knife | Wet Mil Gauge |
Accessories
 |
 |
 |
 |
||
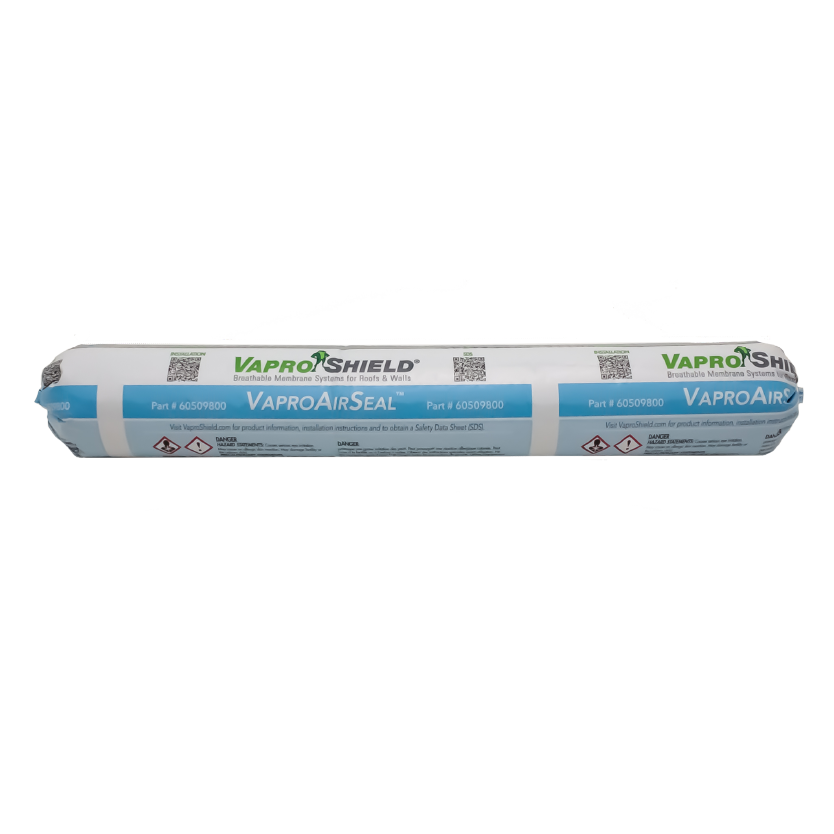
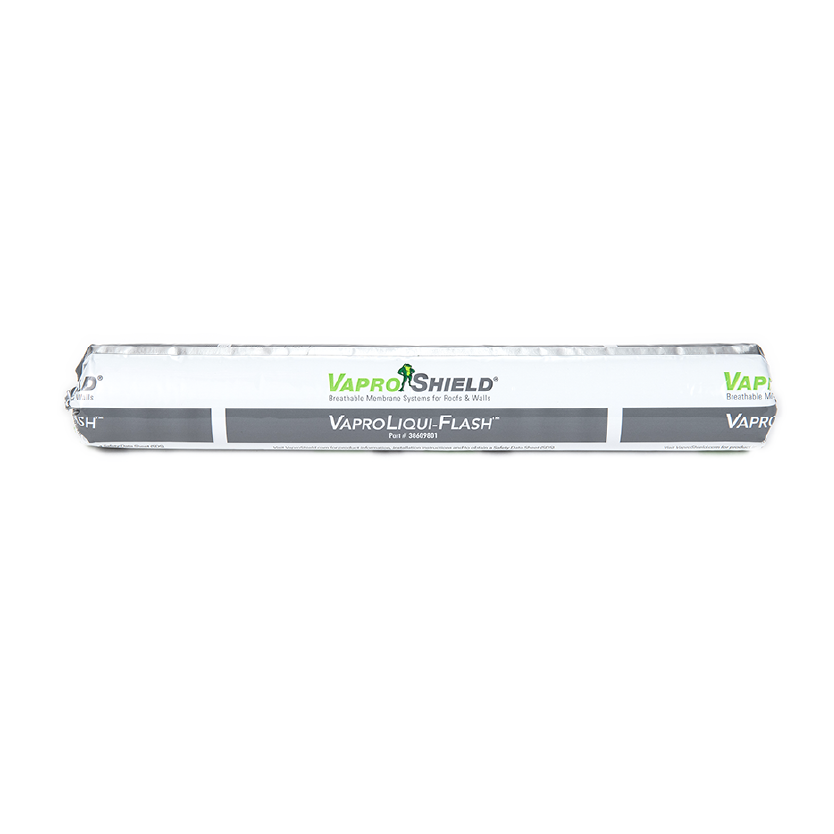
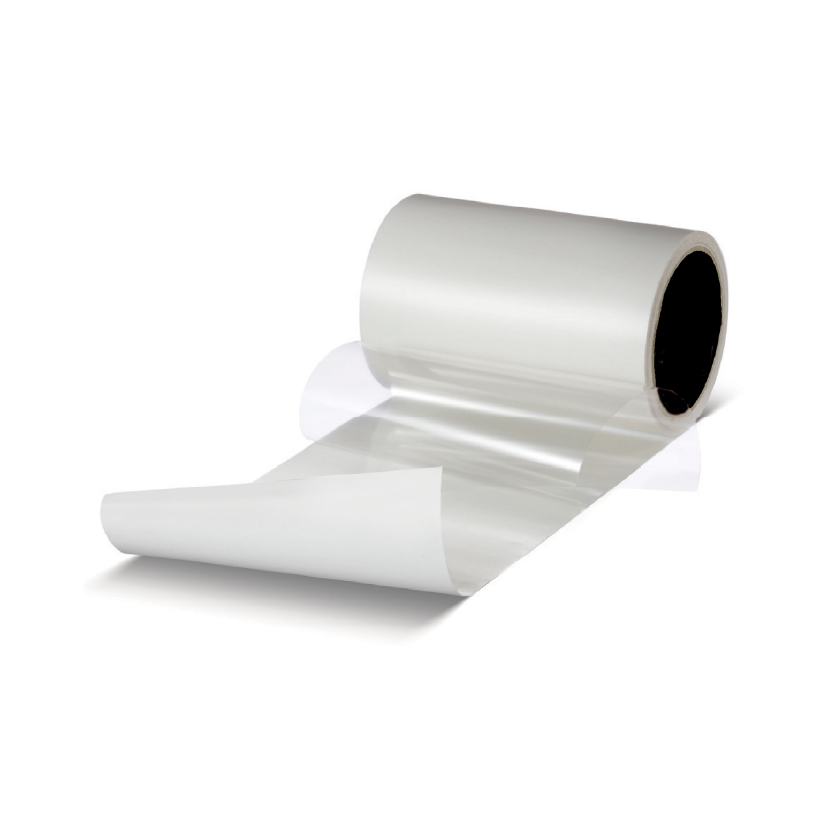
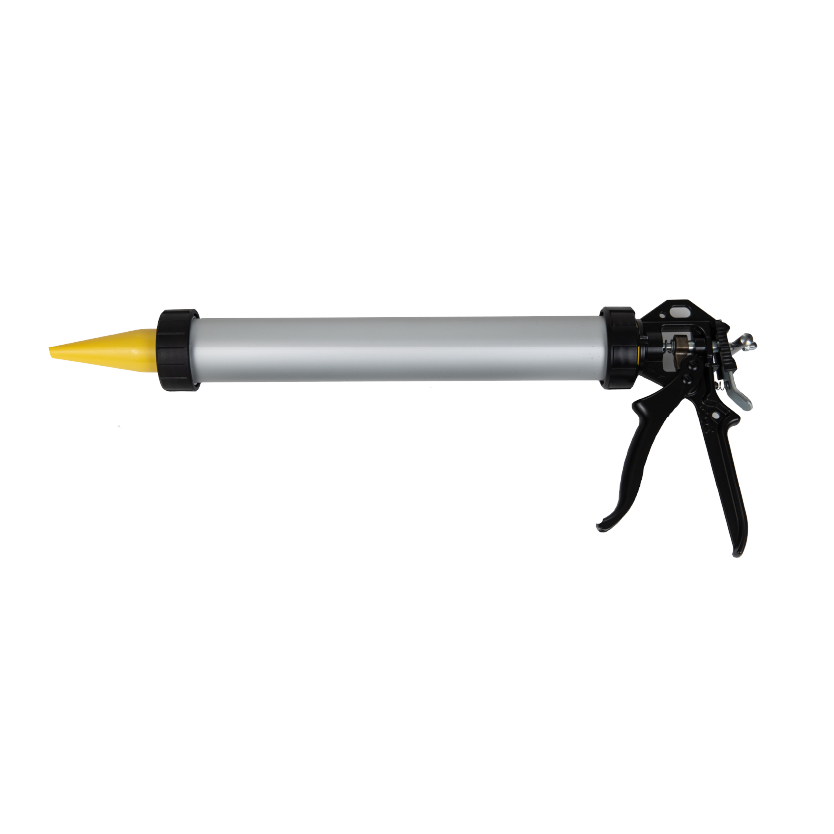
| VaproAirSeal | VaproLiqui-Flash | VaproFlashing SA | VaproShield Sausage Gun |
Compatible Substrates
 |
 |
 |
 |
 |
 |
 |
 |
 |
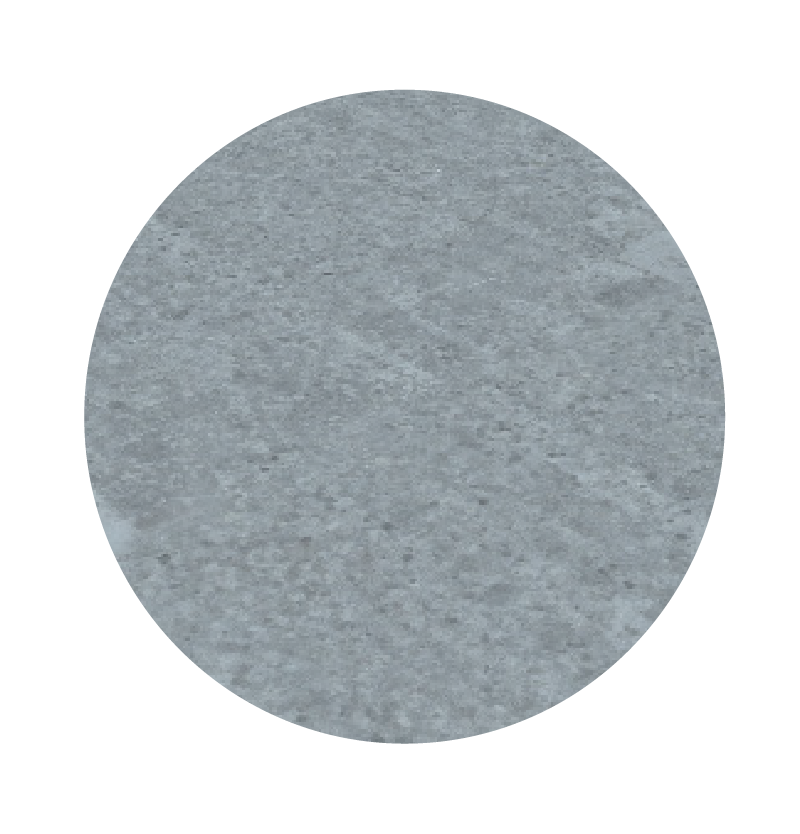
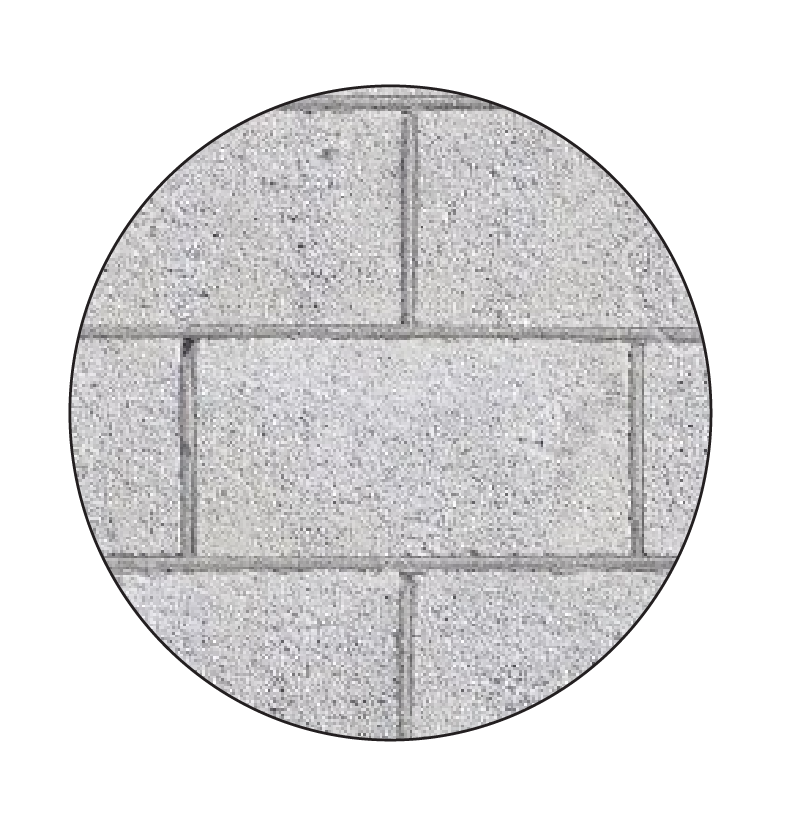
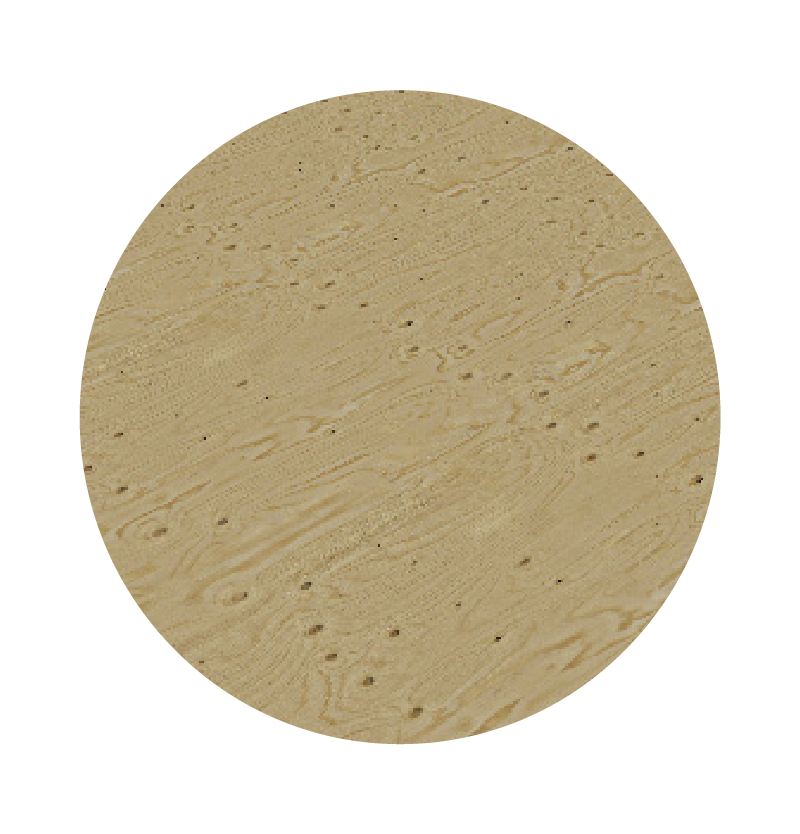
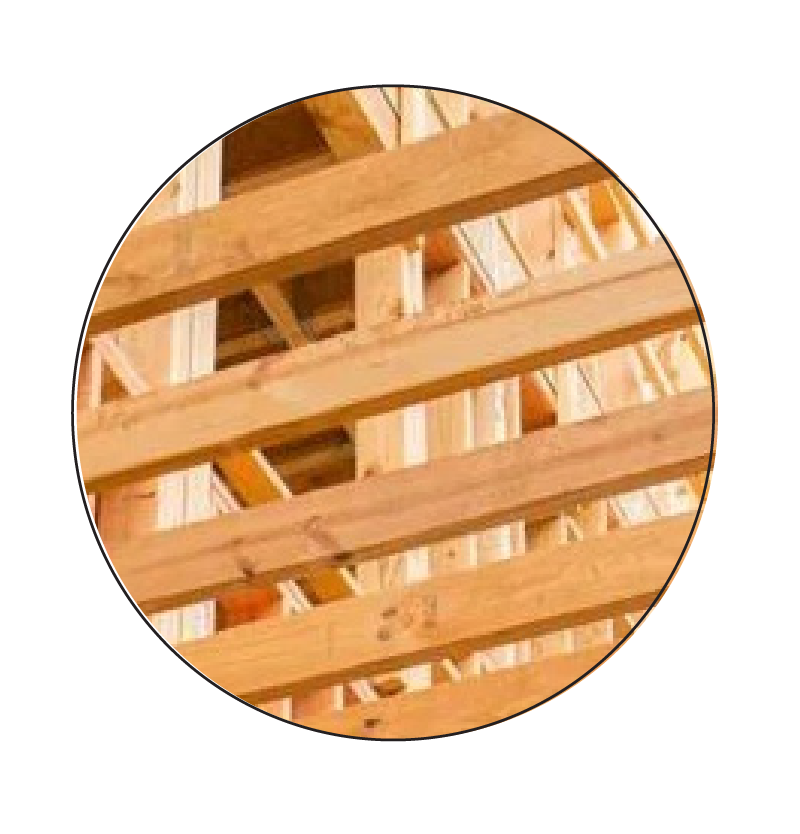
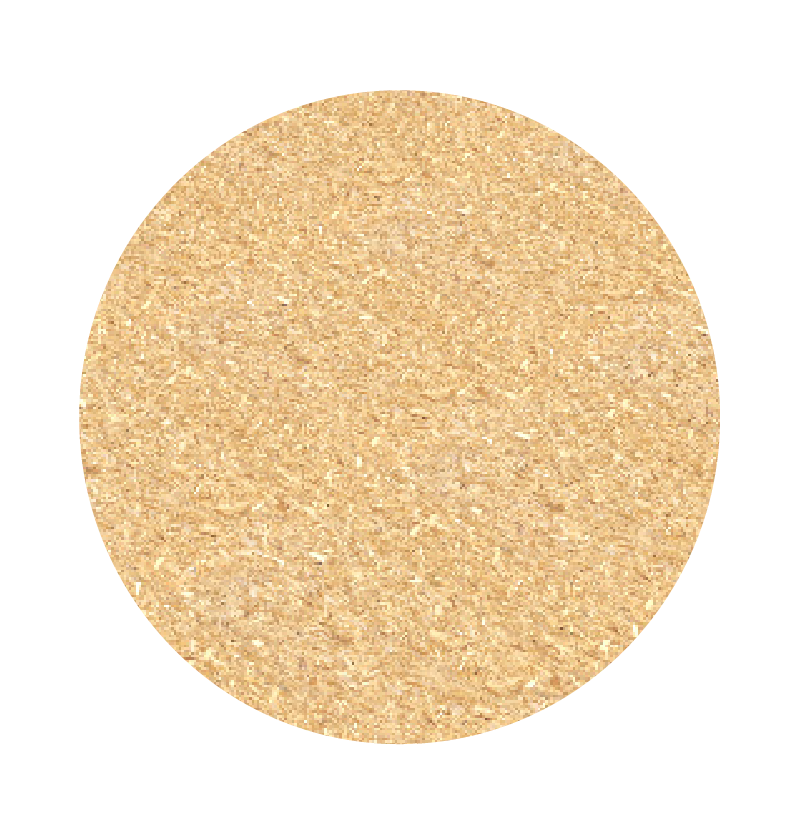
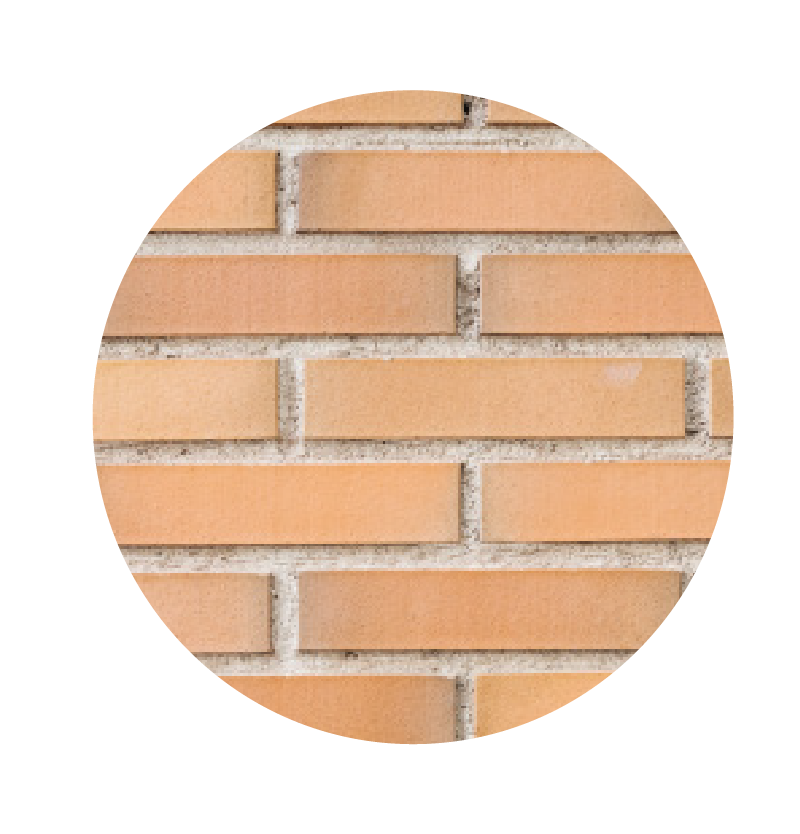
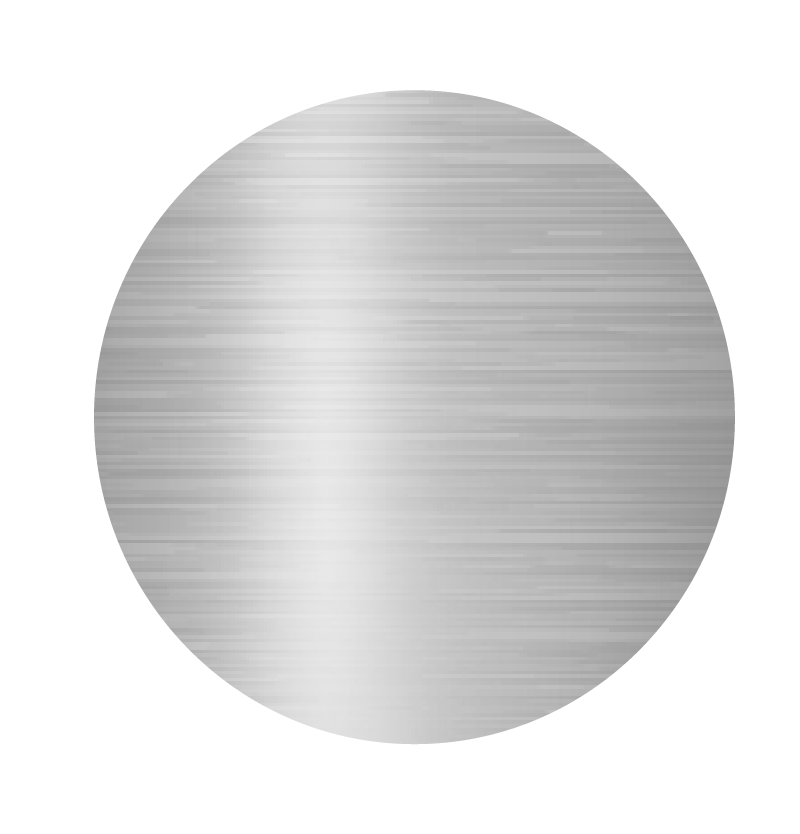
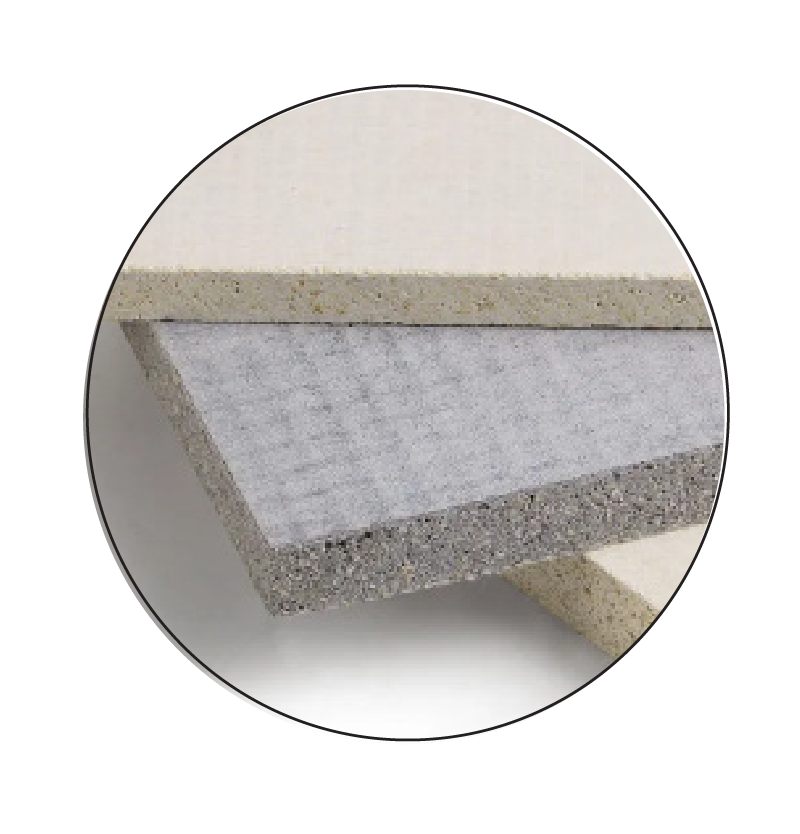
| Concrete | CMU Block | Plywood | Framing Lumber | OSB | Brick | Metal (Steel, Aluminum) |
MGO Board | Exterior Gypsum Sheathing |
Delivery, Packaging And Storage
Store VaproLiquid-Shield in a cool, dry place. Keep container tightly closed when not dispensing. Do not open container until preparation work has been completed. Do not alter or mix with other chemicals. VaproLiqui-Shield may be stored for 18 months post manufacture date in a closed (unopened) container in a dry place at temperatures between 41°F to 86°F (+5°C and +30°C). This shelf life assumes upright storage of factory-sealed containers. Dispose of unused product and container in accordance with local, state and federal regulations.
Climate and UV Exposure
- Up to 12 months UV and climate exposure prior to cladding installation.
- Acceptable for open joint cladding installations.
Substrate Preparation
- Surfaces must be clean and free of frost, oil, grease, dirt, excess mortar, or other contaminants.
- New concrete should be cured for a minimum of three (3) days.
- Fresh mortar joints in CMU should be struck flush and cured for a minimum 36 hours.
| Do's | Don't's |
|
|
Safety
Read the full label and SDS for precautionary instructions before use. Use with adequate ventilation, safety equipment, and jobsite controls during application and handling.
Refer to OSHA guidelines for all jobsite equipment including spray equipment.
FIRST AID
Ingestion: If swallowed: Clean mouth with water. If symptoms occur, obtain medical advice. For additional information, see Safety Data Sheet. Small amounts of methanol (CAS 67-56-1) are formed by hydrolysis and released upon curing.
Eye Contact: Flush eyes for at least 15 minutes. Skin Contact: Wash with plenty of soap and water. Inhalation: Remove to fresh air.
Cure/Dry Time
- Rain-ready in approximately 40 mins.
- Approximate skin-skin over time: 40-50 mins.
- Approximate dry time: 4 hours.
Note: All curing/drying speeds are directly influenced by environmental conditions such as humidity, temperature and atmospheric pressure.
Clean-Up
Clean uncured VaproLiqui-Shield and VaproLiqui-Flash with mineral spirits immediately after use. Follow all safety precautions. Mechanically remove cured material.
Coverage
| Substrate Type | Coverage Rate |
| Smooth Substrates (sheathing, metal etc.) | 60 − 75 ft²/gal (5.6 – 7.0 m²/3.8 liters) |
| Porous Substrates (CMU, concrete etc.) | 40 − 60 ft²/gal (3.7 - 5.6 m²/3.8 liters) |
Technical Guidelines
Permeable Rough Opening Application: Seams Less Than 1/4"
Note: Before beginning, make sure all sheathing materials are clean, free of dust, frost, overnight dew and trimmed flush with framing members at rough openings and that all materials, sausage gun, and putty knife are on site. Evaluate substrate for any inefficiencies and cracks.
 |
 |
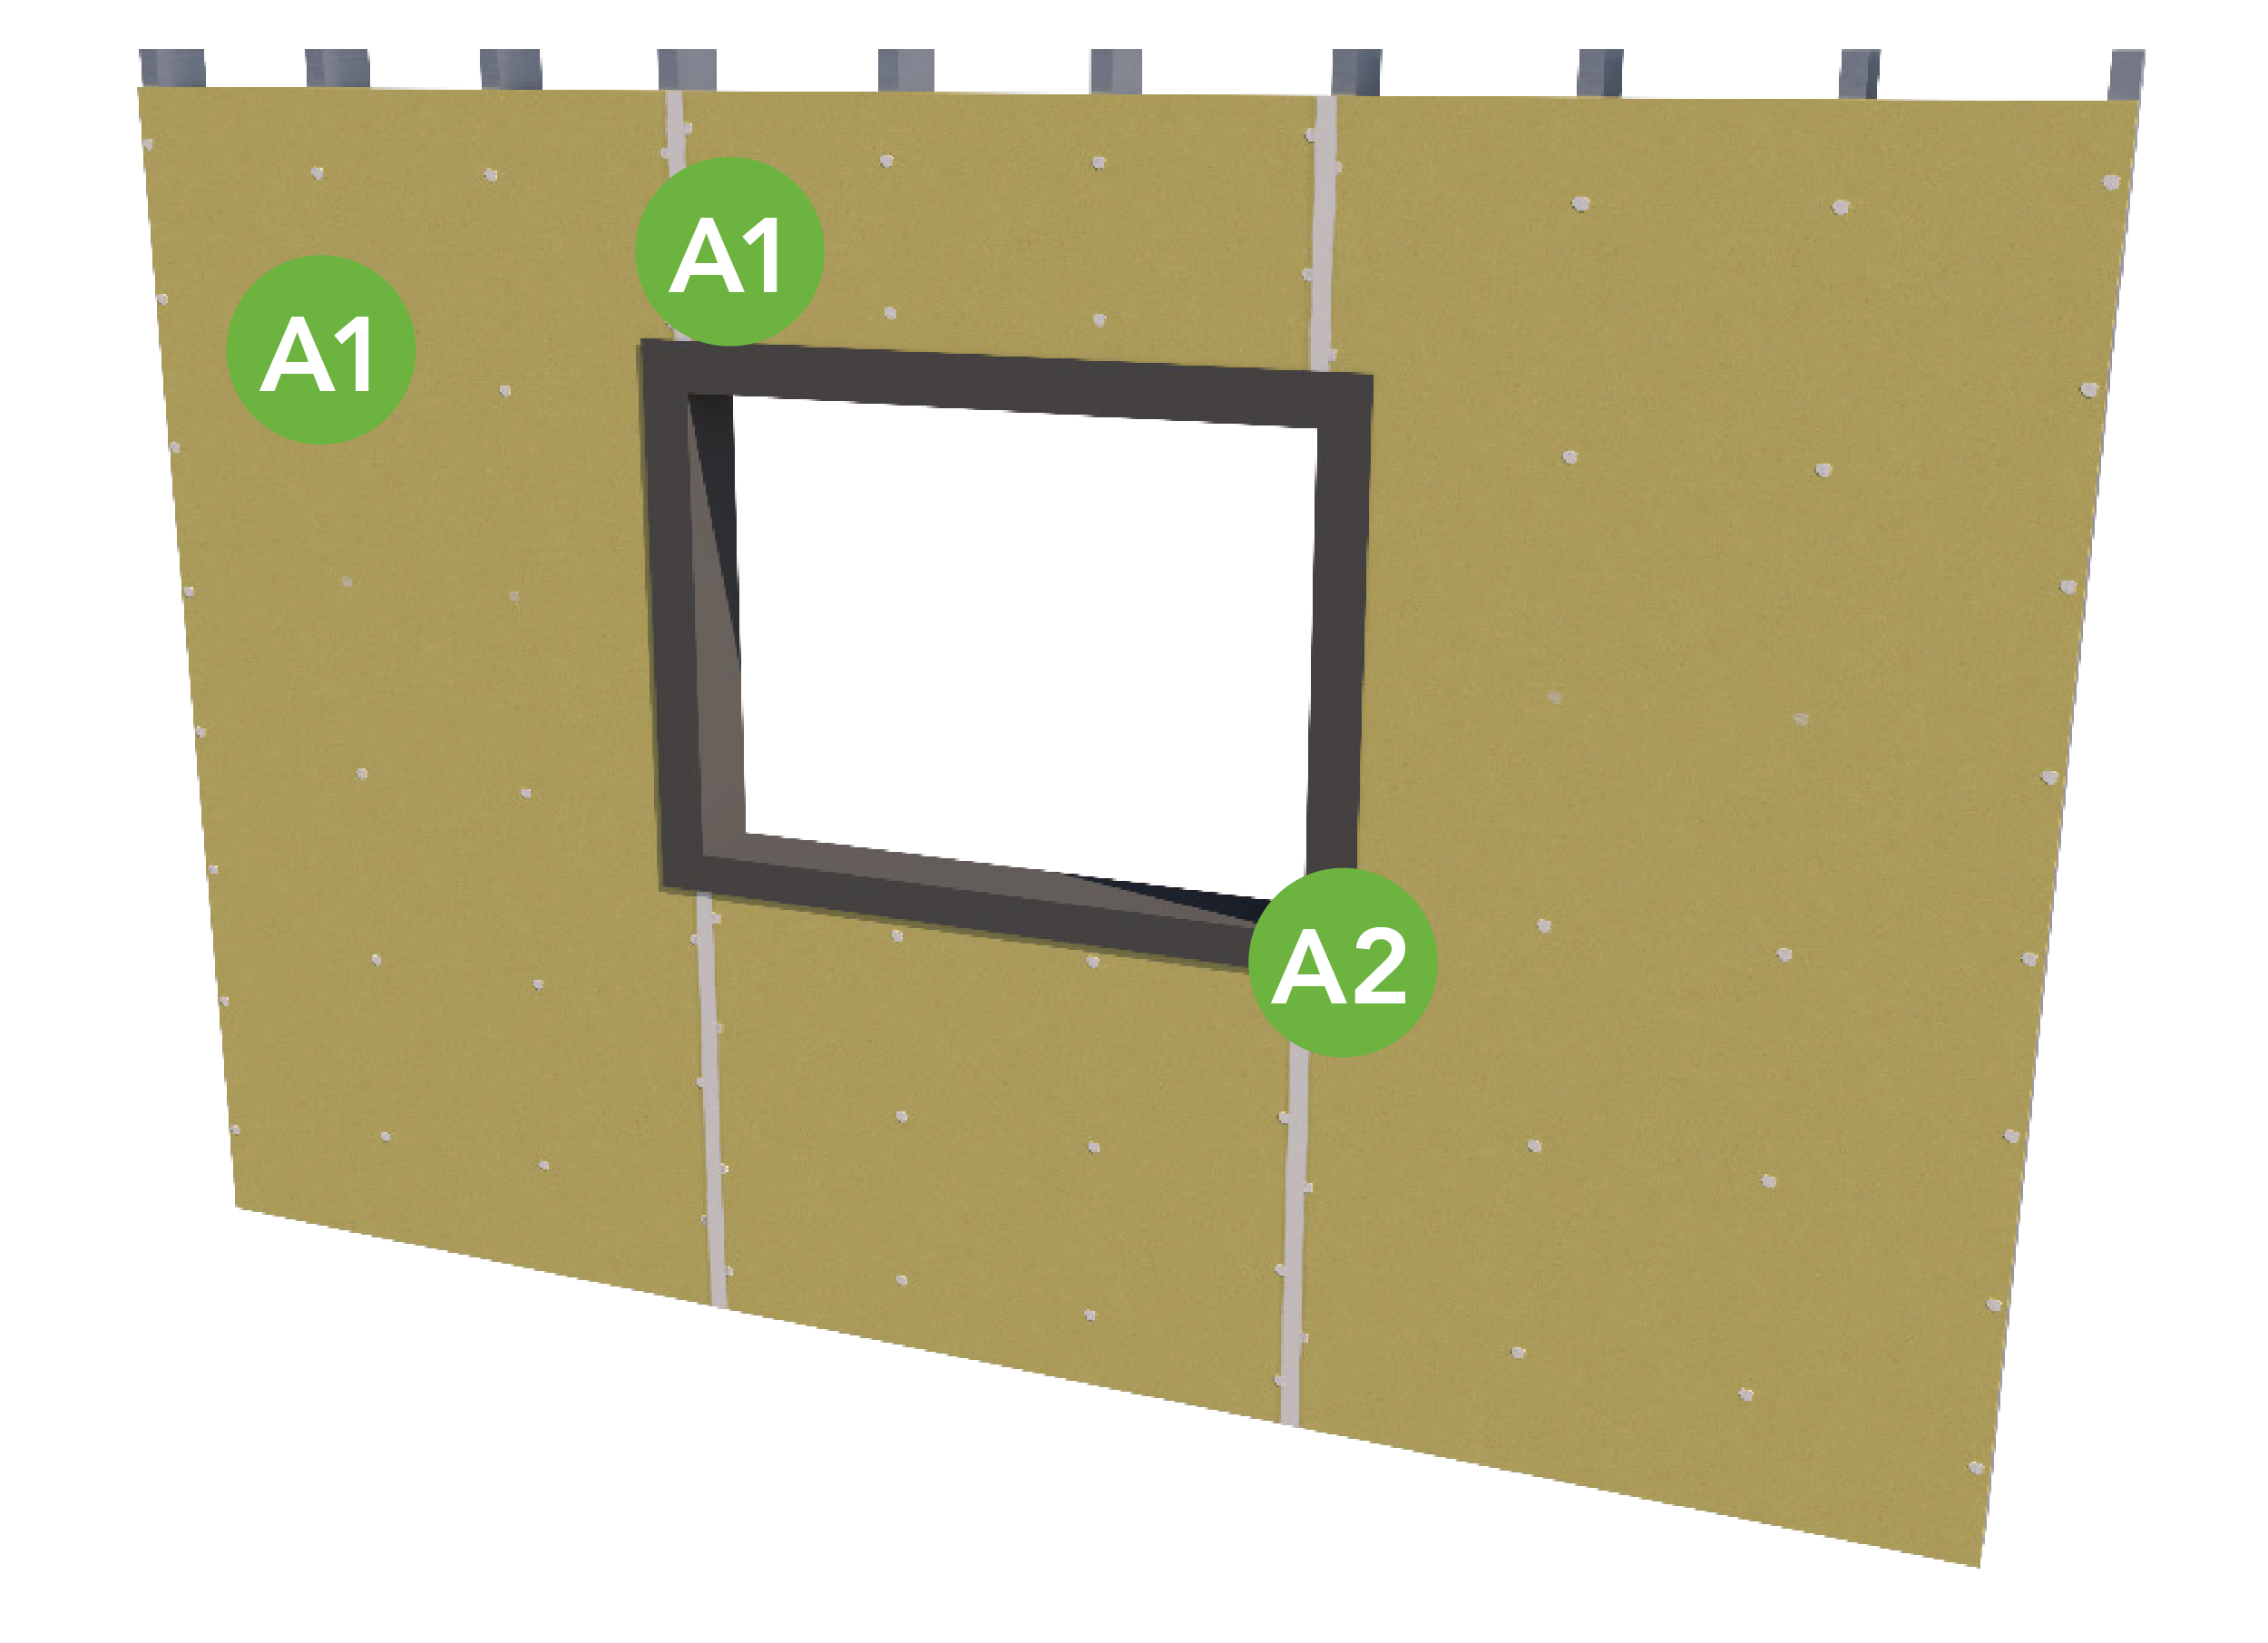
| A1. Apply VaproAirSeal along the raw edge of the gypsum sheathing and fill all fastener penetrations. Refer to the VaproAirSeal Product Data Sheet for best practices. |
| A2. Apply a liberal coat of VaproLiqui-Flash around the entire rough opening, maintaining a thickness of 12–15 mils (0.30–0.38 mm), and tool to create positive drainage. Refer to the VaproLiqui-Flash installation instructions for best practices. |
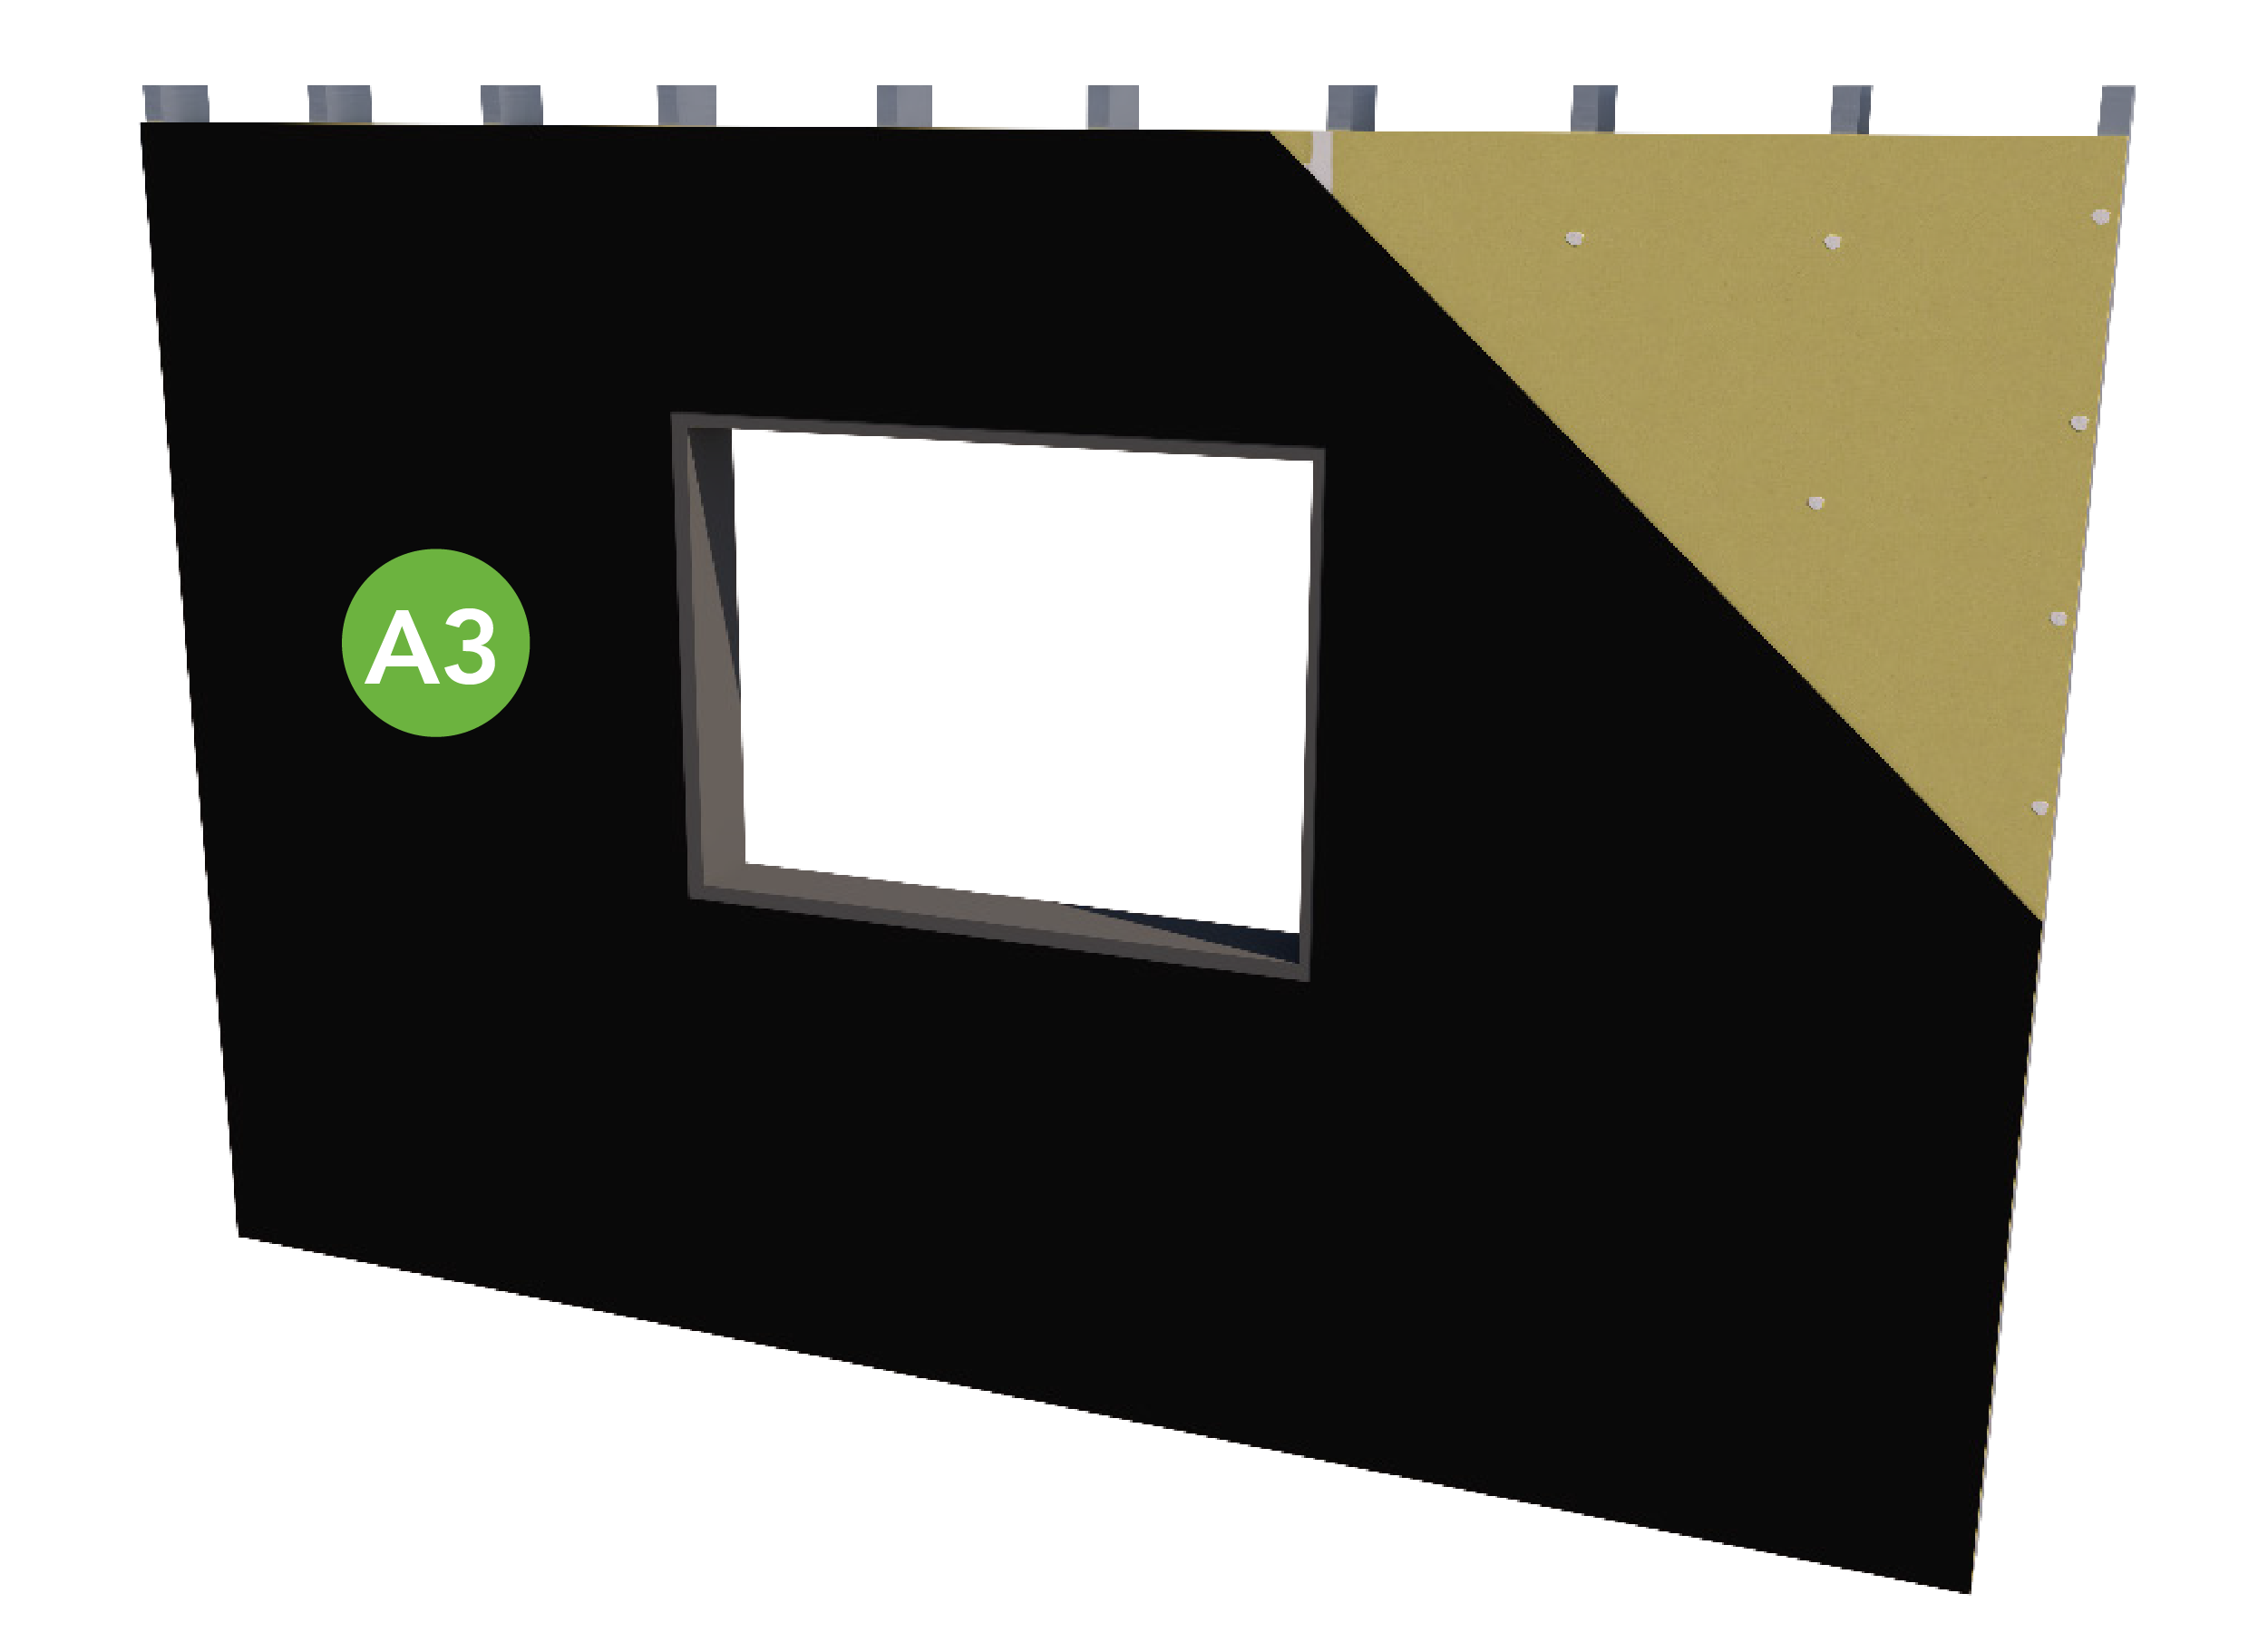
| A3. After all reinforced details are tack-free, begin the VaproLiqui-Shield field application. See step D. |
Impermeable Rough Opening: Seams Less Than 1/4"
Note: Before beginning, make sure all sheathing materials are clean, free of dust, frost, overnight dew and trimmed flush with framing members at rough openings and that all materials, sausage gun, and putty knife are on site. Evaluate substrate for any inefficiencies and cracks.
 |
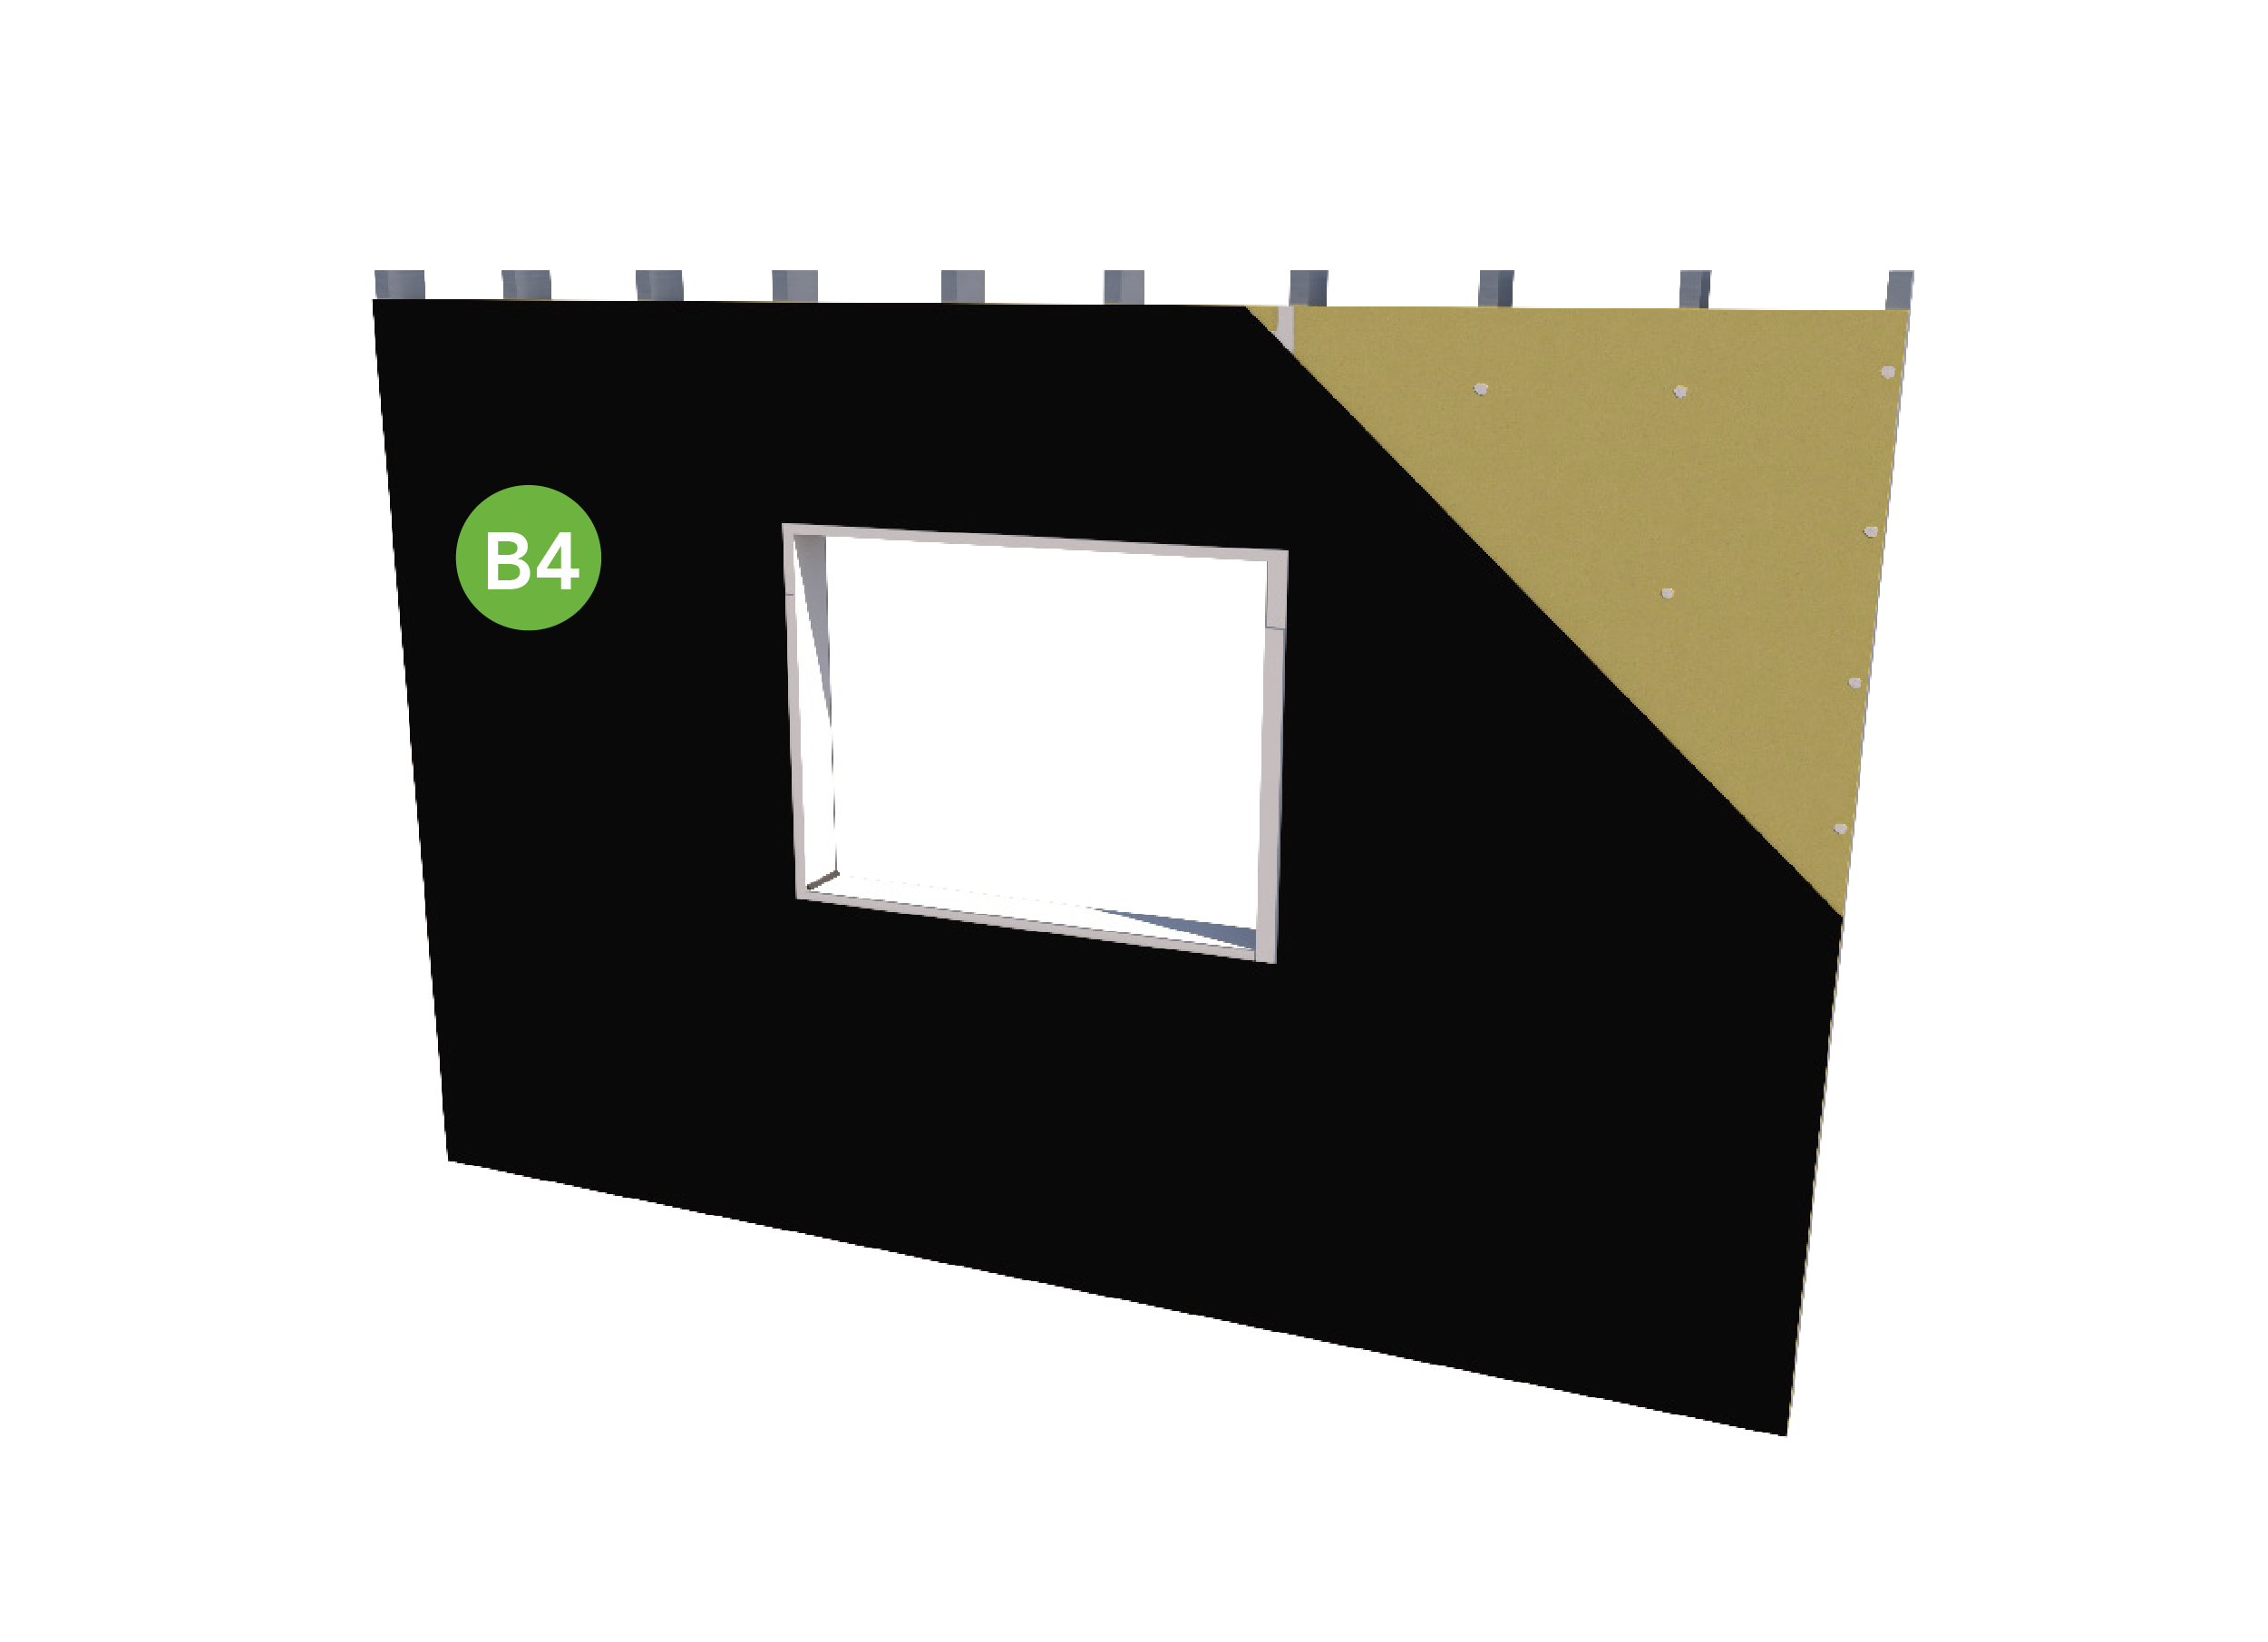 |
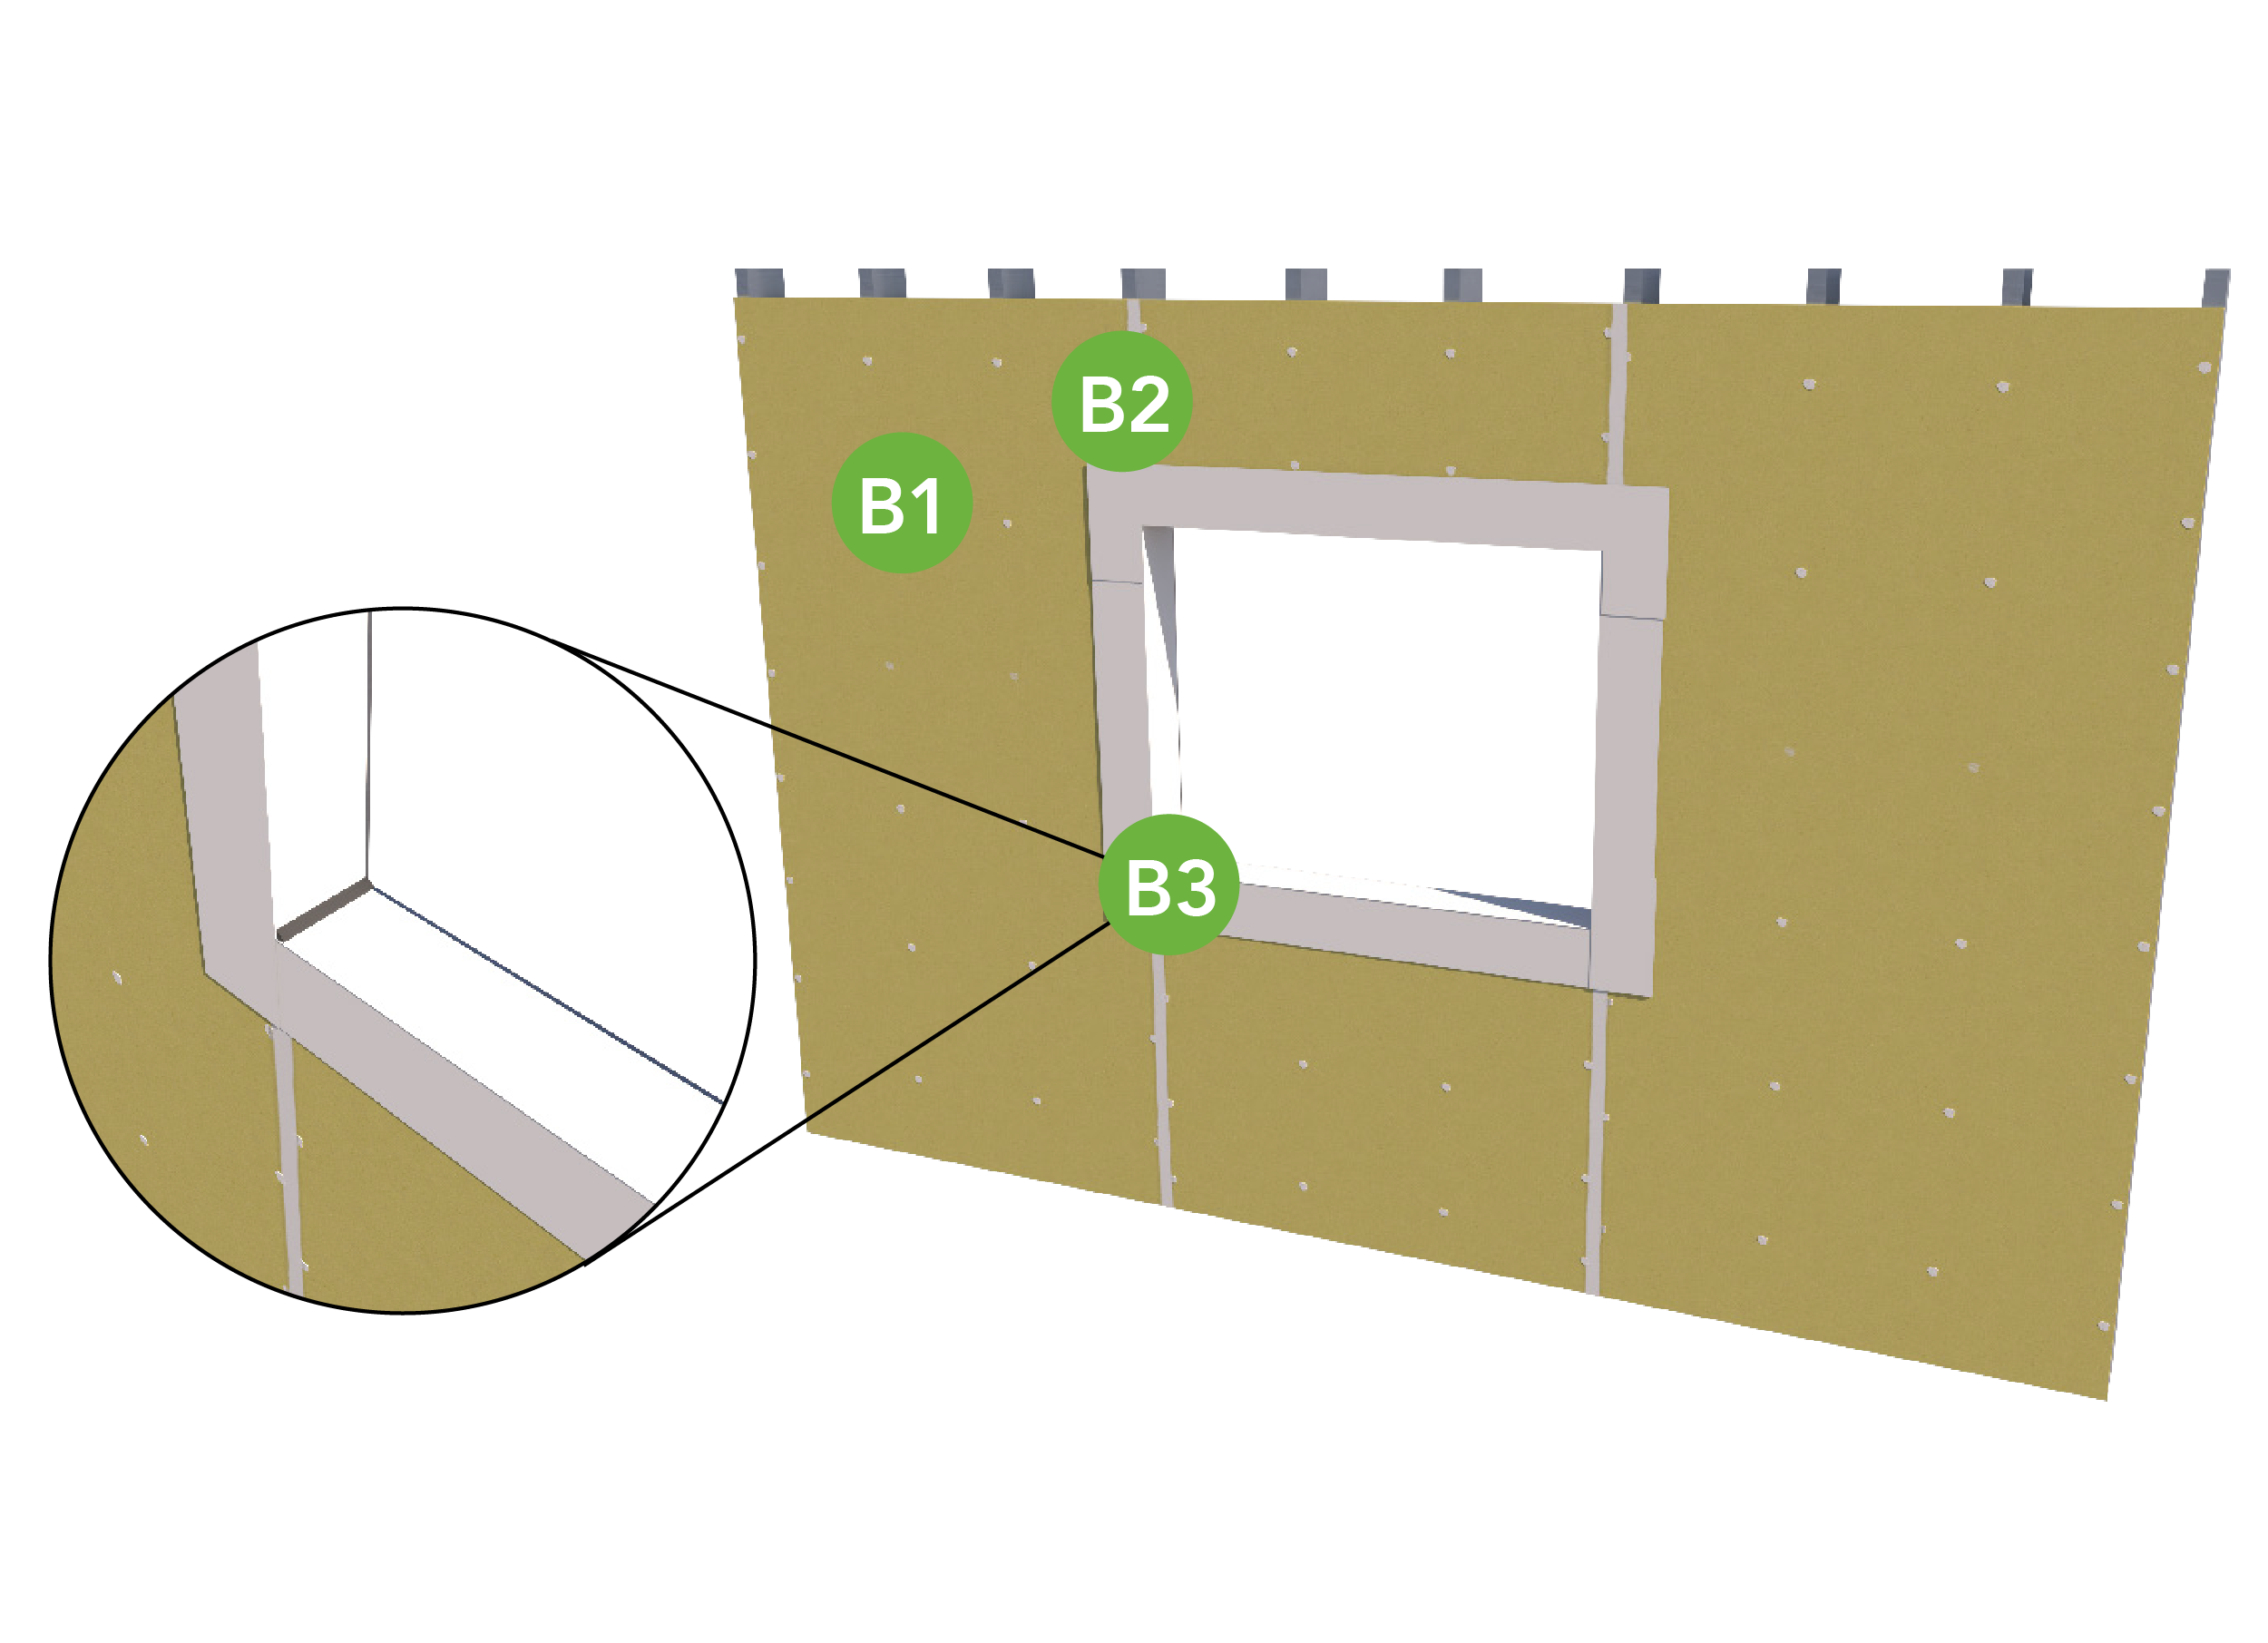
| B1. Using VaproAirSeal, fill all fastener penetrations and tool flush. Refer to the VaproAirSeal Product Data Sheet for best practices. |
| B2. Apply VaproFlashing SA in the rough opening, leaving 2" on the face. Roll flashing to activate the adhesive. |
| B3. Tool a bead of VaproAirSeal or approved sealant in EACH corner. |
| B4. After all reinforced details are tack-free, begin the VaproLiqui-Shield field application. See step D. |
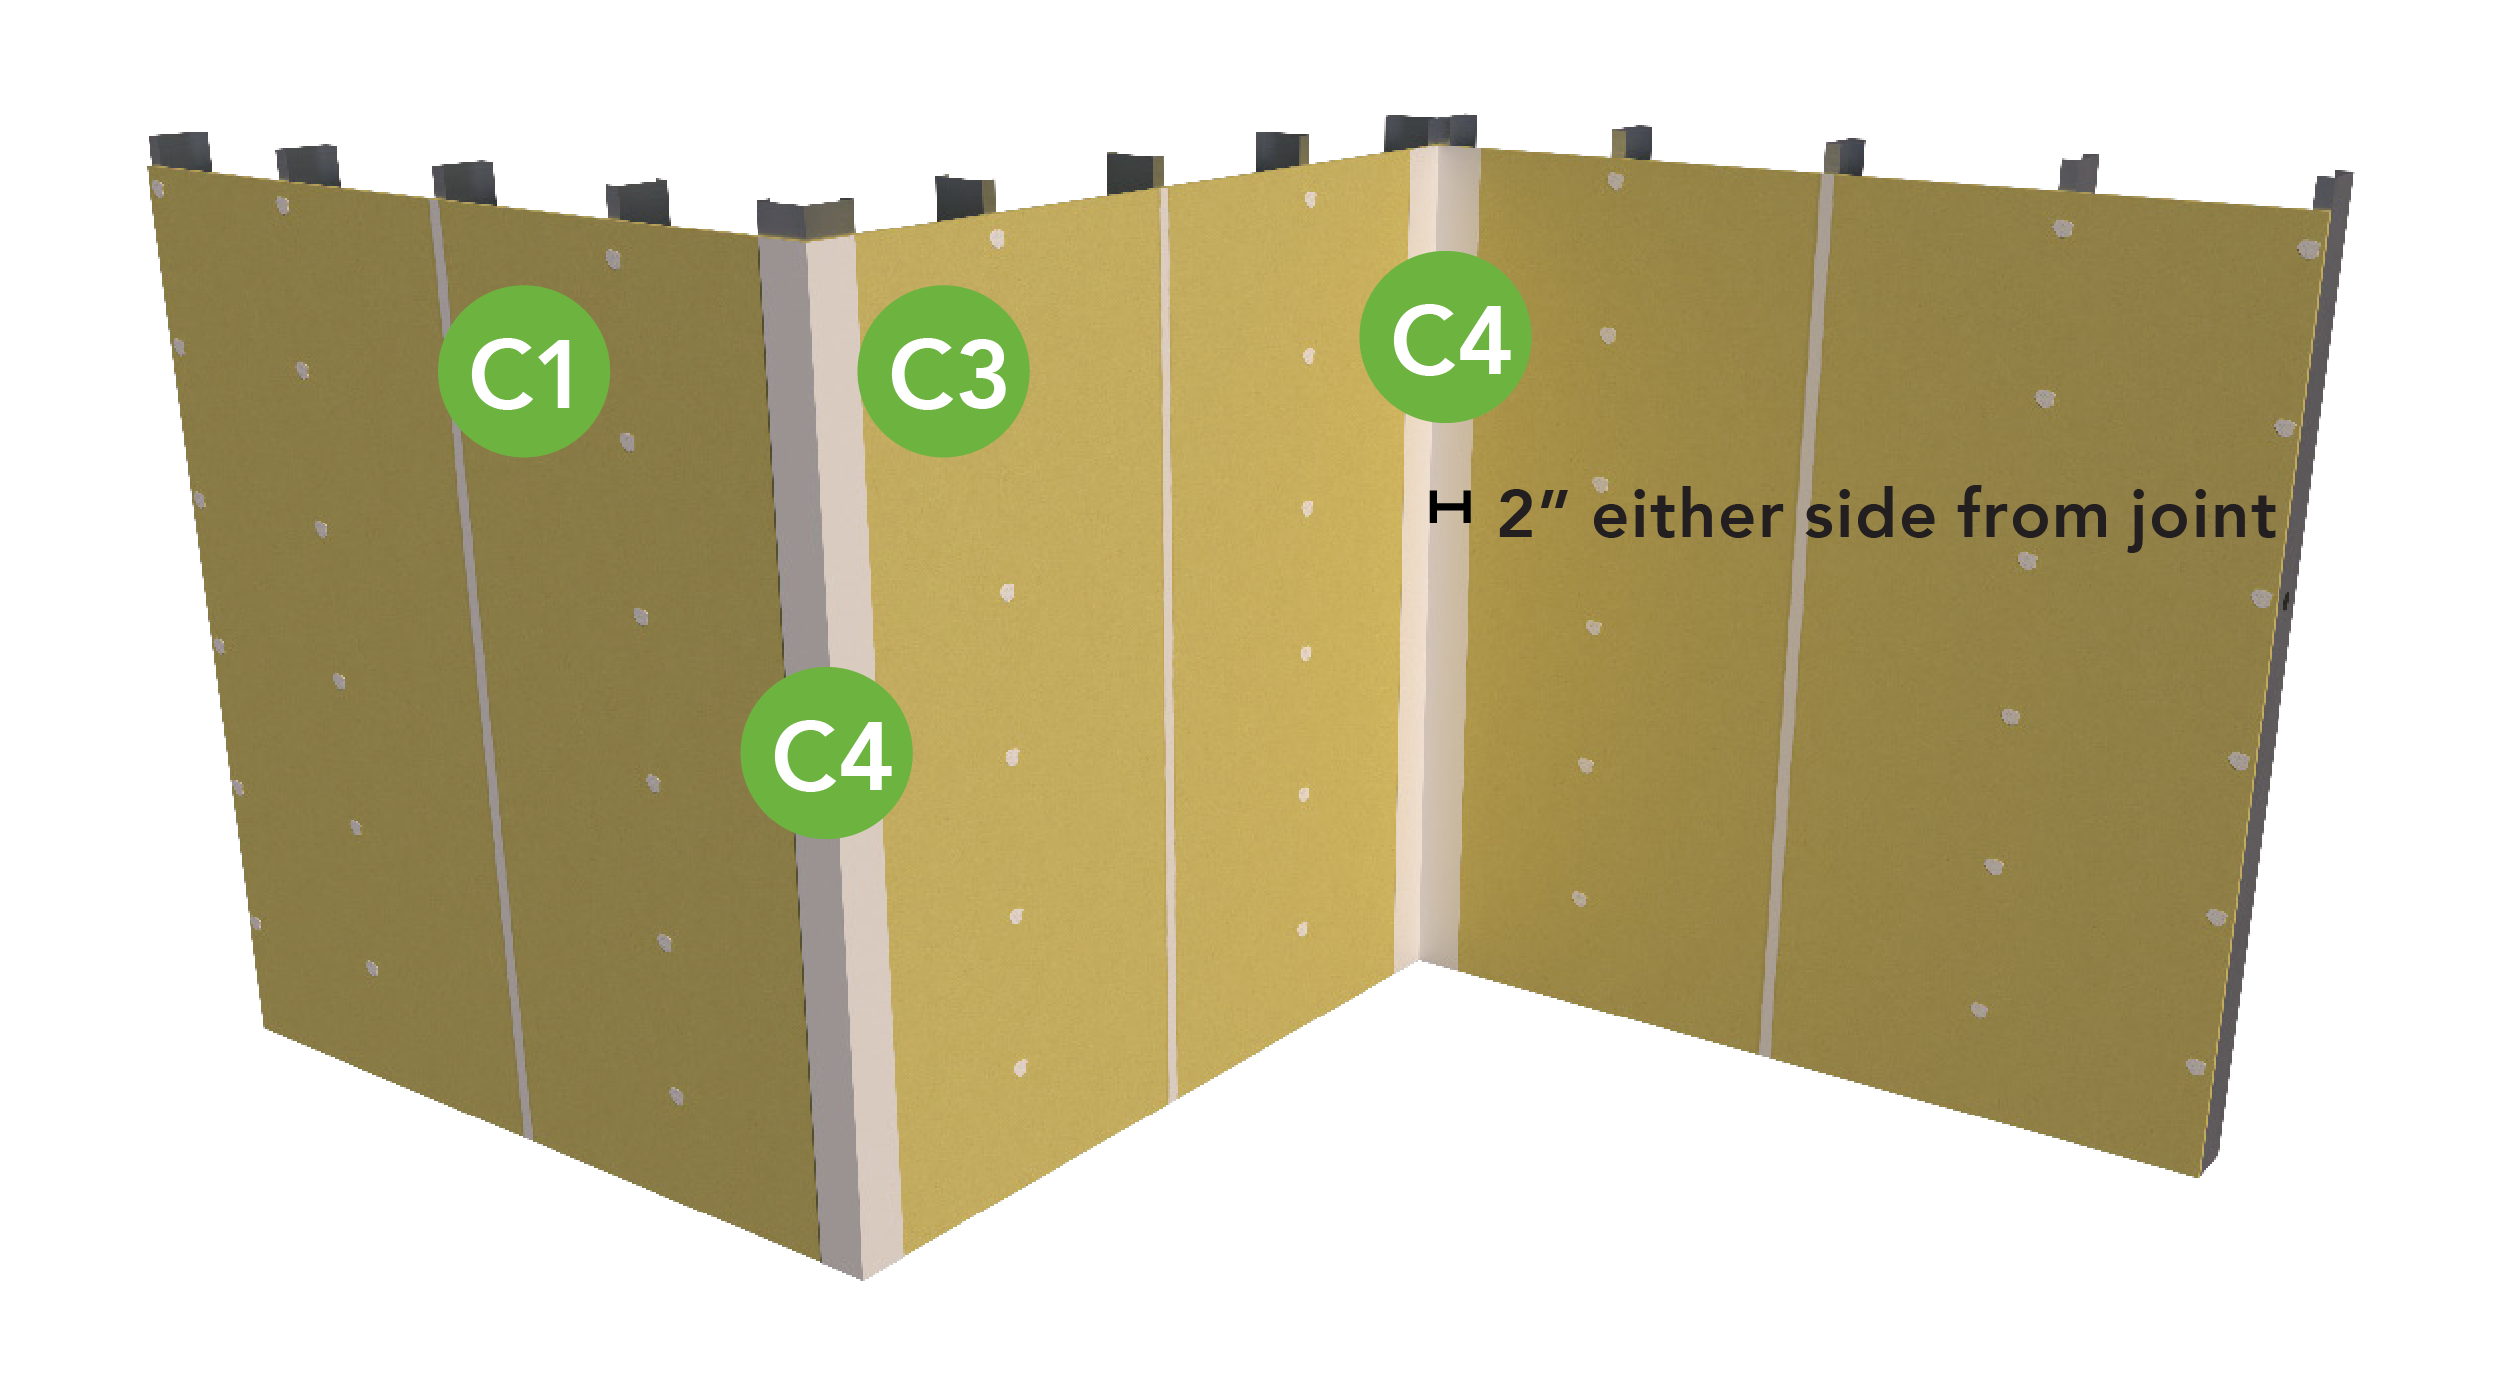
Sheathing Joints, Corners and Fastener Penetrations
Note: Before beginning, make sure all sheathing materials are clean, free of dust, frost, overnight dew and trimmed flush with framing members at rough openings and that all materials, sausage gun, and putty knife are on site. Evaluate substrate for any inefficiencies and cracks.
 |
 |
| C1. Joints 0"-1/4" For joints less than 1/4” apply a bead of VaproAirSeal, filling the joint and strike flush. |
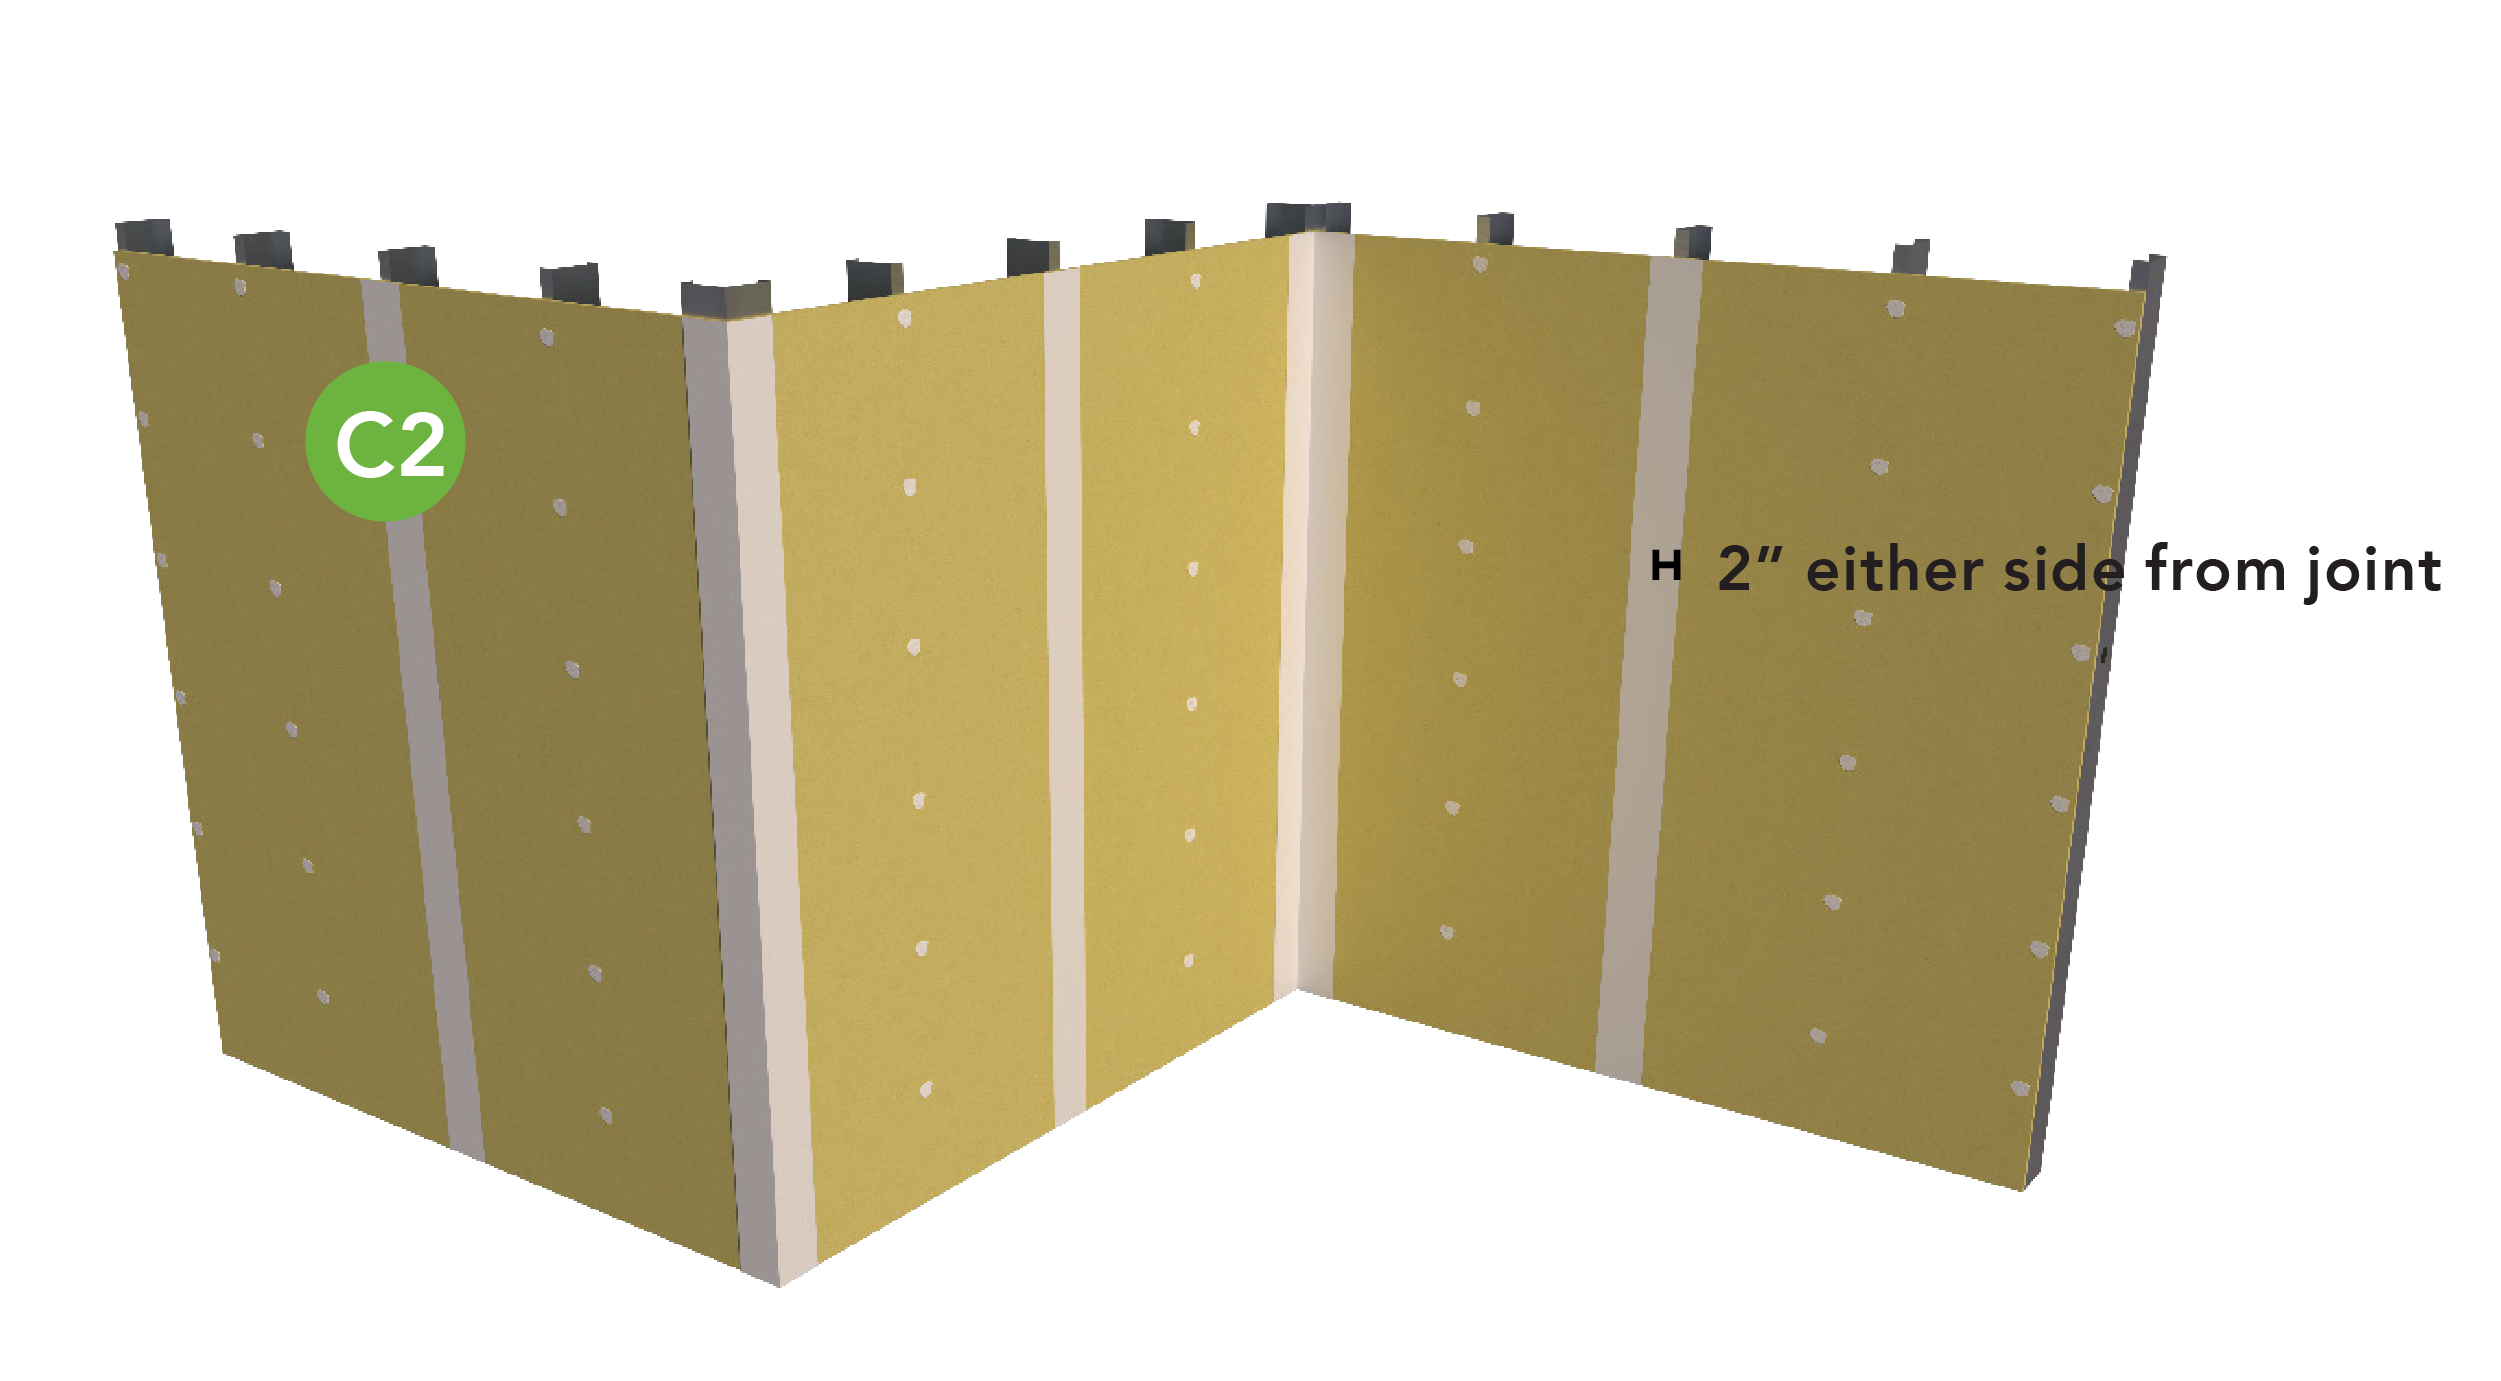
| C2. Joints 1/4"-1/2" Install VaproFlashing SA centered over the joint, extending out a minimum of 2” on either side. |
| C3. Fastener Penetrations Fasteners should be finished flush into the sheathing. Fastener shall not protrude the face of the sheathing. Fasteners must be filled with a bead of VaproAirSeal and struck flush. Counter sunk fasteners that are finished flush with the substrates do not require further detailing before the installation of VaproLiqui-Shield. |
| C4. Inside/Outside Corners Install VaproFlashing centered over the joint, extending out a minimum of 2” on either side. Inside and outside corners in cast-in-place concrete or laced CMU walls do not require additional detailing at inside/outside corners. Note: For joints larger than 1/2” use extra supportive material. Insert non-gassing backer rod or as specified by designer. Use VaproAirSeal to treat backer rod. For Expansion/Floorline Joints, view VaproShield Details. |
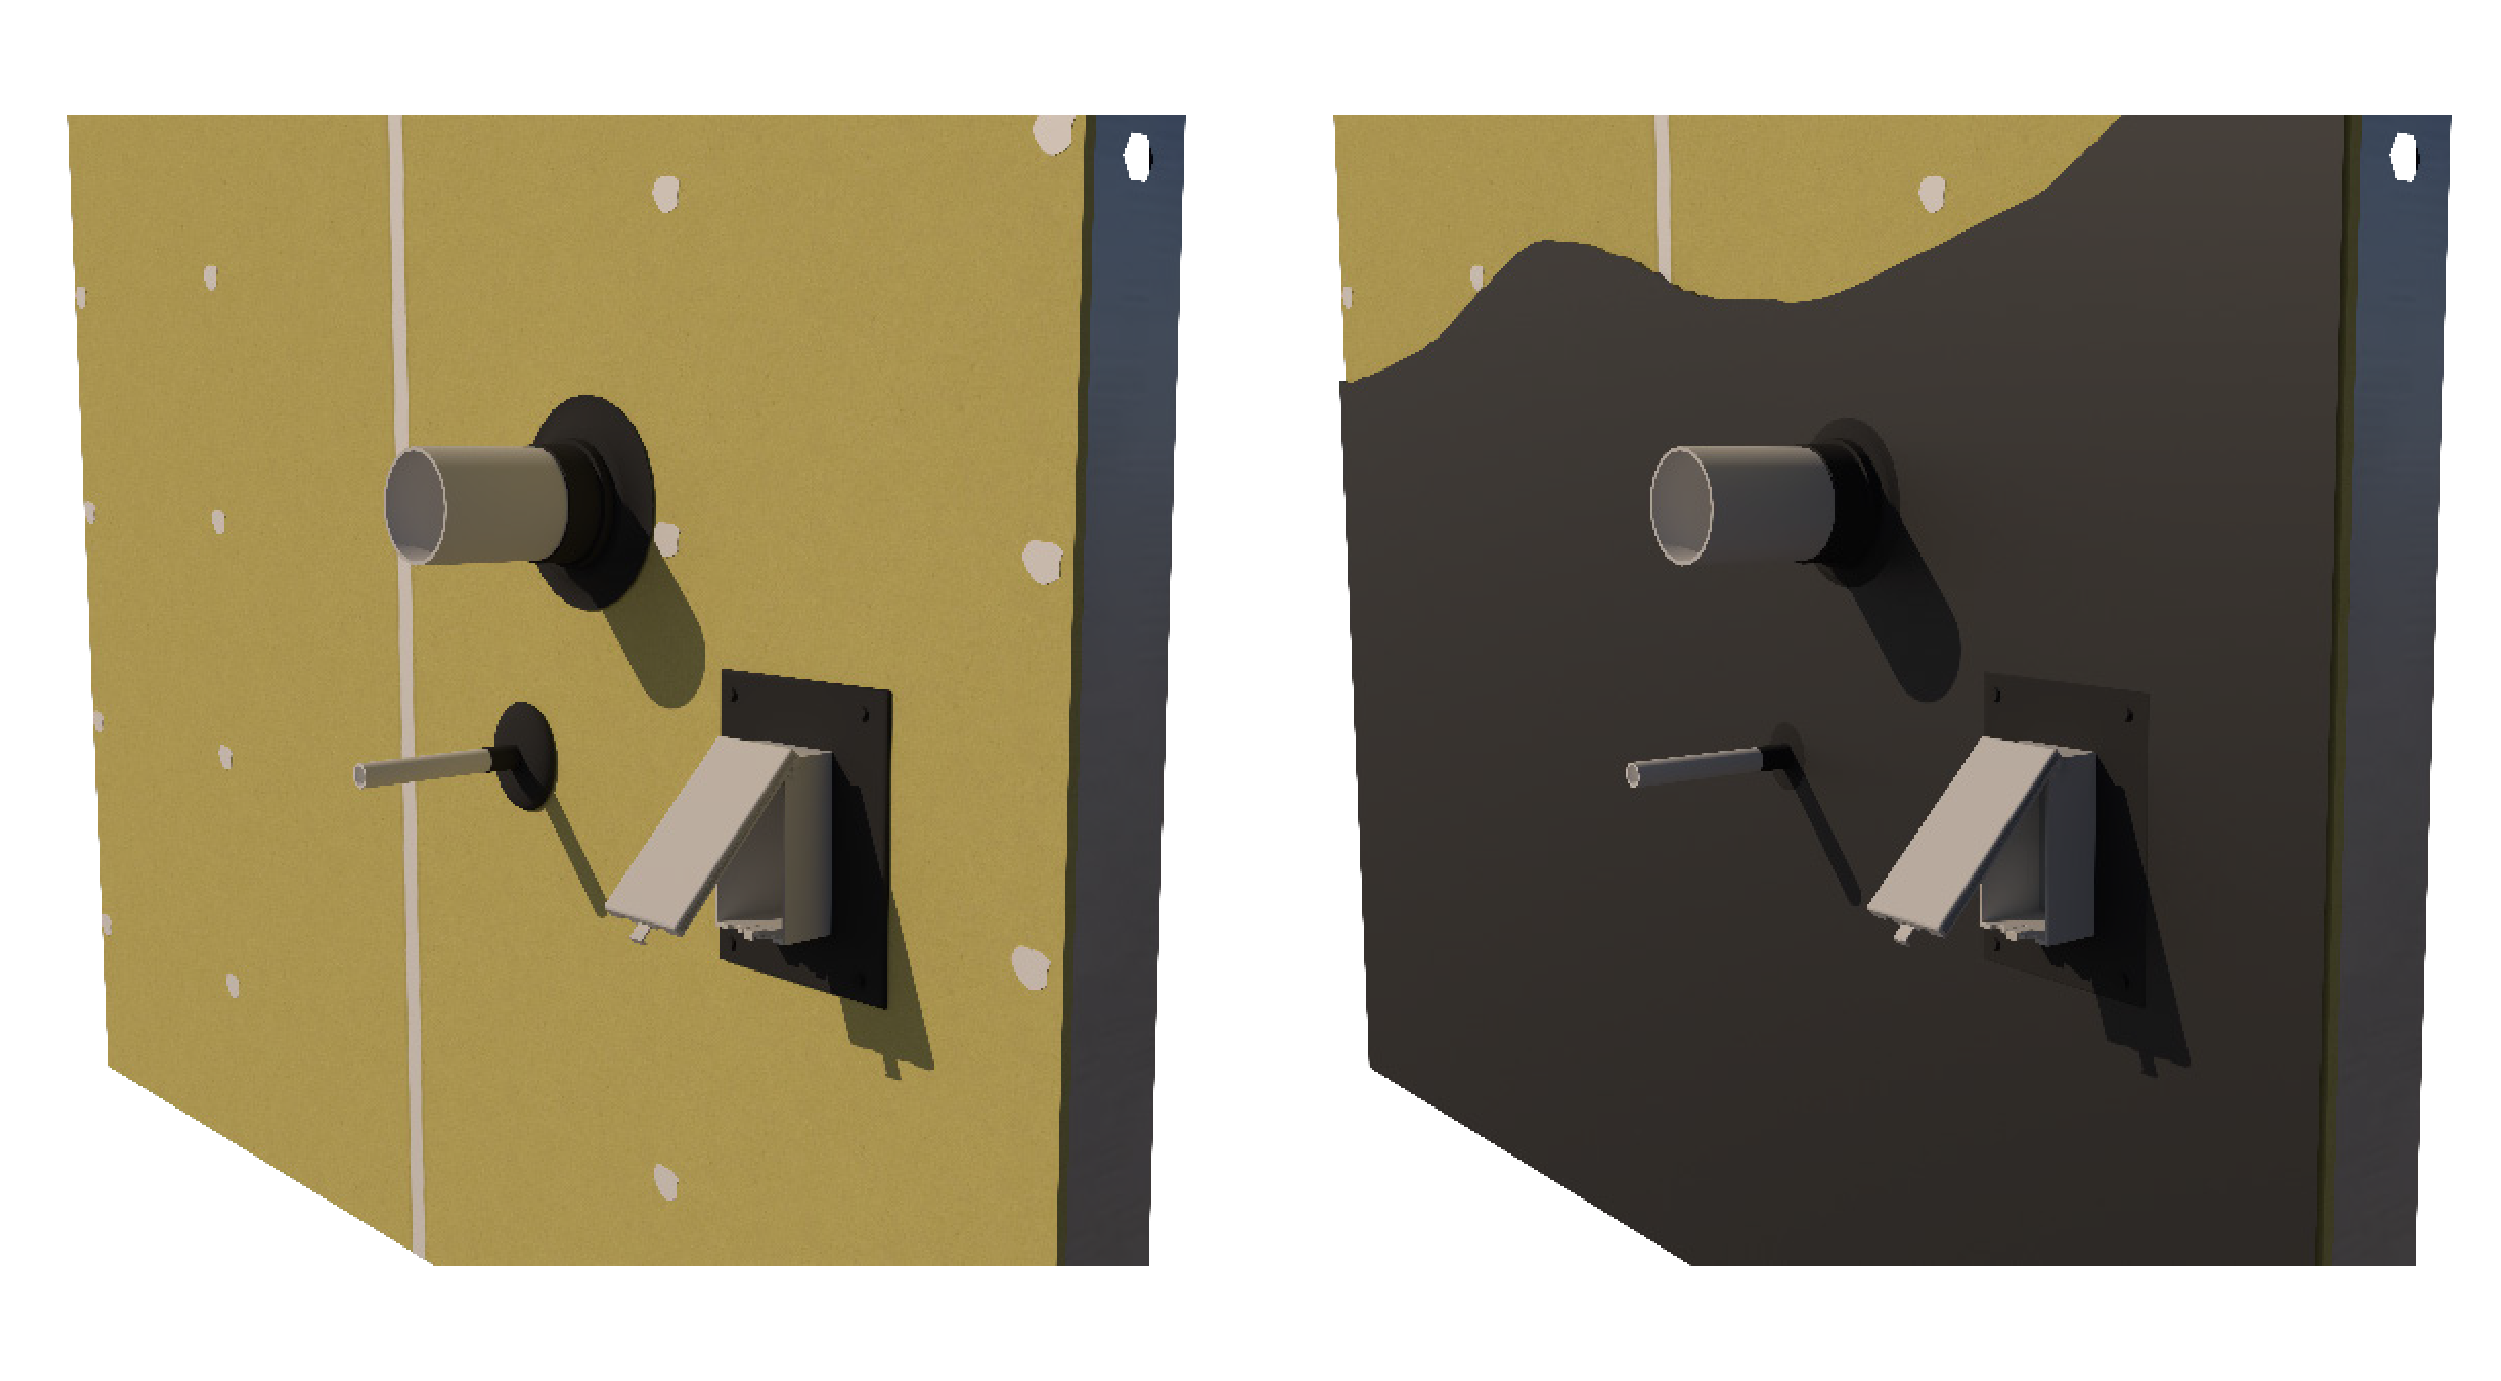
Penetrations
 |
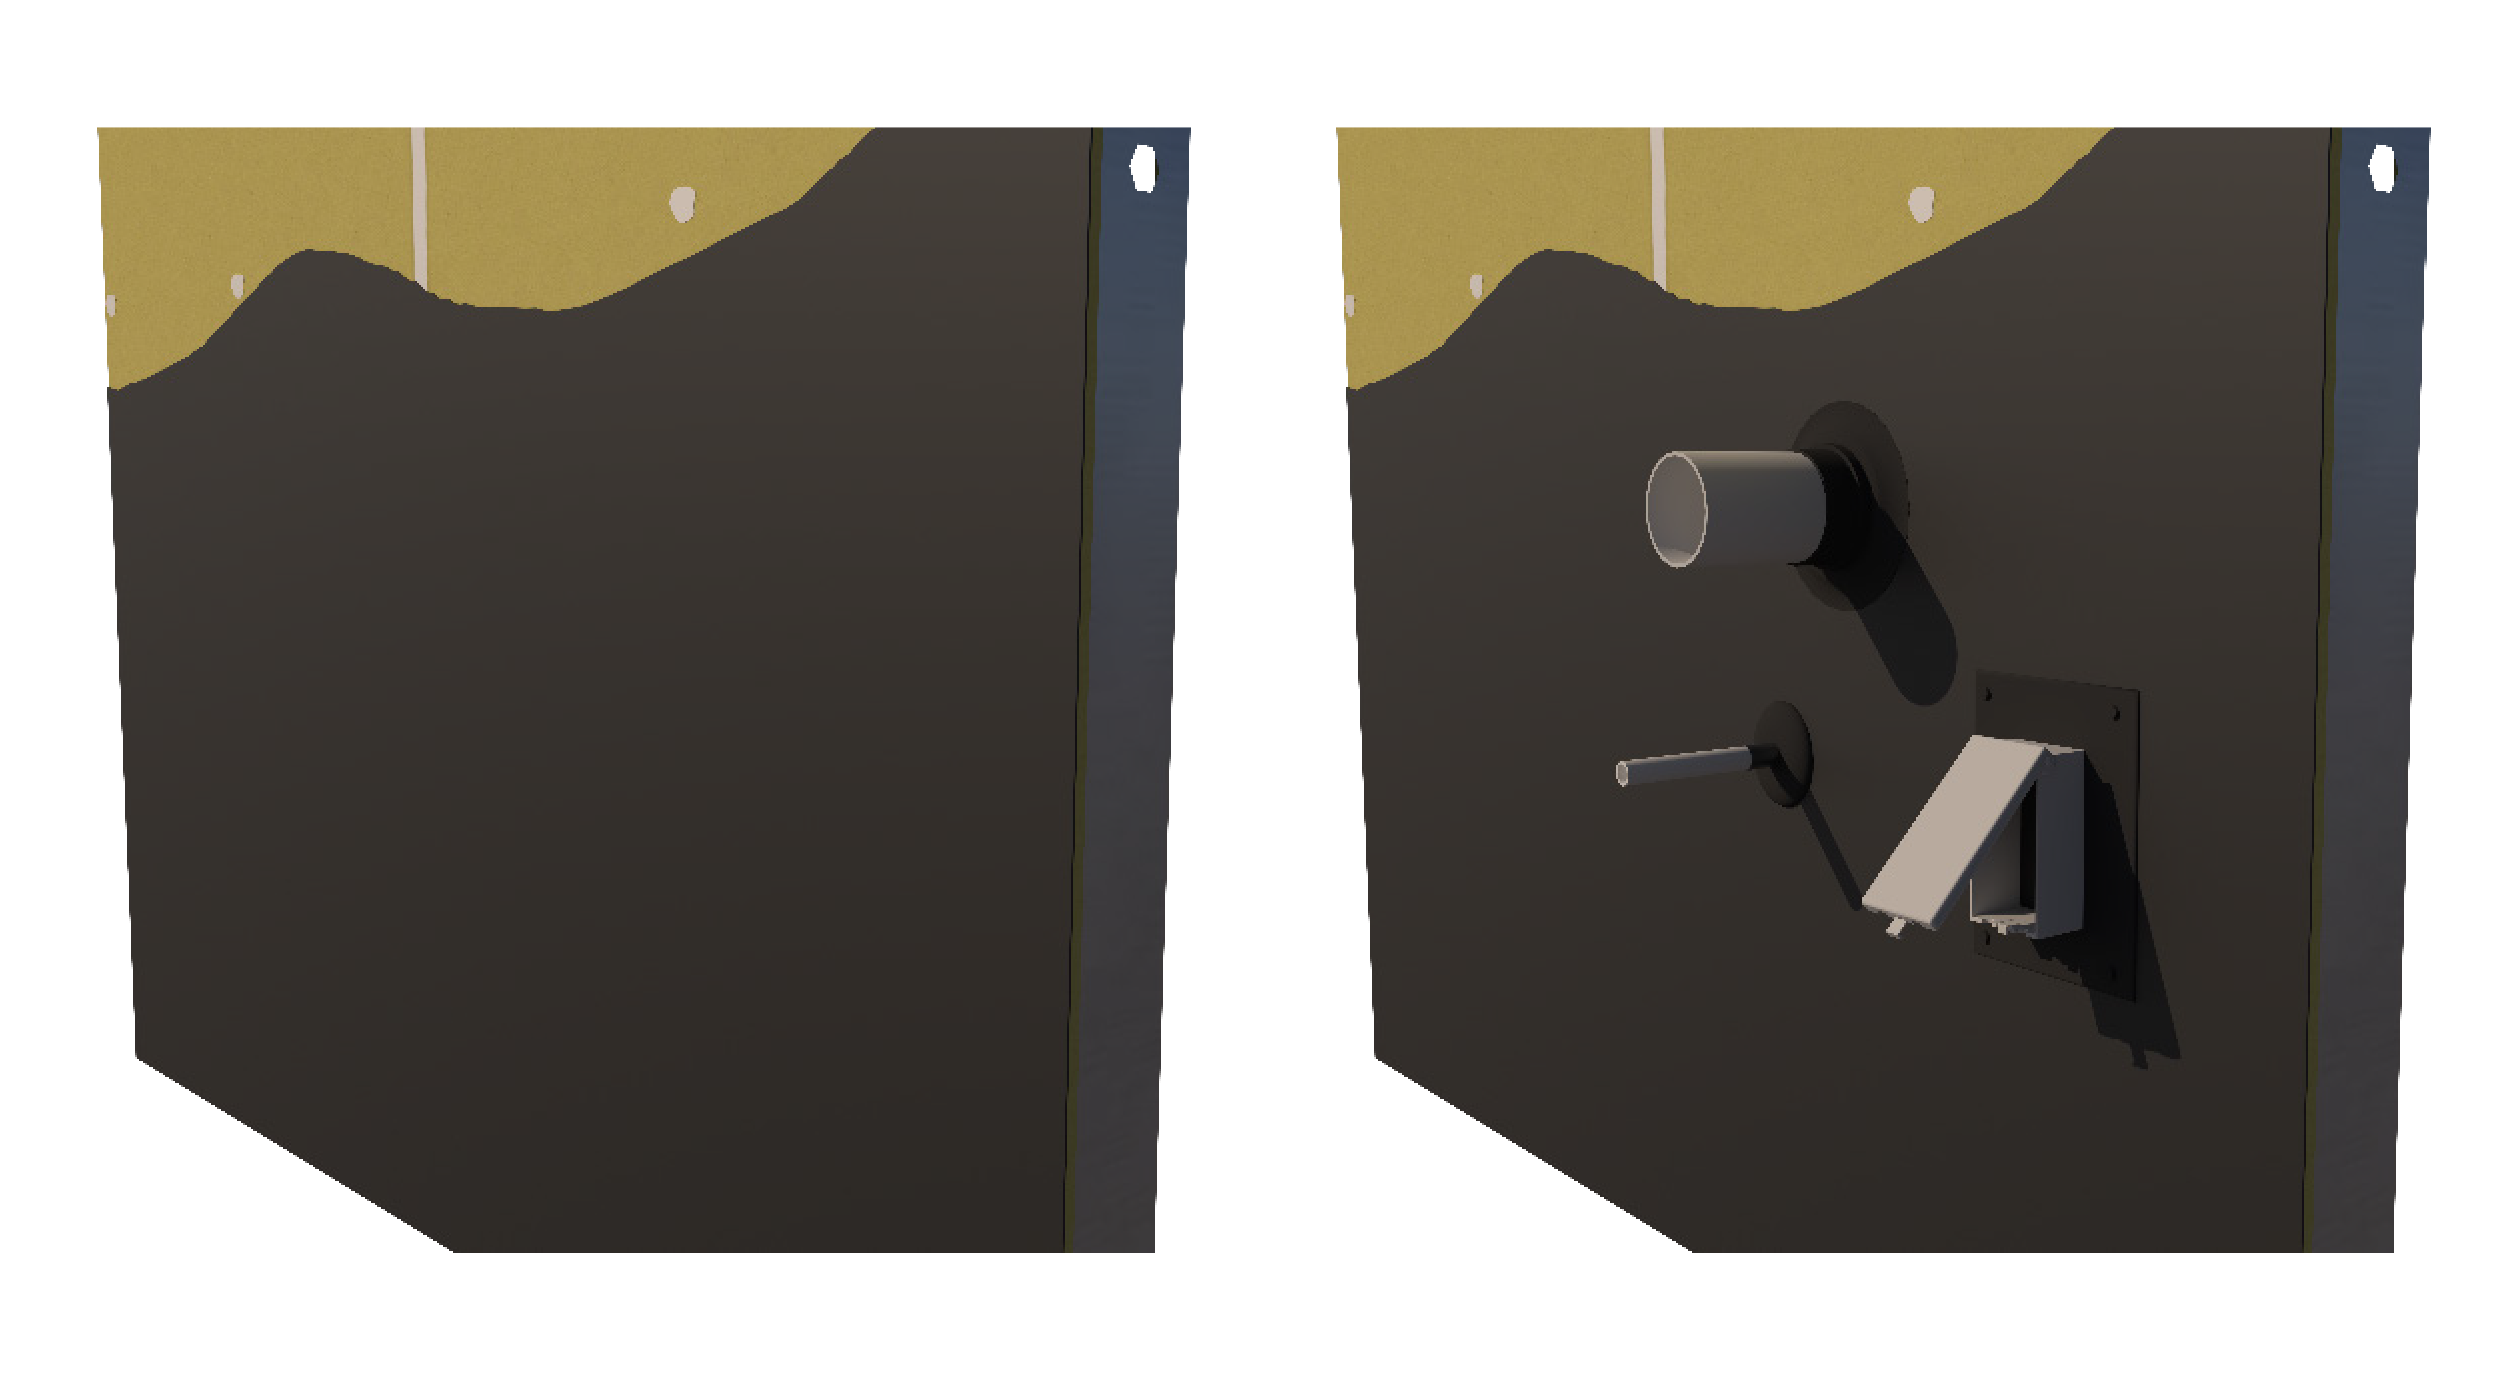 |
| Detailing BEFORE VaproLiqui-Shield is applied | Detailing AFTER VaproLiqui-Shield is applied |
Note: Reference VaproLiqui-Flash Details for best practices. |
Field Application
 |
| D1. After all reinforced details are tack-free, begin the VaproLiqui-Shield field application. Apply VaproLiqui-Shield by roller, brush, or VaproShield approved spray equipment, maintaining a 20-mil wet film thickness. |
| D2. Overlap onto details by minimum 2" to maintain air barrier continuity. VaproLiqui-Shield may be applied in either a horizontal or vertical orientation. Maintain the same application direction for the entire installation. |
| D3. Monitor the membrane thickness throughout application using a wet mil gauge, and check frequently to ensure a consistent 20-mil wet thickness. |